Creating Time Filters
Atomic metrics are standard definitions for computing logic. Time filters are standard definitions for conditional limits. To ensure that all statistical metrics are unified, standard, and unambiguous, time filters must be unique within a business domain and each filter can belong to a single source logic table. The computing logic is defined based on the fields of the source logic table model. A time filter may come from multiple logic tables that belong to different data domains. Therefore, a time filter may belong to multiple data domains as well.
Creating and Publishing a Time Filter
- On the DataArts Studio console, locate a workspace and click DataArts Architecture.
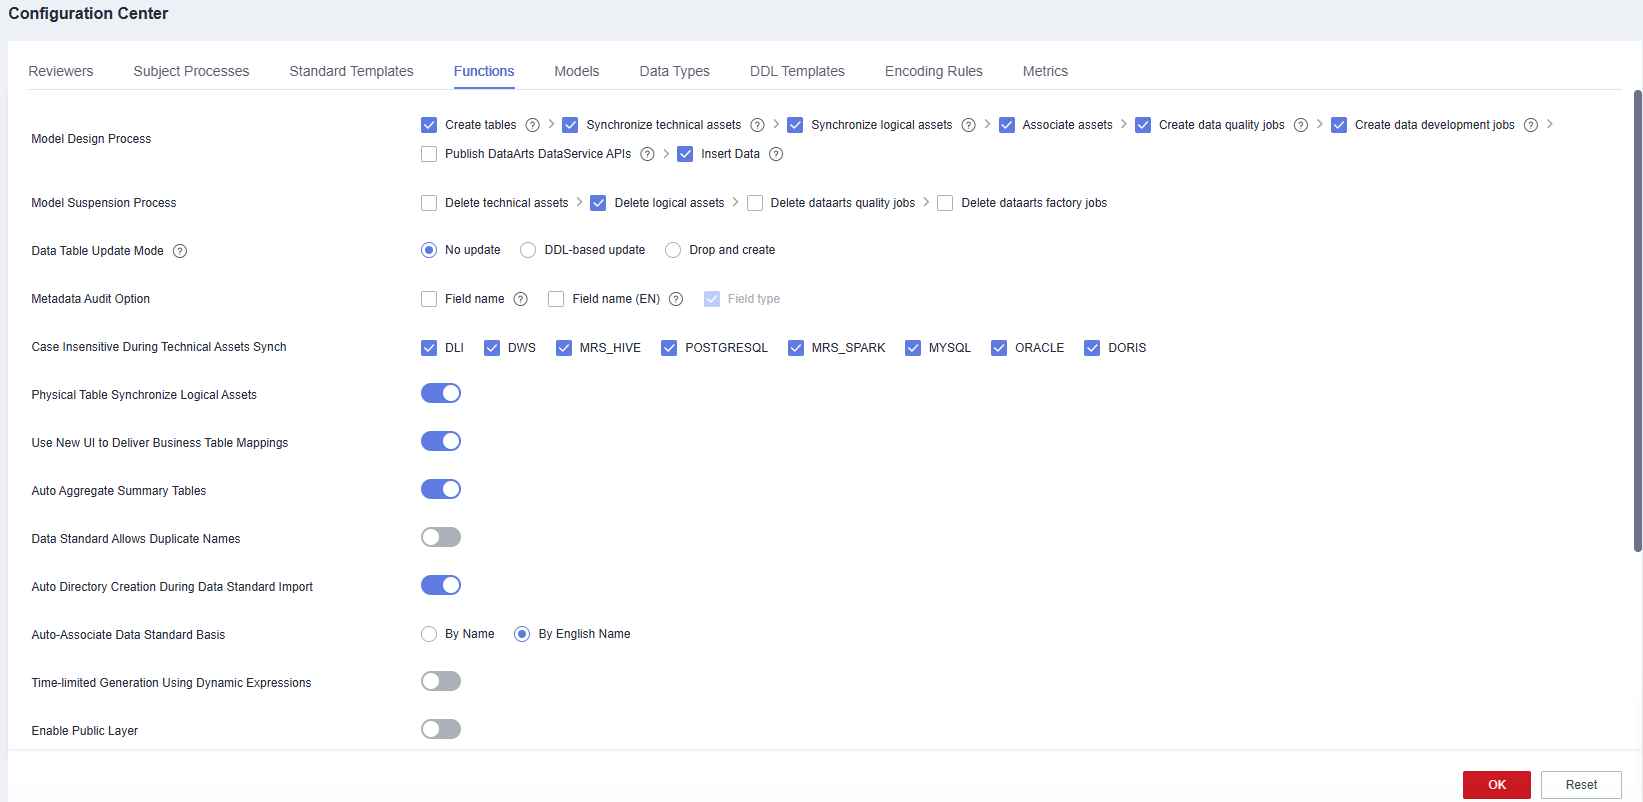
- (Optional) On the DataArts Architecture console, choose Configuration Center in the left navigation pane, click the Functions tab, and determine whether to enable Time-Limited Generation Using Dynamic Expressions (disabled by default).
Figure 1 Functions

- On the DataArts Architecture page, choose in the left navigation pane. On the displayed page, click the Time Filters tab.
- On the Time Filters tab page, click Create.
- On the Create Time Filter page, set the parameters described in Table 1 and click Publish.
Figure 2 Creating a time filter

Table 1 Parameters for creating a time filter Parameter
Description
*Filter Name
Newline characters and the following characters are not allowed: \ < > % " ' ;
*Filter English name
Only letters, digits, and underscores (_) are allowed.
*Time Settings
You can select Year, Month, Day, Hour, or Minute, and then select Quick option or Custom to set the time condition.
If you select Custom, + and - form a time range, in which + indicates a later time and - indicates an earlier time. For example, if you want to set a time range from the past year to the next three years, set this parameter to -1 to +3 or +3 to -1.
Description
A description of the time filter to create. Up to 490 characters are supported.
- In the displayed dialog box, select a reviewer and click OK to submit an application.

If you have been added as a reviewer, you can select Auto-review and click OK. After the request is approved, the status changes to Published.
If you select multiple reviewers, the status changes to Published only after all reviewers have approved the publishing request. If any reviewer rejects the request, the status is Rejected.
- Wait for the reviewer to approve the application.
After the application is approved, the time filter is created.
Managing a Time Filter
- On the DataArts Architecture page, choose in the left navigation pane. On the displayed page, click the Time Filters tab.
Figure 3 Time Filters tab page

- Manage your time filters as required. Refer to the following table for details.
- Edit a time filter.
- Click Edit to the right of the target time filter.
- On the page displayed, edit the time filter as required.
- Click Save to save the time filter information, or click Publish to publish the edited time filter.
- Publish a time filter.
- Click Publish to the right of the target time filter.
- In the Submit for Publication dialog box displayed, select a reviewer from the drop-down list box.
- Click OK.
- View the publish history.
- Select the target time filter in the list and choose .
- On the page displayed, you can view the publish history and version comparison information of the time filter.
- Suspend a time filter.
- Select the target time filter in the list and choose .
- In the Submit for Suspension dialog box displayed, select a reviewer from the drop-down list box.
- Click OK.

Time filters cannot be suspended or deleted if they are referenced by any derivative metrics.
- Delete a time filter.
- Select the target time filter and click Delete above the list.
- In the dialog box displayed, confirm the information and click Yes.
Feedback
Was this page helpful?
Provide feedbackThank you very much for your feedback. We will continue working to improve the documentation.See the reply and handling status in My Cloud VOC.
For any further questions, feel free to contact us through the chatbot.
Chatbot


