
Updated on 2023-06-01 GMT+08:00
Getting Started with O&M Event Center
Flowchart description
- Create an O&M workspace.
You need to create an O&M workspace first and then use the O&M Event Center whose all functions are displayed in the O&M workspace.
Log in to HaydnCSF and click Workspaces. Click Create. Set Type to O&M, enter the workspace name, and click Save.
Figure 1 Workspaces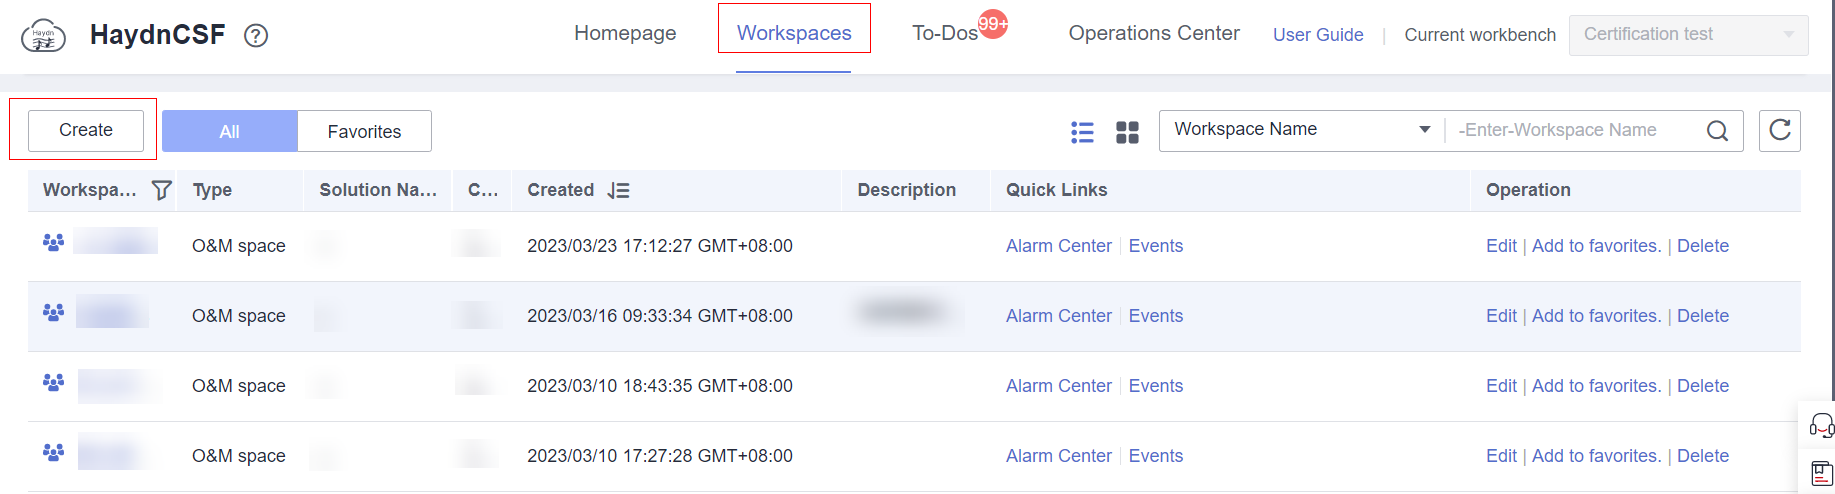 Figure 2 New O&M workspace
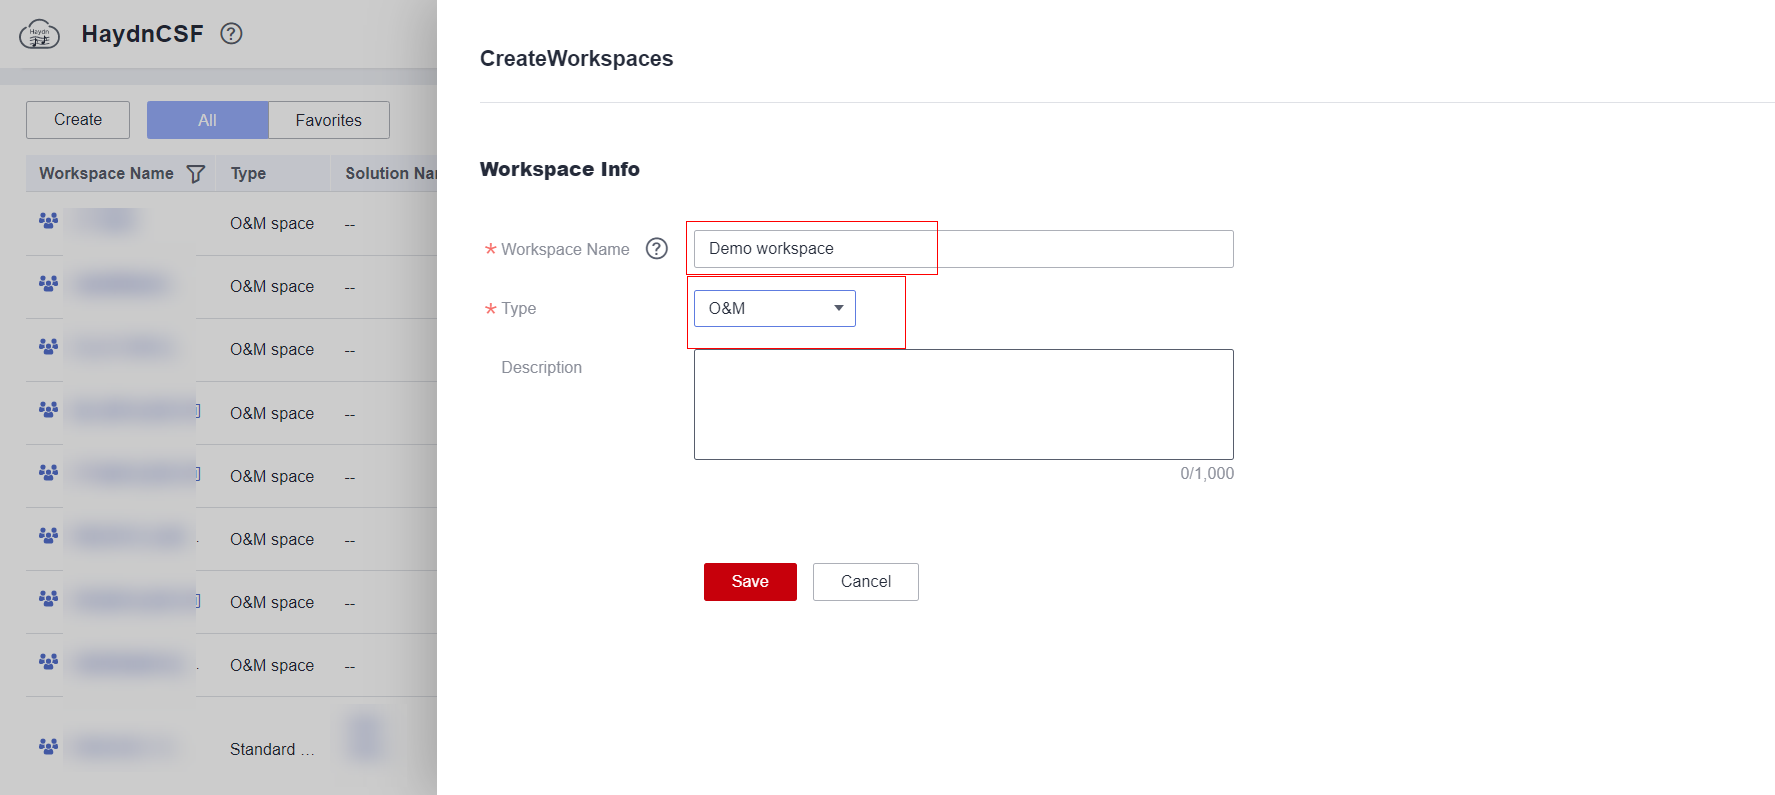
- Create projects as the minimum units of project management. For details, see Creating a Project.
- Create services and manage O&M events by service. For details, see Creating a Service.
- Add users. For details, see Adding a User.
- Create user groups to manage users. An administrator group and an O&M engineer group are recommended. For details, see Creating a User Group.
- Authorize user groups to manage user permissions, including O&M administrator policies, O&M engineer policies, and customer policies. For details, see Authorizing a User Group.
- Schedule O&M engineers to respond to events in a timely manner. For details, see Scheduling a User Group.
- Configure SLA management policies. For details, see SLA Management.
- Integrate monitoring sources to implement unified monitoring of infrastructure and applications. For details, see Integration Configuration.
- Configure rules to convert alarms to events. For details, see Creating a Transfer Rule.
- Manually create events. For details, see Creating an Event. (If the alarms reported by the monitoring sources integrated in 9 are matched with the rules in 10, event tickets will be automatically created.)
- Respond to events. For details, see Responding to an Event.
- Handle events. For details, see Handling an Event.
- Verify events. For details, see Verifying an Event.
Parent topic: O&M Workspace
Feedback
Was this page helpful?
Provide feedbackThank you very much for your feedback. We will continue working to improve the documentation.See the reply and handling status in My Cloud VOC.
The system is busy. Please try again later.
For any further questions, feel free to contact us through the chatbot.
Chatbot


