Using a Virtual Smart Street Light to Communicate with the Platform (Java SDK)
Overview
This section describes how to connect a device to Huawei Cloud IoTDA through MQTTS/MQTT using Java code, implement southbound data reporting and command delivery using platform APIs, and receive messages subscribed by the northbound server using the application-side sample code. Taking a smart street light as an example, the device reports information such as luminance to IoTDA, and an application receives device data pushed by IoTDA.
Prerequisites
- You have installed JDK 1.8 or later.
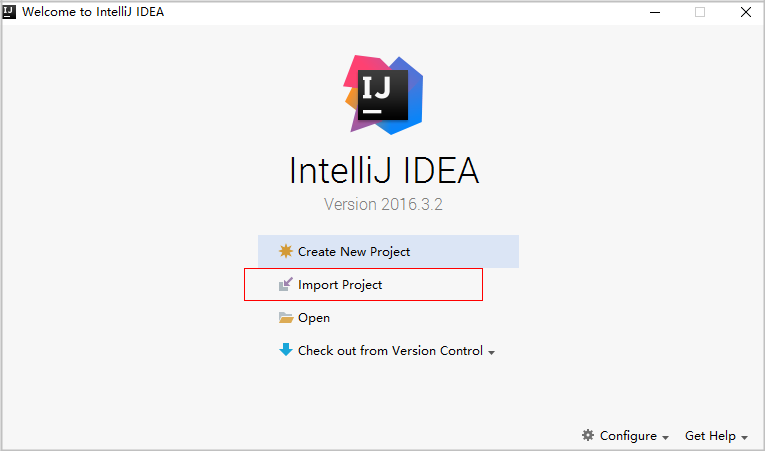
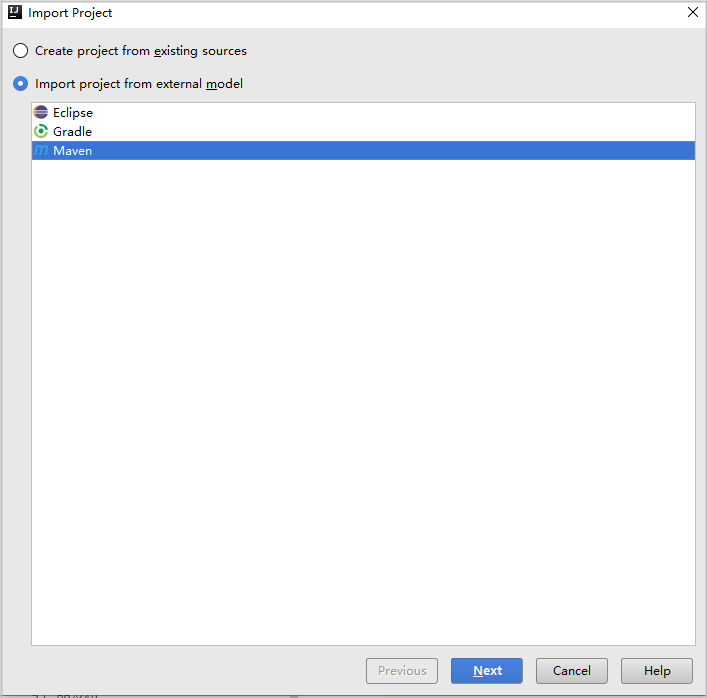
- You have installed IntelliJ IDEA. If you have not installed IntelliJ IDEA, visit the IntelliJ IDEA official website to download and install it.
Uploading a Product Model
A product model is a JSON file that describes device capabilities. It defines basic device properties and message formats for data reporting and command delivery. Defining a product model is to construct an abstract model of a device in the platform to enable the platform to understand the device function.
Procedure
- Access the IoTDA service page and click Access Console.
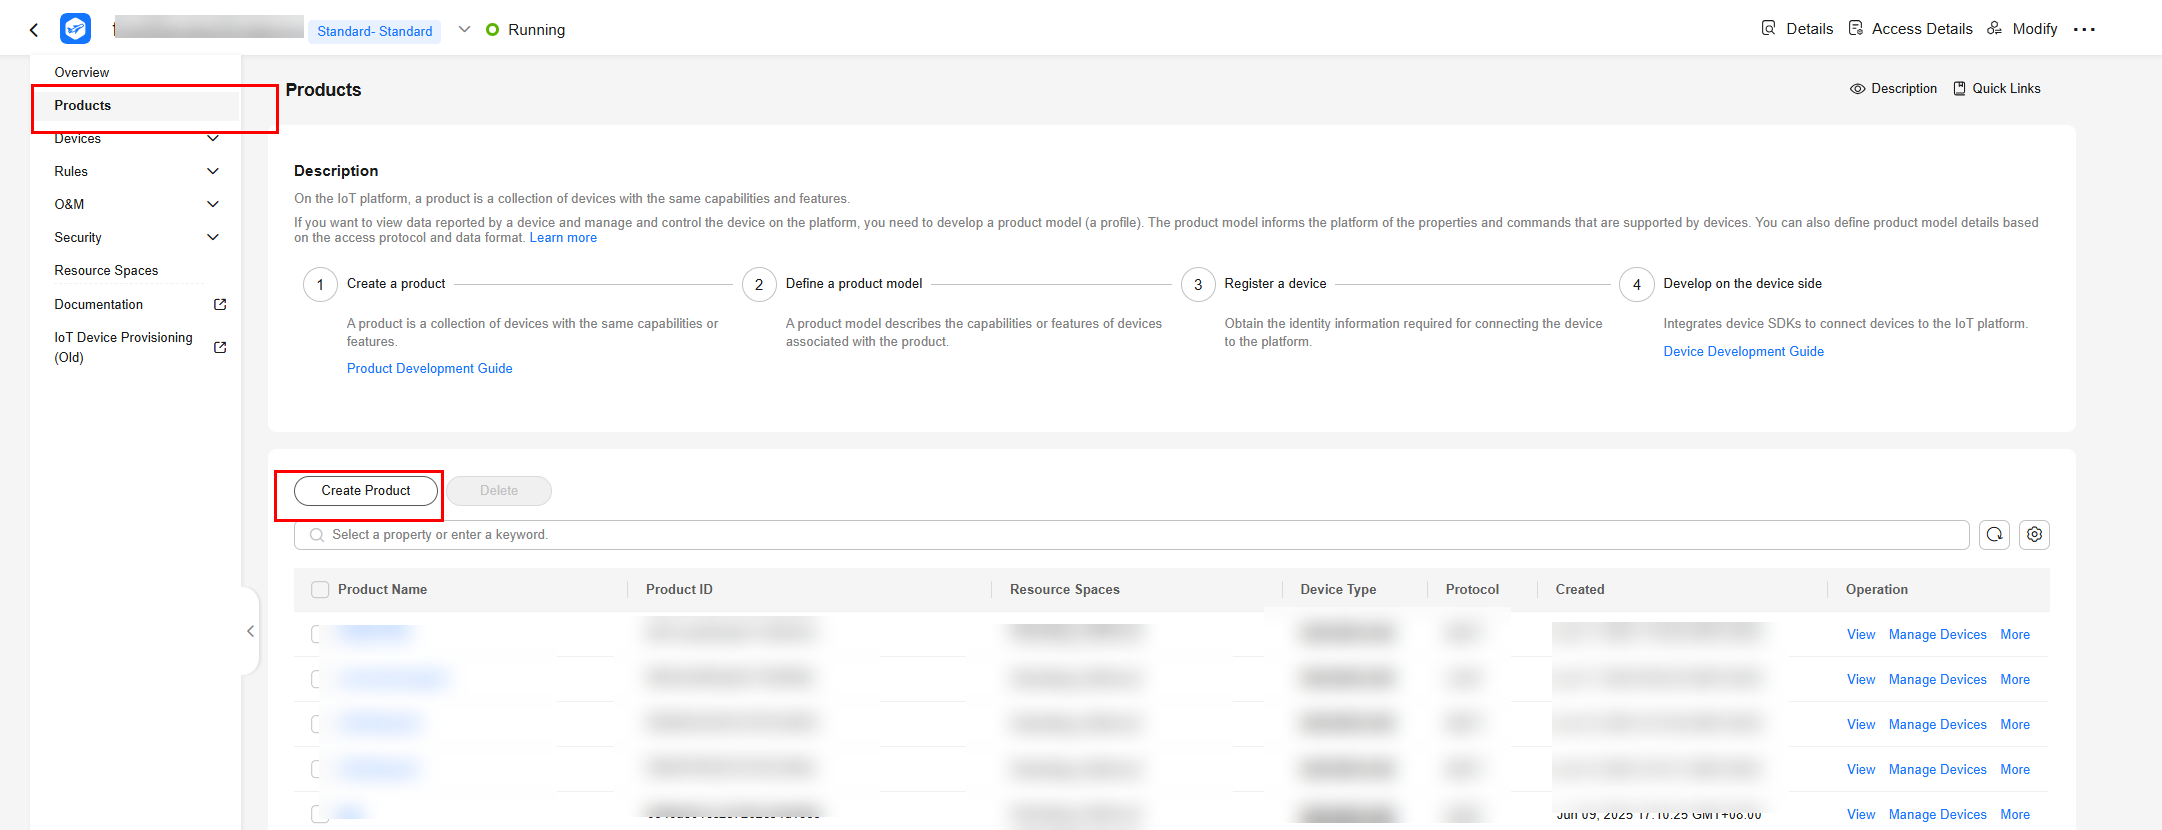
- Choose Products in the navigation pane and click Create Product.
Figure 1 Creating a product
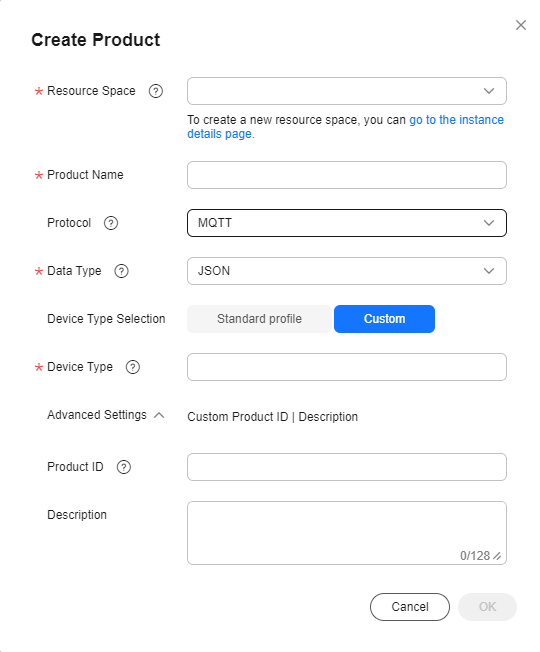
- In the displayed dialog box, set parameters based on your requirements.
Figure 2 Creating a product - MQTT
- Download the model file. For details about the development process, see Developing a Product Model Online.
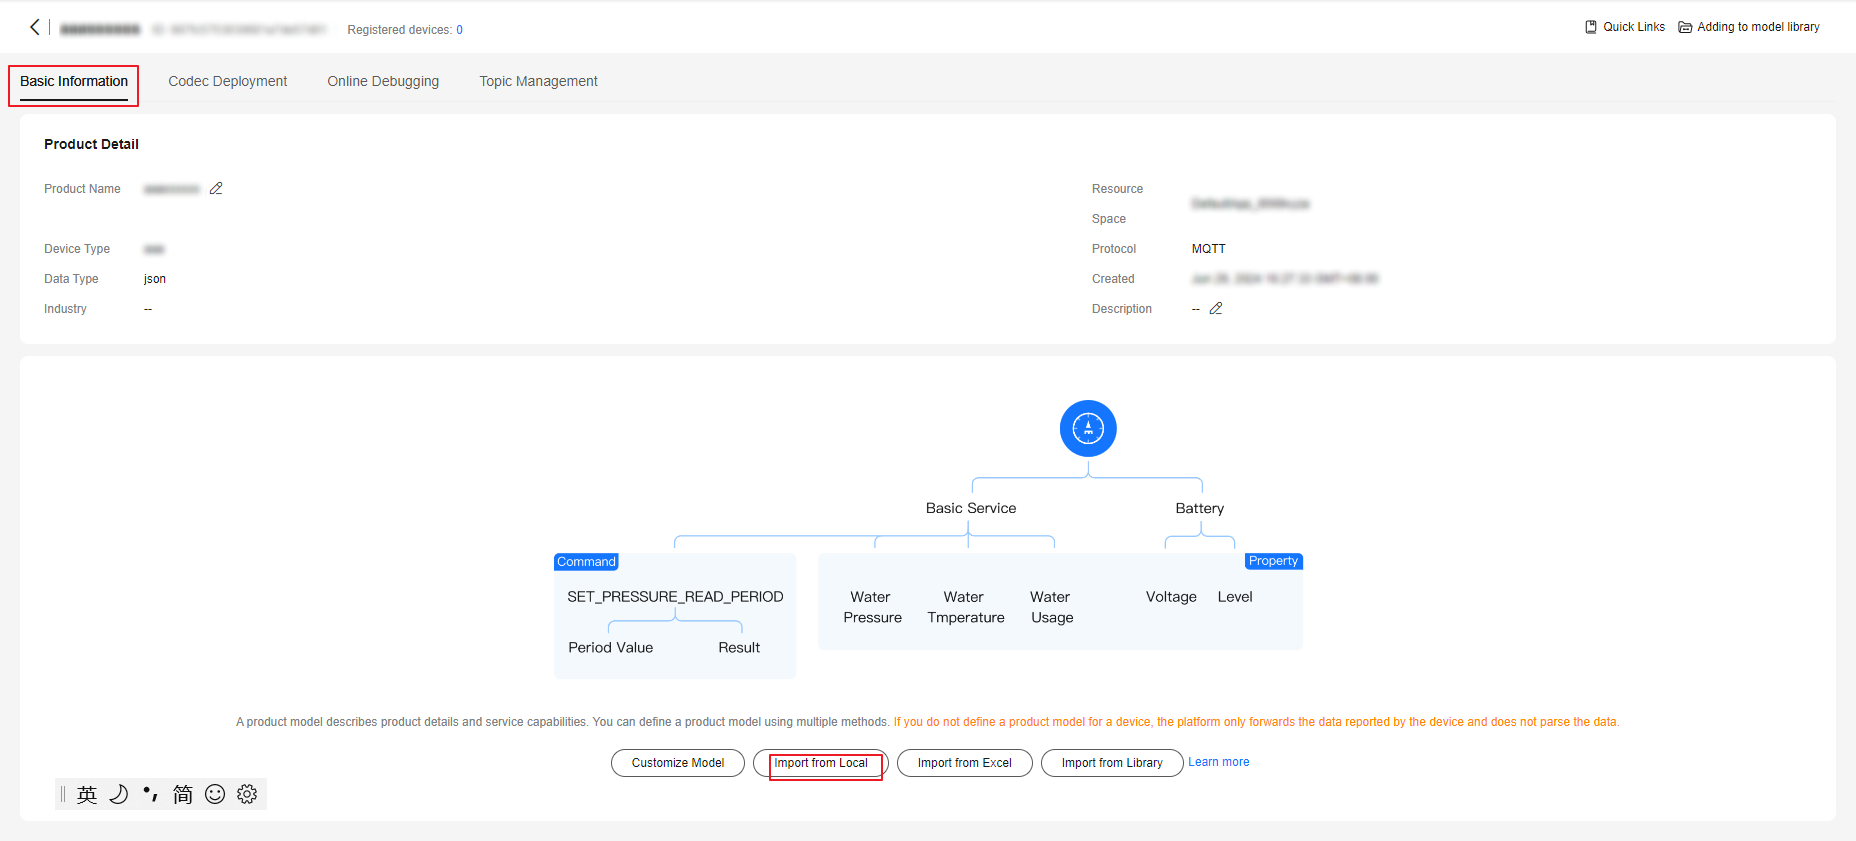
- After the product is created, click the product, and then click Import from Local to upload the downloaded model file. The model file does not need to be decompressed, and the package name cannot contain brackets.
Figure 3 Uploading a product model - MQTT
Creating a Device
- In the navigation pane, choose , and click Register Device.
Figure 4 Registering a device

- In the displayed dialog box, configure the parameters by referring to the following figure (select the created product), and click OK. If you do not specify Secret, a secret will be automatically generated by the platform. In this example, the secret is automatically generated.
Figure 5 Registering a device (test123)

- After the device is created, save the device ID and secret, which will be used for device connection.
Figure 6 Device - Device registered

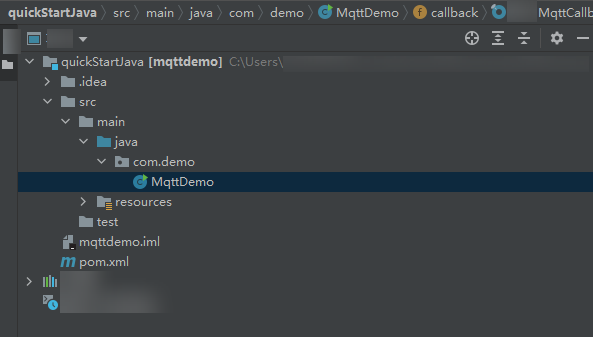
Importing Sample Code
Establishing a Connection
- Before establishing a connection, modify the following parameters:
1
2
3
4
5
// MQTT connection address of IoTDA
static String serverIp = "iot-mqtts.cn-north-4.myhuaweicloud.com";
// Device ID and secret obtained during device registration (Replace them with the actual values.)
static String deviceId = "yourDeviceID"; // device_id obtained during device registration
static String secret = "yourSecret";     // secret obtained during device registration
- serverIp indicates the address used by devices to access IoTDA using MQTT. For details about how to obtain the address, see Obtaining Resources.
- device_id and secret indicate the device ID and secret, which can be obtained after the device is registered.
- Run the program. The device is displayed as online on the platform.
Figure 7 Device list - Device online status

Reporting Properties
A device reports its properties to IoTDA. (The sample code implements scheduled reporting. You can view the data reported by the device in IoTDA by referring to Viewing Reported Data.)
1 2 |
// Report JSON data. service_id must be the same as that defined in the product model. String jsonMsg = "{\"services\":[{\"service_id\":\"BasicData\",\"properties\":{\"luminance\":32},\"eventTime\":null}]}"; |
- The message body jsonMsg is assembled in JSON format, and service_id must be the same as that defined in the product model. properties indicates a device property.
- luminance indicates the street light brightness.
- eventTime indicates the UTC time when the device reports data. If this parameter is not specified, the system time is used by default.
After a device or gateway is connected to the platform, you can call publish(String topic,MqttMessage message) of MqttAsyncClient to report device properties to the platform.
Viewing Reported Data
After the main method is called, you can view the reported device property data on the device details page. For details about the API, see Device Reporting Properties.


If no latest reported data is displayed on the device details page, modify the services and properties in the product model to ensure that the services and properties reported by the device are consistent with those in the product model. If they are inconsistent, the data reported by the device is not available on the historical data page. Alternatively, delete all services on the Basic Information page.
Delivering a Command
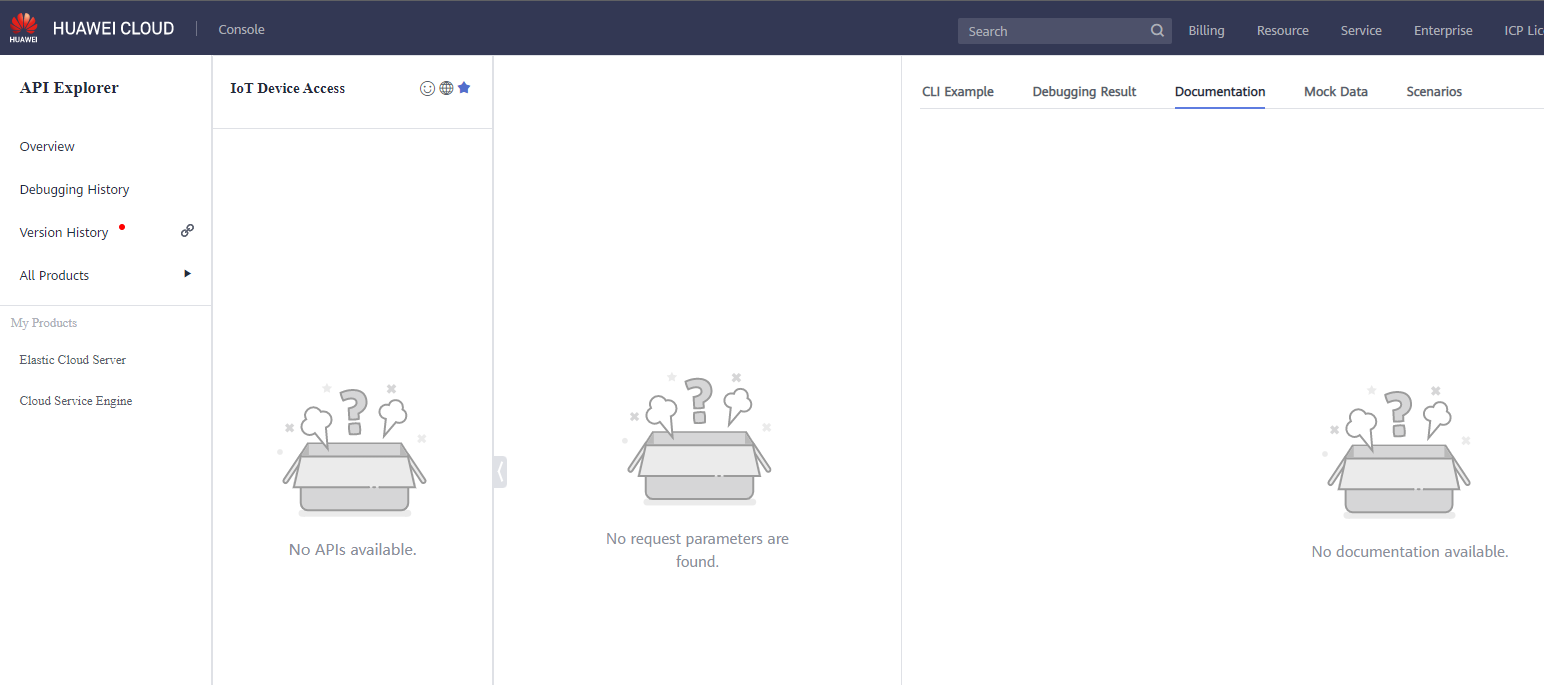
- In the navigation pane, choose API Explorer.
Figure 9 Navigation pane -API retrieval and debugging

- Locate the row that contains the device command. For details about the delivered parameters, see the figure (consistent with those in the product model). Then, click Debug to send the command.
- service_id indicates the service ID, for example, BasicData.
- command_name indicates the command name, for example, lightControl.
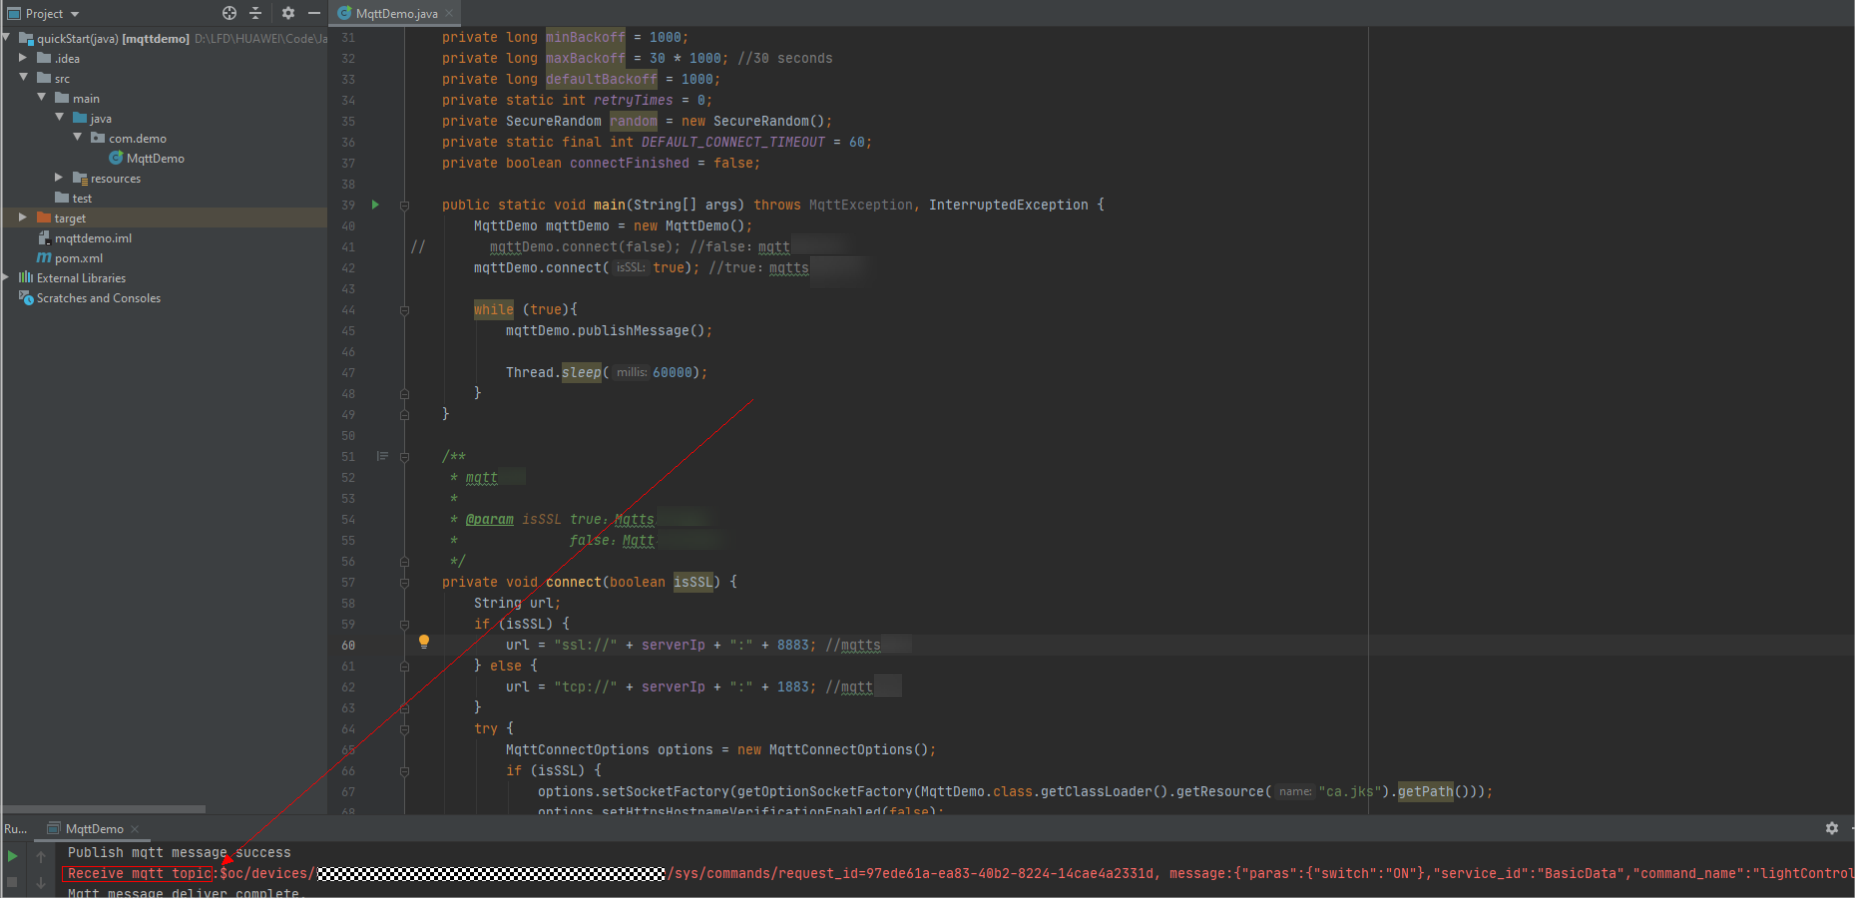
- paras indicates a delivered parameter, for example, {"switch":"ON"}.
You can view the received commands on the device. (The sample code has implemented the subscription to the command receiving topic.)
Obtaining Data Reported by a Device from the Cloud
The following uses AMQP as an example to describe how to obtain data reported by a device to the cloud.
- Obtain the Java AMQP access demo.
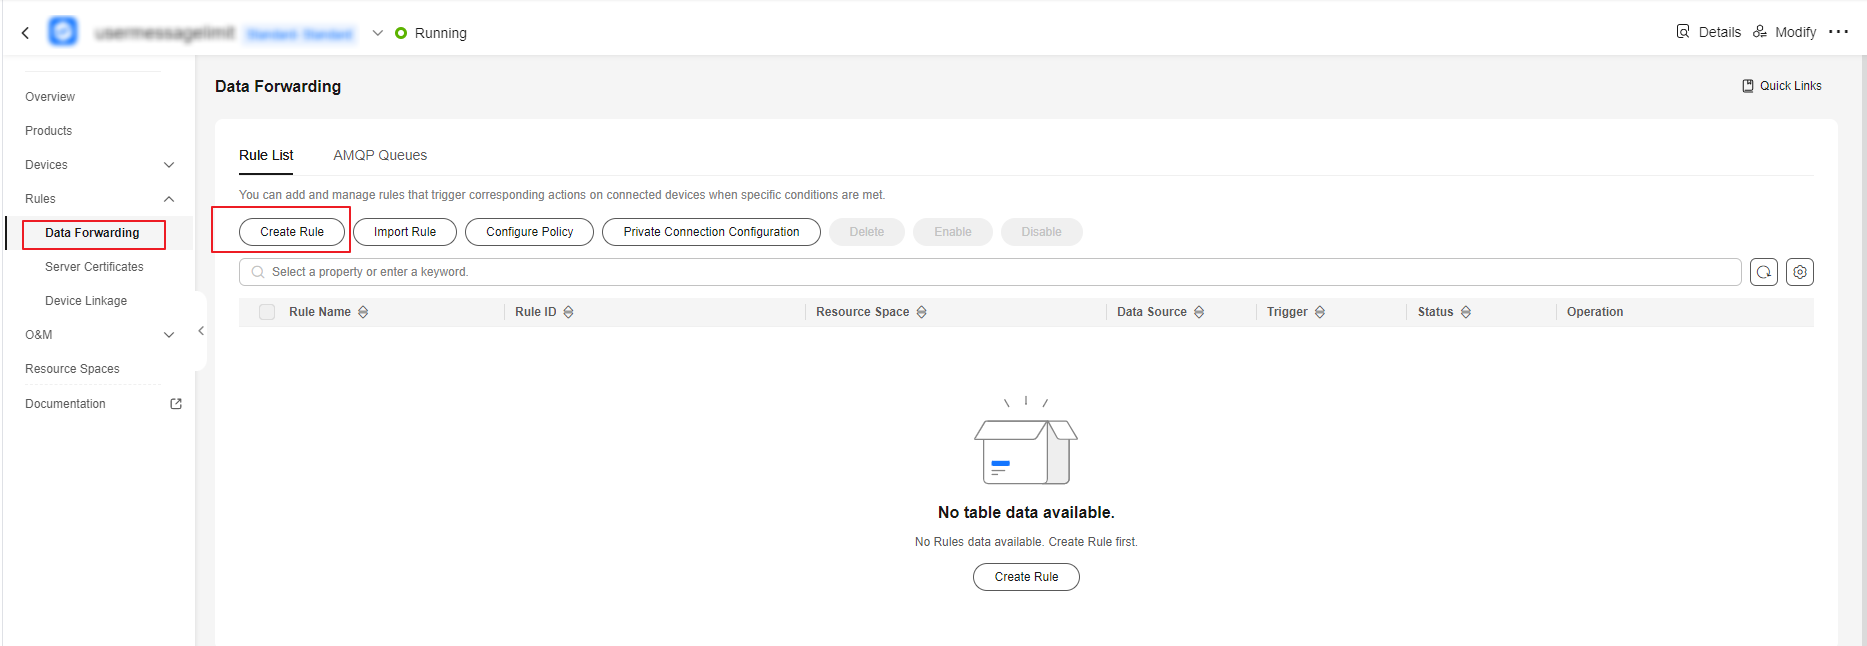
- Log in to the console, choose Rules > Data Forwarding, and click Create Rule to create a data forwarding rule.
Figure 10 Data forwarding - Creating a rule
- On the Set Forwarding Data page, configure parameters, and click Create Rule.
Figure 11 Data forwarding - Creating a property reporting rule
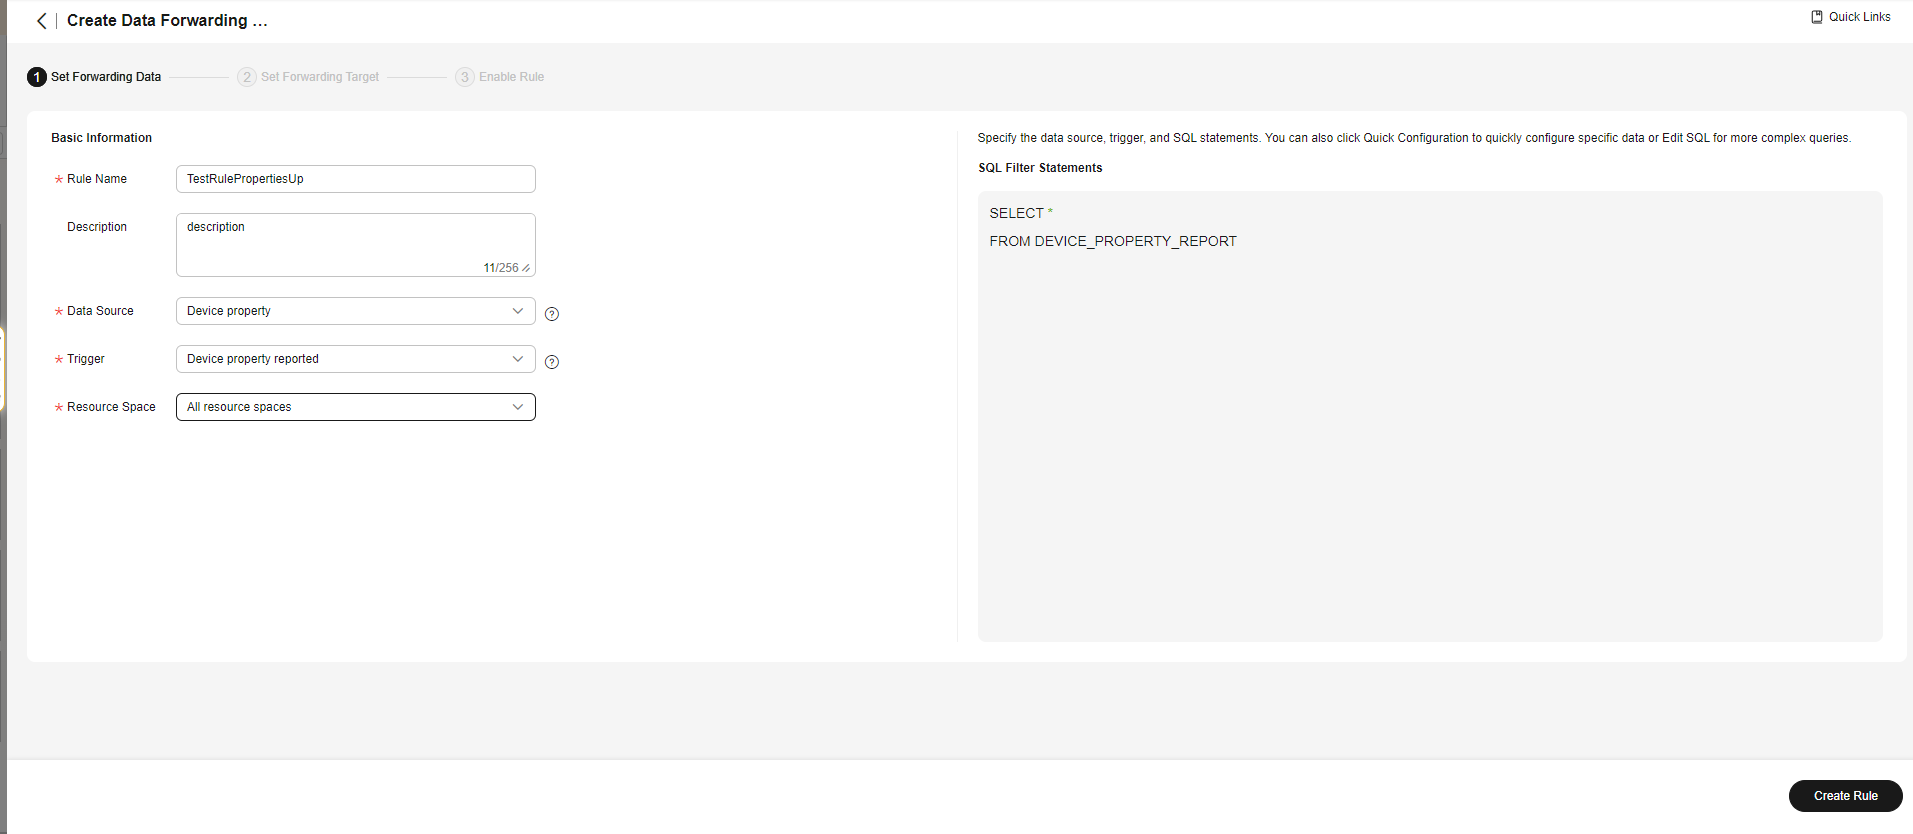
Parameter
Description
Rule Name
Customize a rule name.
Description
Describe the rule.
Data Source
Select Device property.
Trigger
Select Device property reported.
Resource Space
Select All resource spaces.
- Set the forwarding target. Note that you need to click Preset Access Credential to download the file.
Figure 12 Creating a forwarding target - to an AMQP push message queue
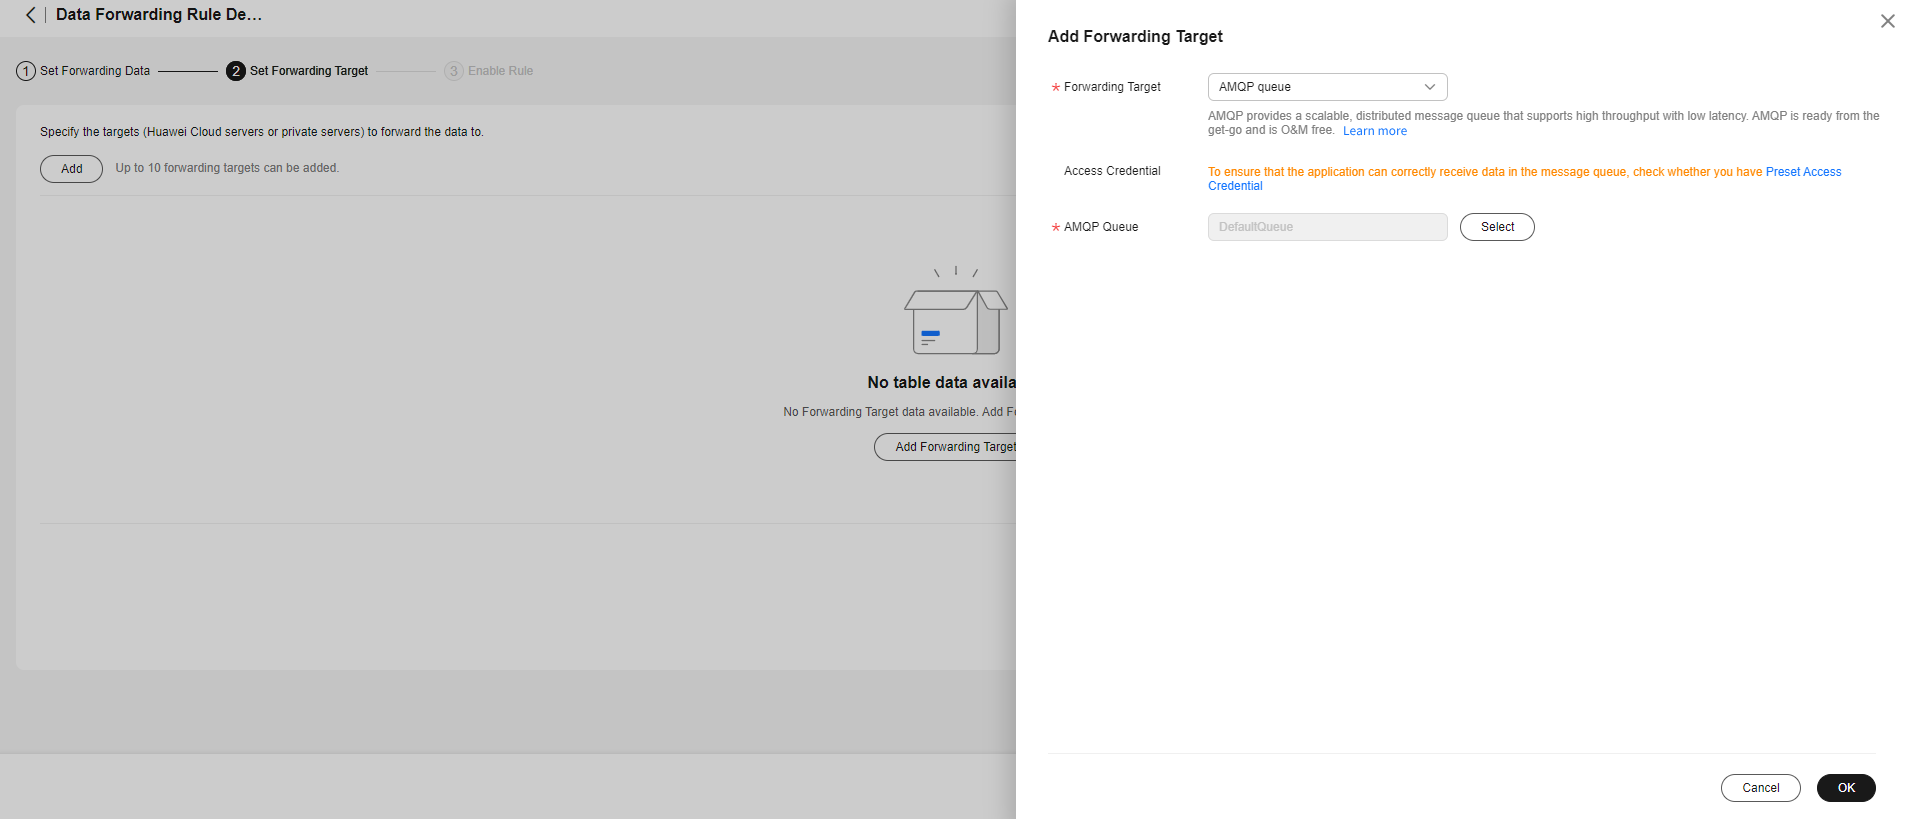
Parameter
Description
Forwarding Target
Select AMQP message queue.
Access Credential
Click Preset Access Credential and save the downloaded file, which includes access_key and access_code.
Message Queue
DefaultQueue is selected by default.
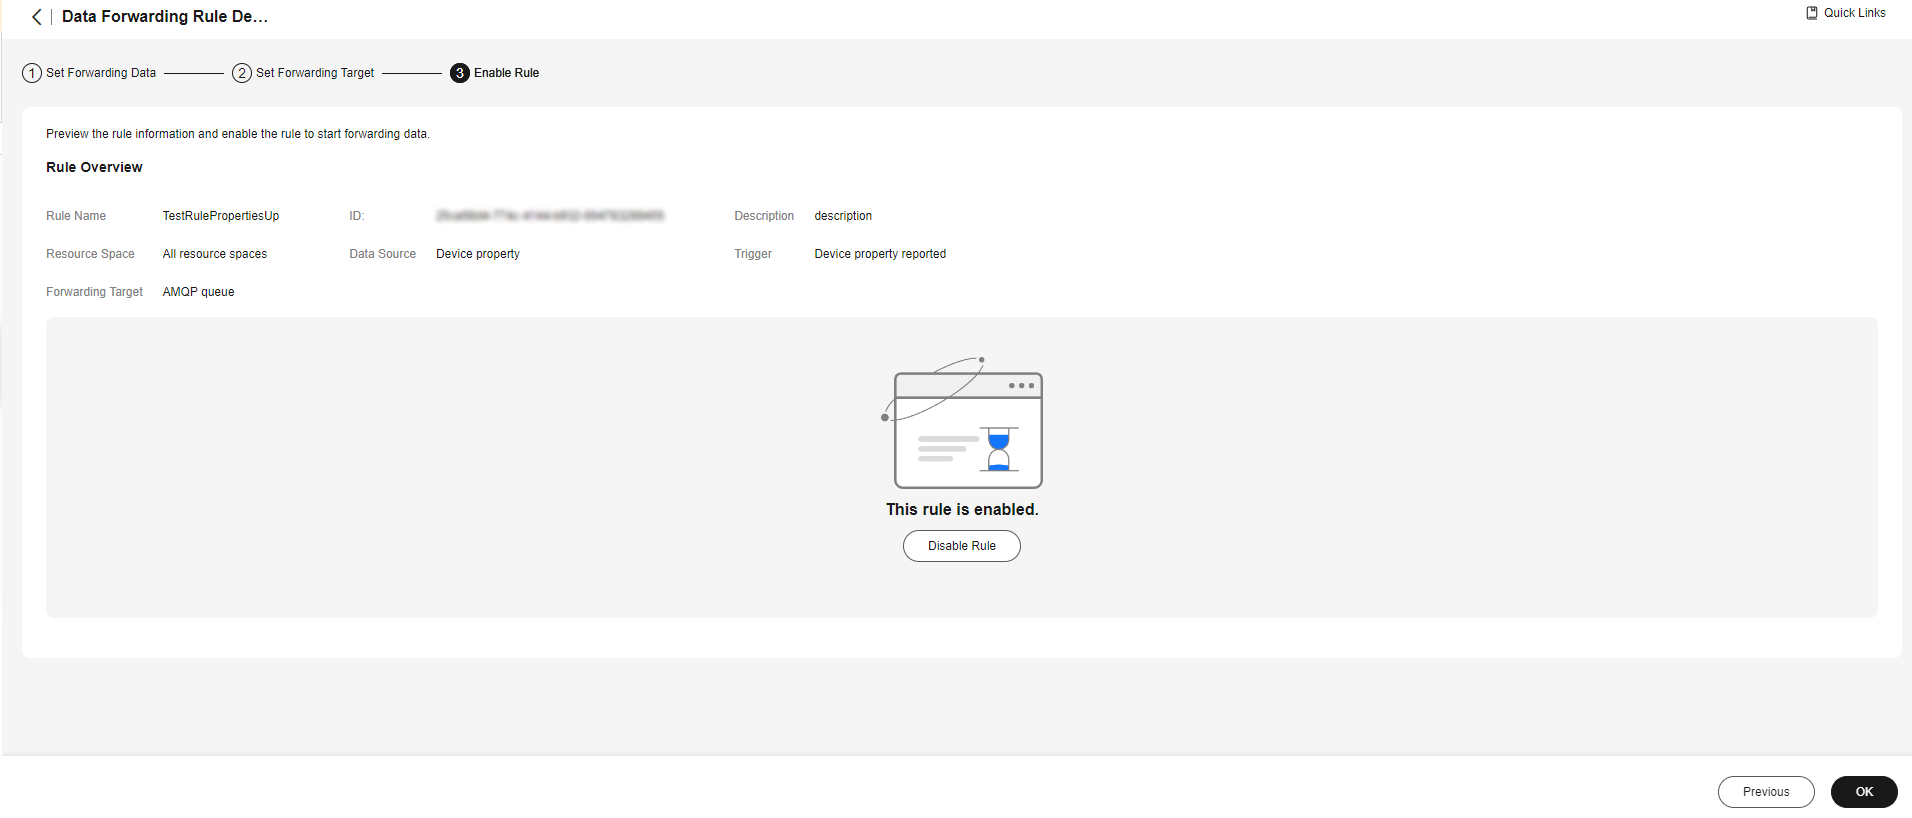
- Click Enable Rule.
Figure 13 Enabling a rule - Forwarding data to AMQP
- Modify the parameters in the AMQP sample code obtained in 1.
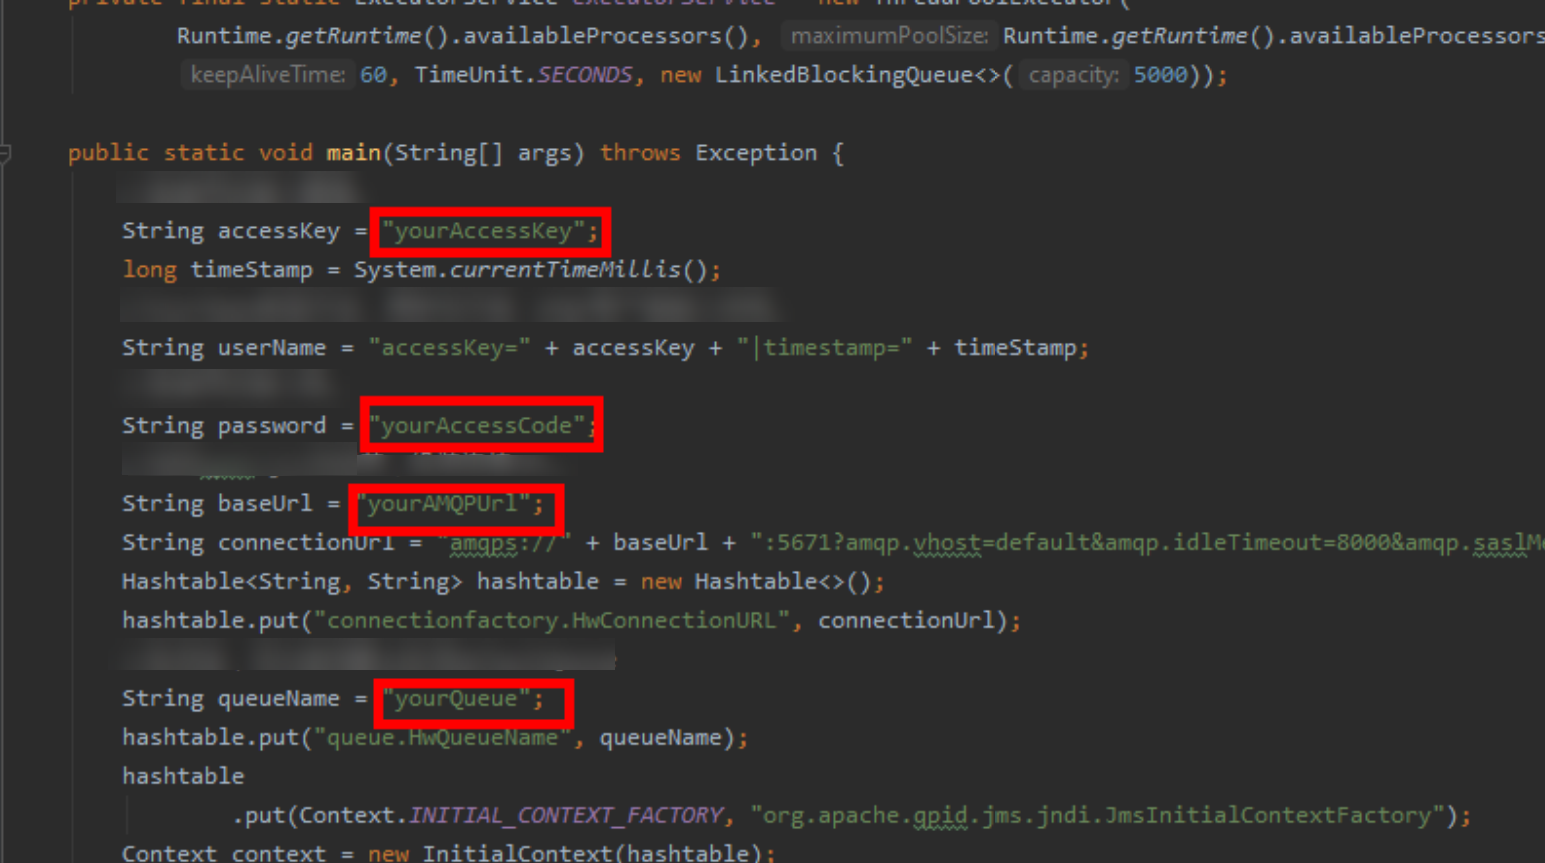
- yourAccessKey: access key of the access credential. For details about how to obtain it, see 4.
- yourAccessCode: access code of the access credential. For details about how to obtain it, see 4.
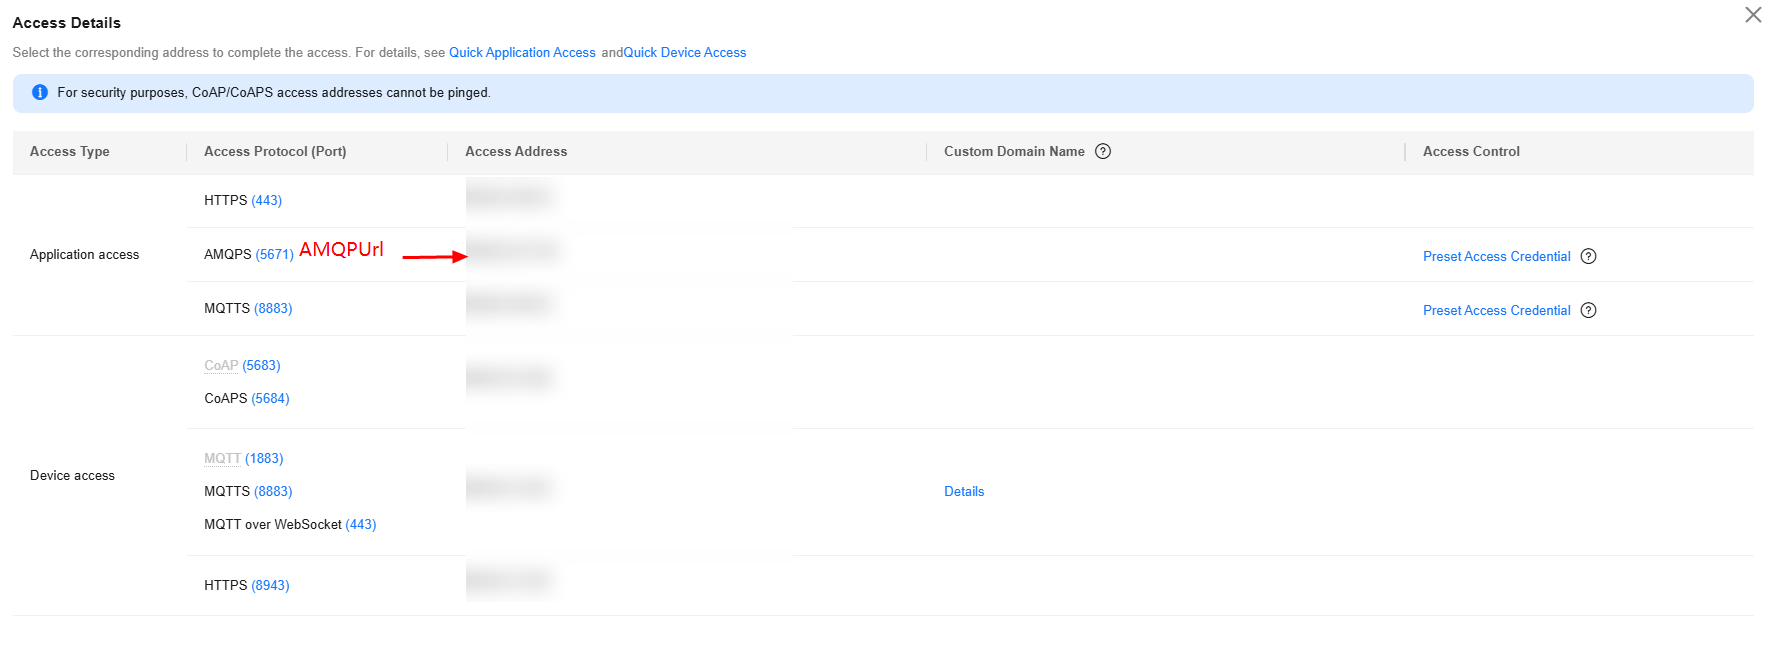
- yourAMQPUrl: AMQP domain name. You can log in to the console, choose Overview, and click Access Addresses to obtain the domain name, as shown in the following figure.
Figure 14 Access information - AMQP access address
- yourQueue: queue name. Use the default queue DefaultQueue.
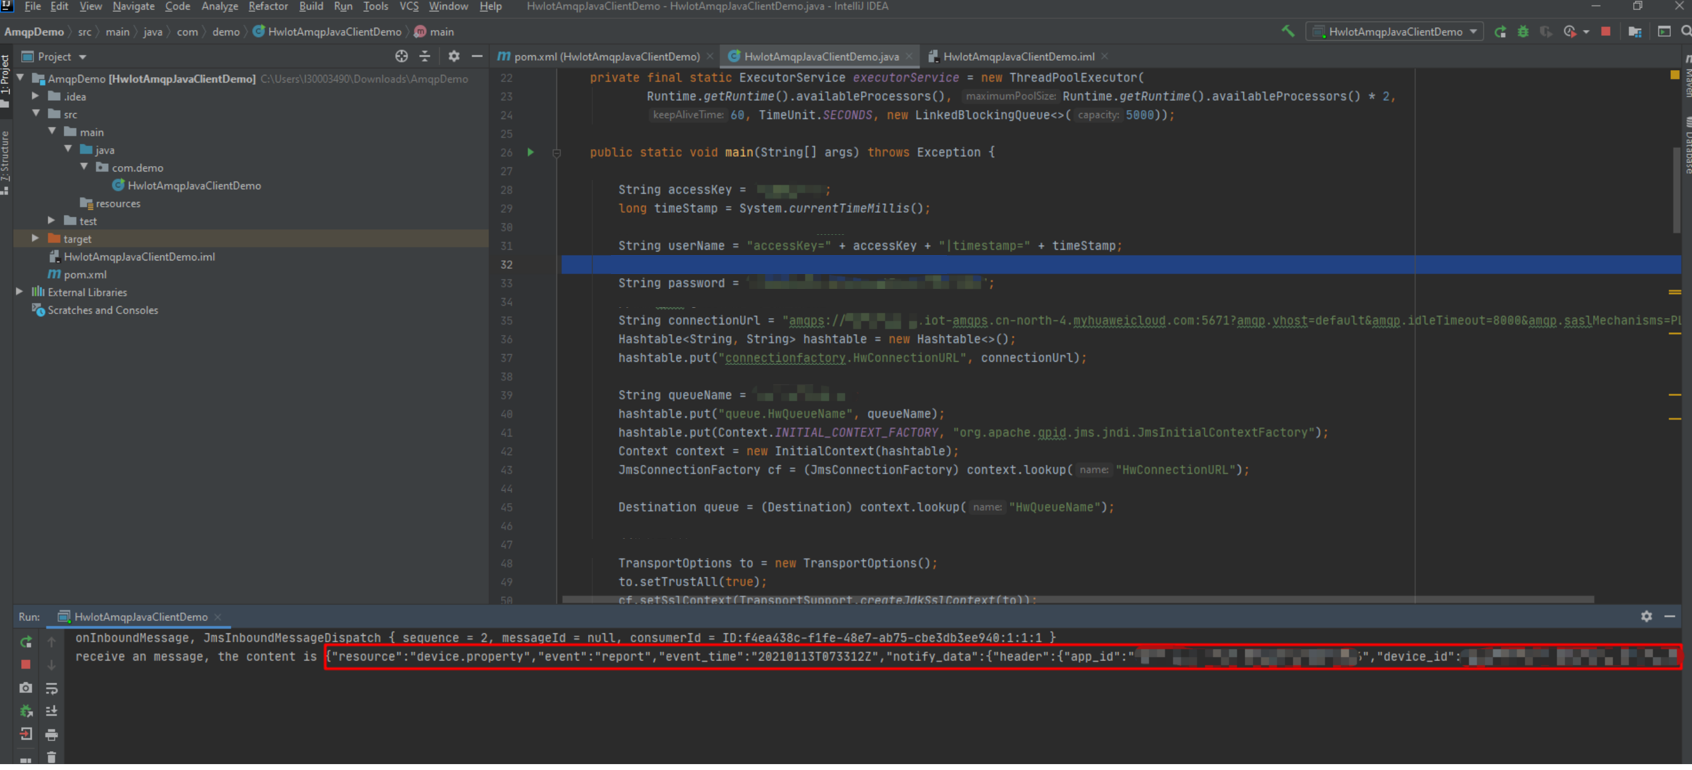
- AMQP data is received successfully.
Additional Information
For more development guides, see Device SDKs and Access Using MQTT Demos.
Feedback
Was this page helpful?
Provide feedbackThank you very much for your feedback. We will continue working to improve the documentation.See the reply and handling status in My Cloud VOC.
For any further questions, feel free to contact us through the chatbot.
Chatbot

