Creating a Blank Standard Page
If the preset standard page templates cannot meet your service requirements, you can create a blank standard page and design it by yourself.
Creating a Standard Page
- Log in to the application designer by referring to Logging In to the Application Designer.
- In the navigation pane, choose Page.
- (Optional) Click
 next to Standard Page to add a folder.
By default, standard pages are stored in the root folder. Before creating a standard page, you can create a folder for storing the standard page. You can drag the standard page to a specified folder.
- Move the cursor to a created standard page folder and click
 .
.
If you do not need to create a standard page folder, click
 next to Standard Page.
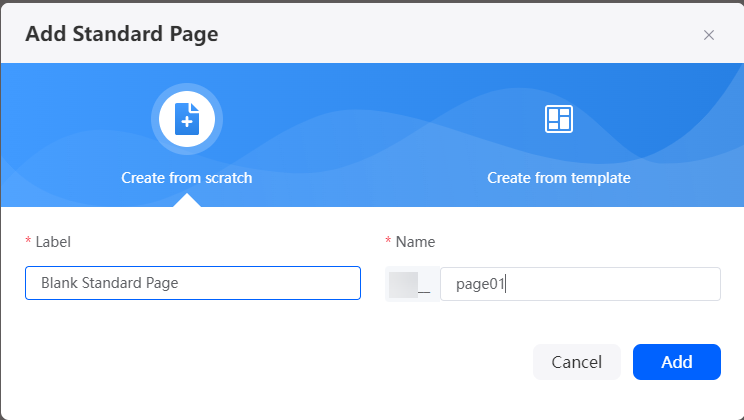
 - Select Create from scratch, set the label and name of the standard page, and click Add.
Figure 1 Setting basic information about the standard page

- Design the standard page.
- Add widgets to the standard page by referring to Adding Widgets to Standard Pages.
- Set properties of the standard page widget by referring to Setting Properties of Standard Page Widgets.
- Add interaction actions for the widget by referring to Adding an Event to Implement Interaction Between Widgets.
- Click
 in the upper part of the page to save the standard page.
 - Click
 to preview the standard page.
If the preview effect does not meet the expectation, return to the standard page to modify the preview effect until it meets the expectation.
Feedback
Was this page helpful?
Provide feedbackThank you very much for your feedback. We will continue working to improve the documentation.See the reply and handling status in My Cloud VOC.
For any further questions, feel free to contact us through the chatbot.
Chatbot


