Creating Tags for Code Repositories Through Pipelines
Overview
Contexts are a way to access information about pipeline runs, sources, variables, and jobs. Each context is an object that contains various attributes. You can use pipeline contexts to transfer information among jobs to streamline a pipeline.
The following describes how to create a repository tag through the pipeline contexts.
Preparations
- You have enabled and authorized CodeArts Pipeline.
- You have created a project. The following uses a Scrum project named Project_Test as an example.
- You have created a code repository and created a branch. The following uses a repository named Repo_Test (created using the Java Maven Demo template) and a branch named release-1.0.0 as an example.
Procedure
- Log in to the Huawei Cloud console.
- Click
 in the upper left corner of the page and choose from the service list.
 - Click Access Service.
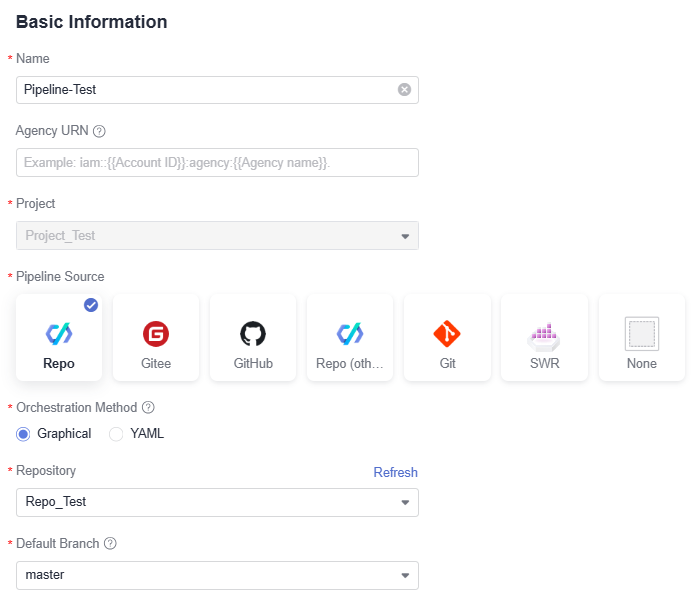
- Click Create Pipeline and configure parameters by referring to Table 1.

Table 1 Pipeline basic information Parameter
Description
Name
Pipeline name. Enter a maximum of 128 characters, including letters, digits, underscores (_), and hyphens (-). For example, Pipeline-Test.
Project
Project to which the pipeline belongs. Select the project Project_Test created in Preparations.
Code Source
Code source associated with the pipeline. Select Repo.
Repository
Code repository associated with the pipeline. Select the code repository Repo_Test created in Preparations.
Default Branch
Select the branch release-1.0.0 created in Preparations.
- After configuring the basic information, click Next. On the displayed Select Template page, select Blank Template and click OK.
- Access the Task Orchestration page. Two stages (Pipeline Source and Stage_1) are generated by default. Click Stage to add a new stage (Stage_2).
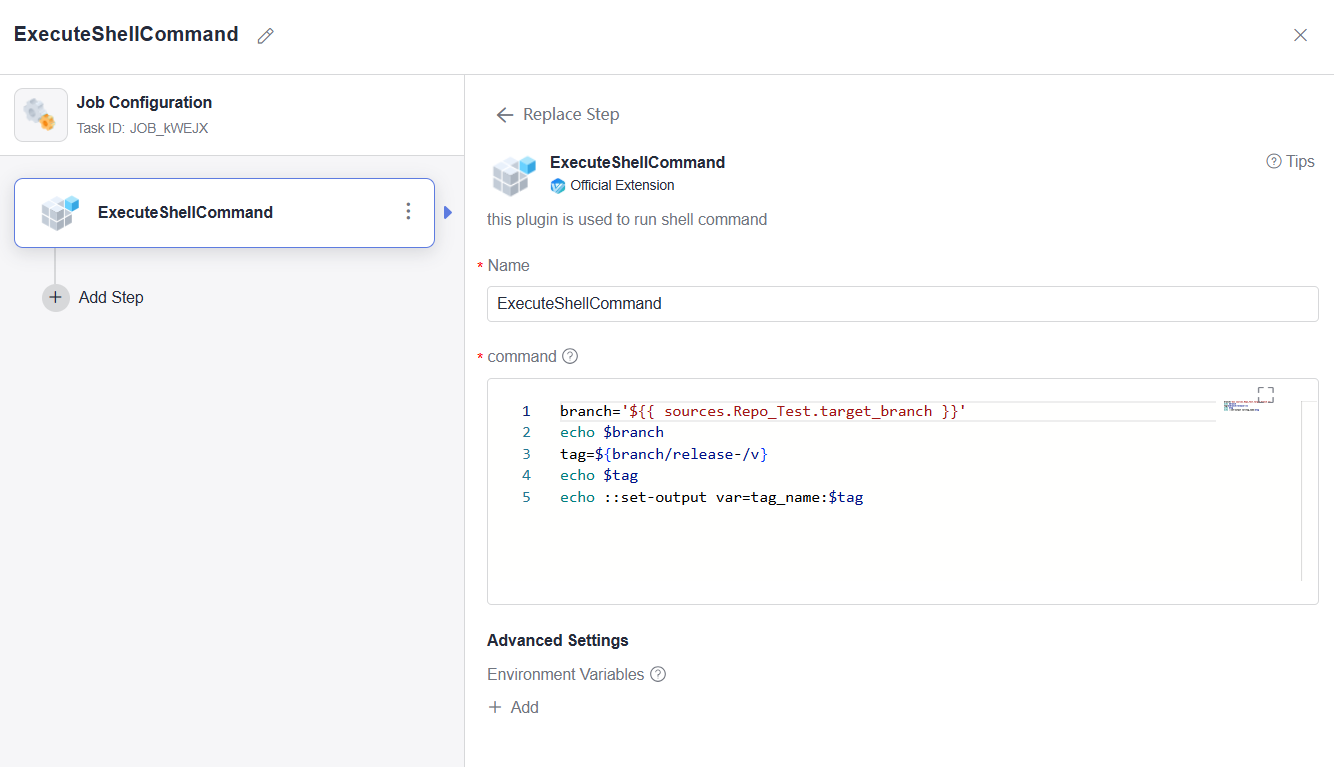
- Click New Job under Stage_1 and select From empty. In the displayed window, search for the ExecuteShellCommand extension, move the cursor to this extension, click Add, retain the default name, and enter the following shell command to generate a tag name:
1
2
3
4
5
branch='${{ sources.Repo_Test.target_branch }}'    //Obtain the name of the running branch.
echo $branch                                    //Print the branch name.
tag=${branch/release-/v}                        //Rename the branch. (Here we customize the branch name release-1.0.0 as v1.0.0.)
echo $tag                                       //Print the tag name.
echo ::set-output var=tag_name:$tag             //Generate an output tag_name and set it as a context for future use.
Figure 1 Generating a tag name
- Click Job under Stage_2 and select From Scratch. In the displayed window, search for the CreateTag extension, move the cursor to this extension, click Add, and set parameters by referring to Table 2.
Table 2 Parameter description Parameter
Description
Name
Retain the default name.
Tag Name
Enter ${{jobs.JOB_tBeer.outputs.tag_name}}, where JOB_tBeer indicates the task ID of the added ExecuteShellCommand extension.
Repository
Select the code repository associated with the pipeline.
Figure 2 Creating a repository tag
- After the configuration is complete, click Save and Execute. In the displayed window, retain the default settings and click Execute.
- After the pipeline execution is complete, choose Code > Repo from the left navigation pane.
- Click the repository associated with the pipeline.
- On the displayed Code page, click the Tags tab. The tag v1.0.0 is displayed.
Figure 3 Checking a tag

Feedback
Was this page helpful?
Provide feedbackThank you very much for your feedback. We will continue working to improve the documentation.See the reply and handling status in My Cloud VOC.
For any further questions, feel free to contact us through the chatbot.
Chatbot


