
Help Center/
Huawei Cloud Astro Canvas/
User Guide/
Creating a Page/
Creating a Page Using a Template
Updated on 2025-11-28 GMT+08:00
Creating a Page Using a Template
Scenario
You can use templates to create pages efficiently.
- Preset templates: cover common scenarios, including overall situation, asset statistics, device management, and environment status.
- Custom templates: created and released by the current account. For details about how to publish a page as a template, see Publishing a Page as a Template.
Creating a Page Using a Template
- Log in to Huawei Cloud Astro Canvas by referring to Logging In to Huawei Cloud Astro Canvas.
- On the Projects page, click the target project.
- On the project page, click Create.
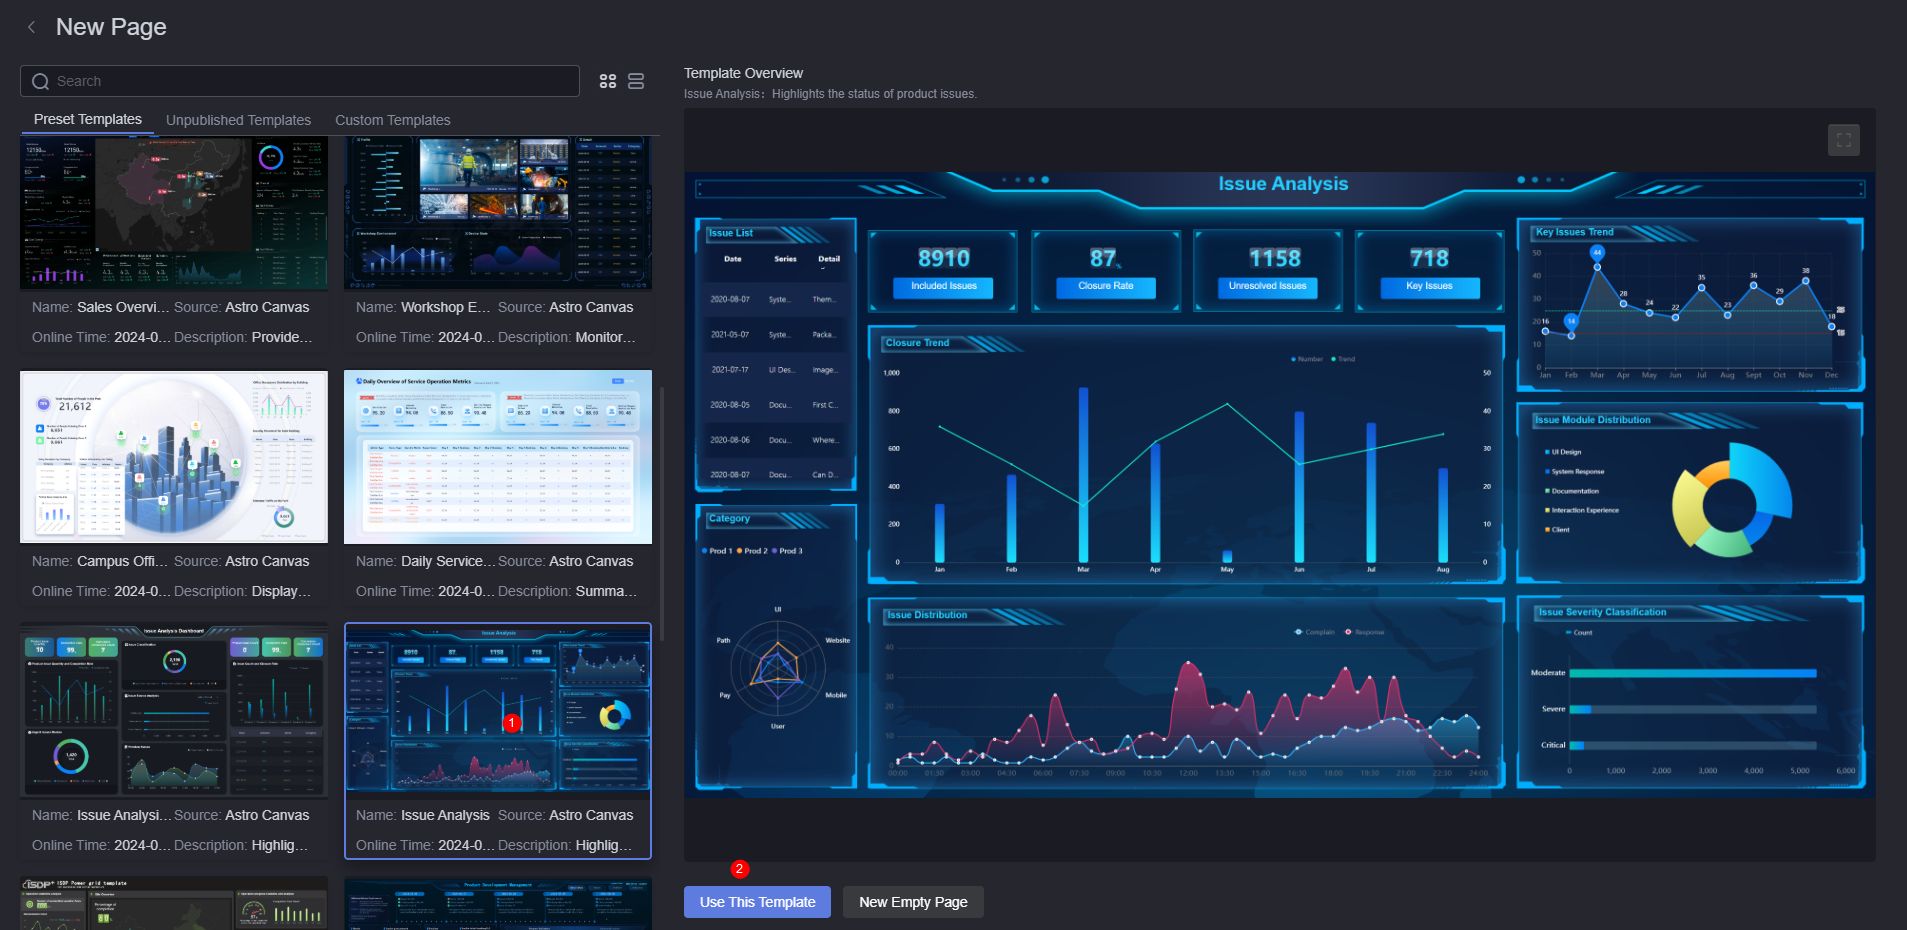
- On the displayed page, click the desired template under Preset Templates, Unpublished Templates, or Custom Templates.
For example, click the issue analysis template under Preset Templates.
- On the template preview page, click Use This Template.
Figure 1 Selecting a template to create a page
- Enter a page title and click Create.
You can directly use this page directly or customize it as required.
- Click
 at the top to save the page.
 - Click
 at the top to preview the page.
If the preview effect is different from the expected effect, return to the development page for adjustment.
- Click the publish icon at the top of the page to configure publishing settings.
- Publish link: Click the button next to Publish Link. The page address is displayed. Click the address to access the published page.
For new projects, set access control for the published link using share code or token authentication. Without this, the link will not be accessible in the runtime environment.Figure 2 Obtaining the link (existing project)
 Figure 3 Obtaining the link (new project)
Click
 to generate a new link. The original link will be invalid. Click
  to copy the link.
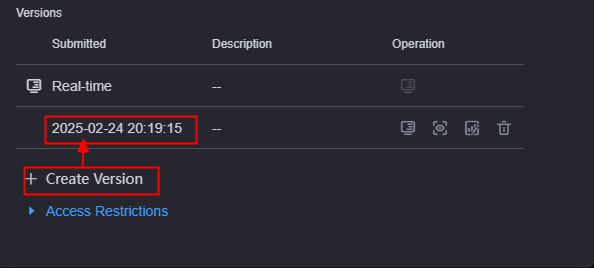
 - Version management: You can specify the version of the page to release or roll back to. For details, see Managing Page Versions.
Figure 4 Versions
- Share code: You can set a page share code and its validity period for secure page access. For details, see Setting a Share Code.
Figure 5 Share code settings

- A share code must:
- Contain 8 to 32 characters and can contain only letters, digits, and special characters.
- Contain at least one lowercase letter (a-z).
- Contain at least one uppercase letter (A-Z).
- Contain at least one digit (0–9).
- Contain at least one of the following special characters: ~!@#$%^&*()_=+\|[]{};:'",<.>/?-
 : Click this icon to view the configured share code.
- Expiration date: You can set a validity period for a share code. If this function is disabled, the share code is permanently valid.
- A share code must:
- Token authentication: With this function, you can perform signature authentication on the parameters transmitted during large screen interaction, preventing the URL parameters of the large screen from being modified. For details about how to set token authentication, see Configuring Token Authentication.
Figure 6 Setting token authentication information

- : After token authentication is enabled, the platform generates a token. You can click this icon to copy the token.
- One-time token: If this function is enabled, the signature address can be accessed only in the current browser. After the browser is closed, you need to obtain the signature address again for the next access. If this function is disabled, the number of access times is not limited, but the validity period can be set.
- Expiration date: You can set a validity period for a token. If this function is disabled, the token is permanently valid.
- Content security policy: Enable this function if a large screen page is embedded into a third-party system (for example, in iframe mode) and cross-domain access is involved. This function reduces and reports XSS attacks and mitigates cross-site scripting attacks. In addition to restricting the domains that can load content, you can also specify the protocols that can be used to mitigate packet sniffing attacks. For details about how to set content security policies, see Configuring Content Security Policies.
Figure 7 Enabling content security policy


- When the content security policy is enabled, ensure that third-party cookies are not blocked when previewing the page in the traceless mode. Otherwise, the page cannot be previewed correctly.
- Before configuring the content security policy, you need to enable Access via Share Code or Token Authentication. Otherwise, the web page cannot be accessed.
- Publish link: Click the button next to Publish Link. The page address is displayed. Click the address to access the published page.
Parent topic: Creating a Page
Feedback
Was this page helpful?
Provide feedbackThank you very much for your feedback. We will continue working to improve the documentation.See the reply and handling status in My Cloud VOC.
The system is busy. Please try again later.
For any further questions, feel free to contact us through the chatbot.
Chatbot


