Importing a Policy
Scenario
You can create projects in multiple areas. The policies of each project must be the same. You can export the configured policies of an area and import the policies to the target areas.
Prerequisites
You have obtained the policy file (xxx.xml) exported.
Constraints
- The policy name in the file to be imported should be different from the names of existing policies in the destination.
- The maximum of 10 policies can be included in the file to be imported. It is not advised importing an integration of multiple policy files.
- By default, a maximum of 50 policies can exist in an area. If the number of policies exceeds the quota, the file cannot be imported.
Procedure
- Log in to the console.
- Choose Policies > Protocol Policy.
The Protocol Policy page is displayed.
- Click Import Policy.
Figure 1 Importing a policy

- Select the obtained policy file (xxx.xml) and click Open.

- If a message indicating that the quota is insufficient is displayed when you import the xxx.xml file, increase the quota and import the file again. For details about how to increase quota, see How Do I Increase My Quotas?
- If a message indicating that the policy name already exists is displayed when you import the xxx.xml file, change the policy name and import the file again. For details about how to change policy name, see How Do I Do If a Message Is Displayed Indicating Duplicate Policy Names During Policy Import?
- Locate the row that contains the imported policy, and click More > Modify Policy Object in the Operation column.

The policy file exported does not contain the application object information of policies. You need to reconfigure the information.
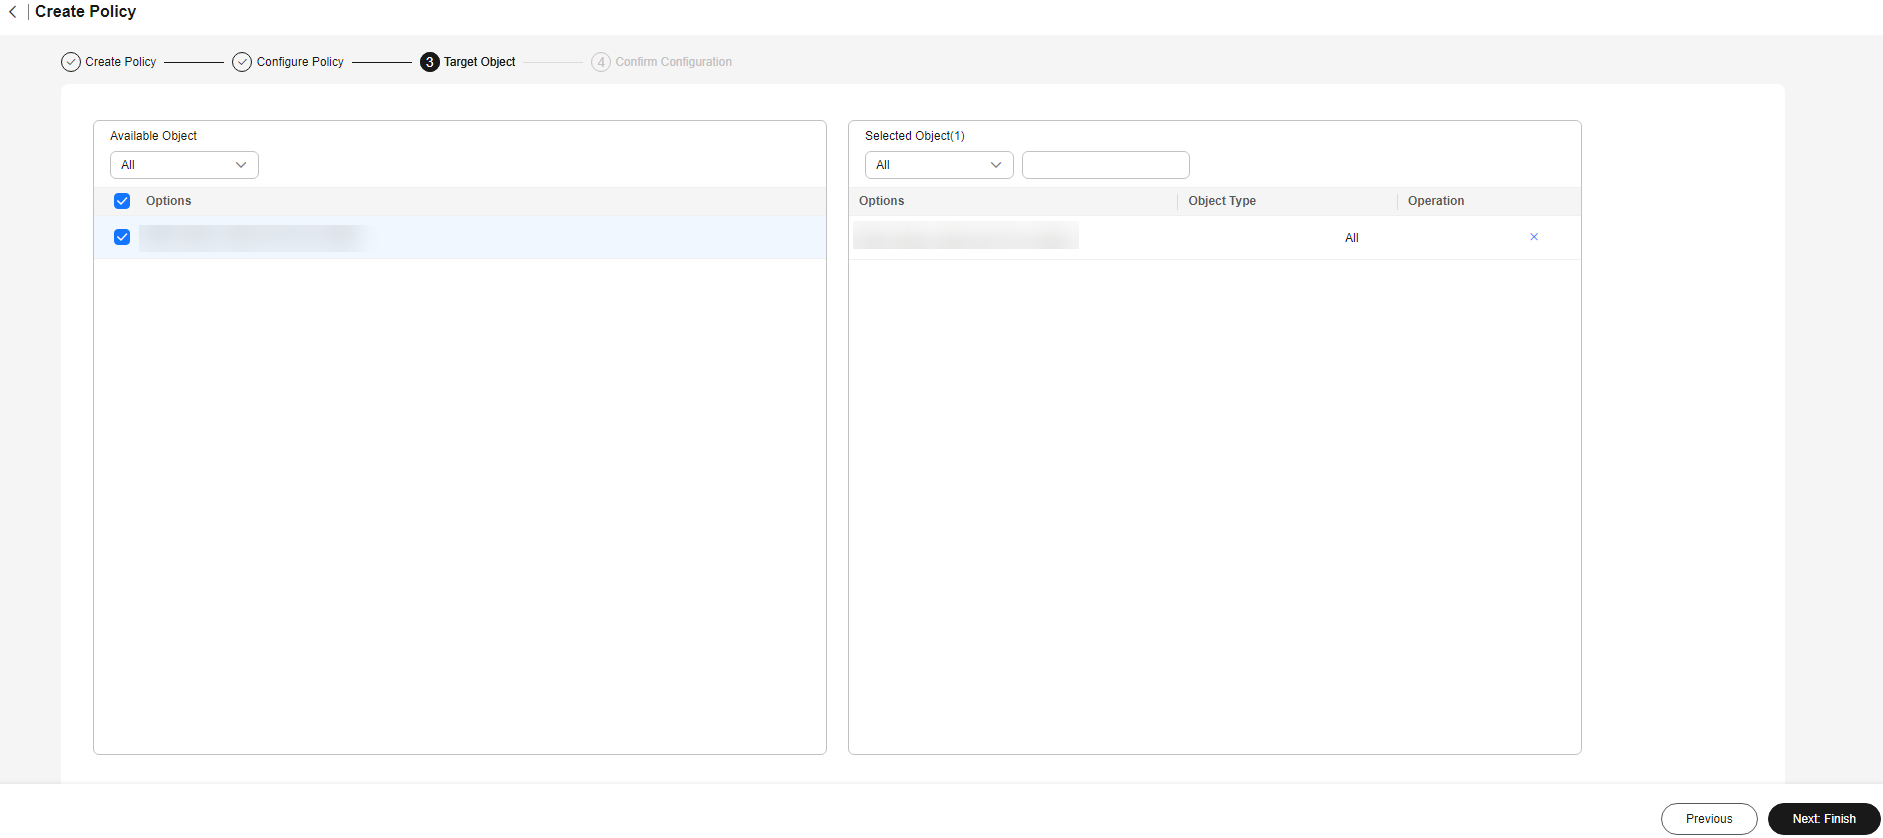
- In the available objects on the left, select the objects to which the policies apply based on the required object type.
Figure 2 Selecting objects

- Click Next: Finish.
After the policies are configured for the objects, they take effect after the objects logs in to the desktop next time.

The imported policies are prioritized based on the priority of the existing policies (The default policy has the lowest priority.) of the current tenant and their own priority in the imported file. For example, if the priorities of three imported policies are 1, 5, and 7 and the priorities of three existing policies of the current tenant are 1, 2, and 3 (default policy), the priorities of the six policies are 1 (the existing policy whose priority is 1), 2 (the existing policy whose priority is 2), 3 (the policy whose priority is 1 in the imported file), 4 (the policy whose priority is 5 in the imported file), 5 (the policy whose priority is 7 in the imported file), and 6 (the default policy).
Feedback
Was this page helpful?
Provide feedbackThank you very much for your feedback. We will continue working to improve the documentation.See the reply and handling status in My Cloud VOC.
For any further questions, feel free to contact us through the chatbot.
Chatbot


