
Help Center/ Cloud Operations Center/ User Guide/ Basic Configurations/ Shift Schedule Management/ Managing Scheduling Scenarios
Updated on 2025-03-17 GMT+08:00
Managing Scheduling Scenarios
This topic describes how to manage scheduling scenarios and scheduling roles.
Creating a Scheduling Scenario
- Log in to COC.
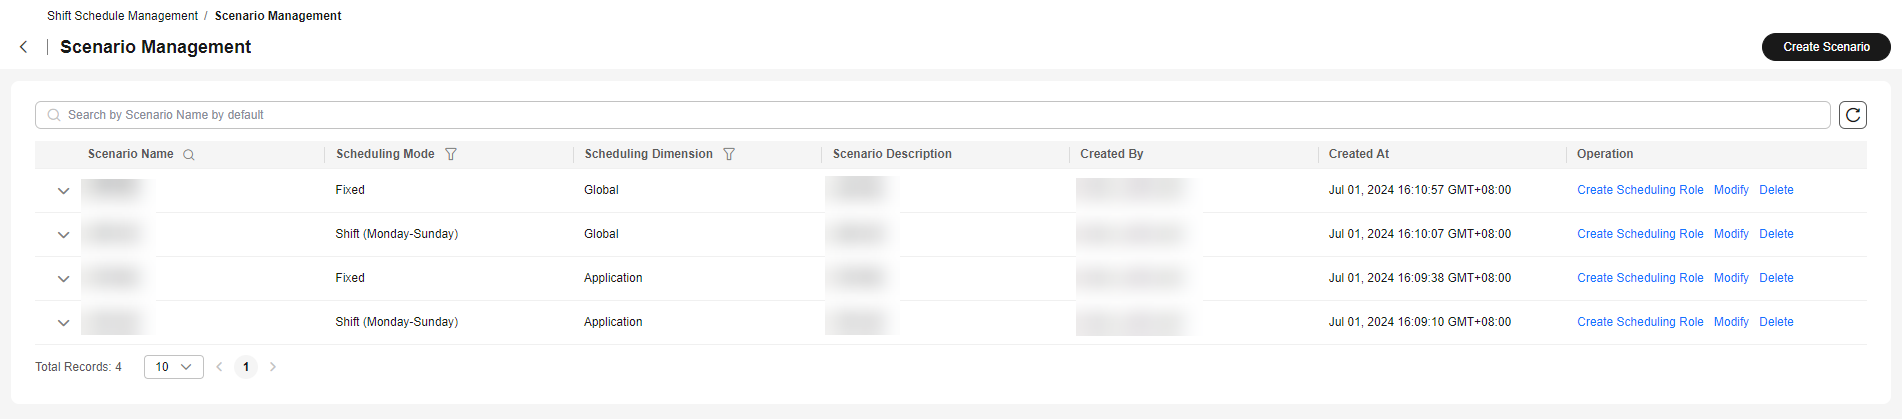
- In the navigation pane on the left, choose Basic Configurations > Shift Schedule Management. On the displayed page, click Scenario Management. Figure 1 Scenario management

- Click Create Scenario. Figure 2 Scenario list
- Enter the basic information about the scenario, and then click OK. Figure 3 Creating a scheduling scenario

- Scenario Name: name of a scheduling scenario
- Scheduling Mode: shift type. The options are Shift (Monday-Sunday) and Fixed.
- Fixed: Engineers work within fixed working hours.
- Shift (Monday–Sunday): Engineers work different shifts depending on the schedule.
- Scheduling Dimension: use scope of schedules in this scenario. The options are Application and Global.
- Global: The schedule is globally used regardless of applications.
- Application: The schedule is created for and applied to a specific application.
- Scenario Description: detailed description of the scheduling scenario
- Click Create Scheduling Role in the Operation column of a scenario.
Querying a Scheduling Scenario
- Log in to COC.
- In the navigation pane on the left, choose Basic Configurations > Shift Schedule Management. On the displayed page, click Scenario Management. Figure 4 Scenario management

- In the scenario list, enter the search criteria.
- Click
 in the scheduling scenario list to view roles of the scenario. Figure 5 View roles
Modifying a Scheduling Scenario
- Log in to COC.
- In the navigation pane on the left, choose Basic Configurations > Shift Schedule Management. On the displayed page, click Scenario Management. Figure 6 Scenario management

- In the scenario list, locate a scenario and click Modify in the Operation column.
- In the displayed dialog box, modify the scenario name and description, and click OK. Figure 7 Modifying a scenario


The scheduling mode and scheduling dimension in a scenario cannot be modified. You can create a schedule to specify the mode and dimension you need as described in Creating a Schedule.
- Click
 followed by a scenario name, locate the role you want to modify, and click Modify in the Operation column of the role. Figure 8 Modifying a scheduling role
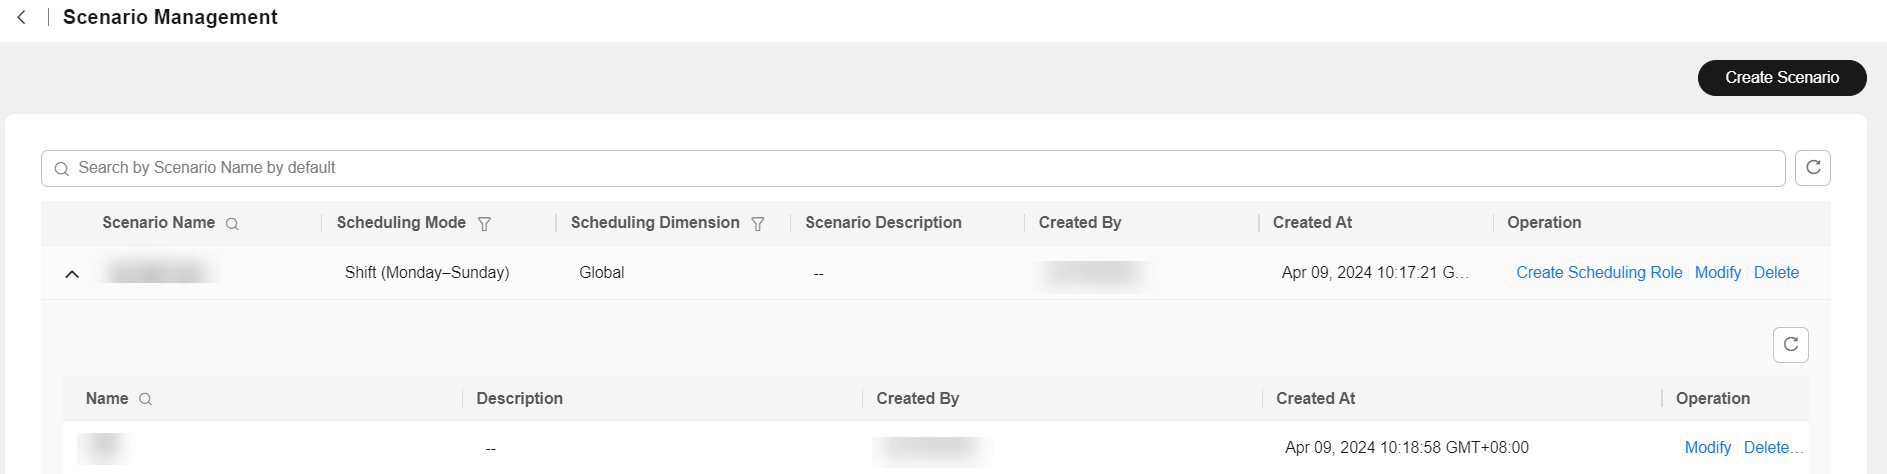
Deleting a Scheduling Scenario
- Log in to COC.
- In the navigation pane on the left, choose Basic Configurations > Shift Schedule Management. On the displayed page, click Scenario Management. Figure 9 Scenario management

- In the scenario list, locate a scenario and click Delete in the Operation column.
- In the displayed dialog box, click OK.
A scheduling scenario can be deleted only when no scheduling role is used in that scheduling scenario.
- To delete a scheduling role in a scenario, click
 followed by the scenario name, locate a role, and click Delete in the Operation column of the scheduling role. Figure 10 Deleting a scheduling role
Parent topic: Shift Schedule Management
Feedback
Was this page helpful?
Provide feedbackThank you very much for your feedback. We will continue working to improve the documentation.
The system is busy. Please try again later.


