
Help Center/ Huawei Cloud Astro Zero/ User Guide (No-Code)/ Creating a No-Code Application/ Creating No-Code Applications on PCs
Updated on 2025-09-29 GMT+08:00
Creating No-Code Applications on PCs
On the no-code workbench, you can:
- Create a blank application.
- Create the same application or clone an application.
Copy any questionnaire with one click, or share your forms so teammates can make the same application.
Only the application structure (such as forms and views) is copied; no data is copied.
- Log in to the no-code workbench by referring to Logging In to the No-Code Workbench.
- In All Apps, click
 of Create and select Create Blank App.
 - Name the application and choose an icon. Click
 by the name to add other languages. Figure 1 Setting the application name and icon
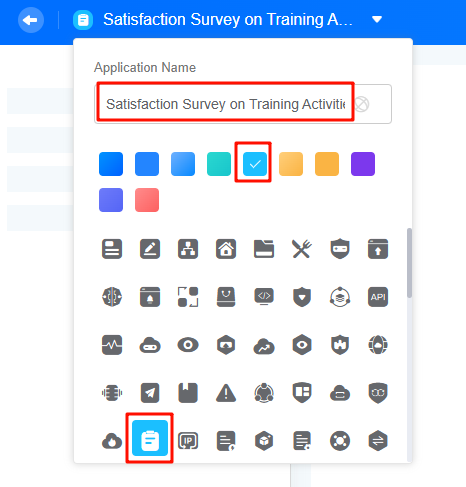
After the application is created, choose All Apps > Mine to view it.
- Select a form type and add a form for the application. Figure 2 Selecting a form type

- Creating a form: Create a standard form to collect, share, or follow data. For details, see Creating a Form and Creating a Form from Excel. Figure 3 Creating a standard form

- Creating a process: In scenarios such as applying for business trips or assigning service tickets, different roles need to work together step by step. You can create a process. For details, see Creating a Process.
- Creating a form: Create a standard form to collect, share, or follow data. For details, see Creating a Form and Creating a Form from Excel.

If you are new to no-code or need an application like one that already exists, clone it to save time and effort.
Only the application structure (such as forms and views) is copied; no data is copied.
- Log in to the no-code workbench by referring to Logging In to the No-Code Workbench.
- In All Apps, hover over the target application's … and choose Clone. Figure 5 Cloning an application on the workbench
 You can also click the application name in the upper left corner of the application details page and choose Clone.Figure 6 Cloning an application on the details page
- Name the new application and click OK. Figure 7 Setting an application name
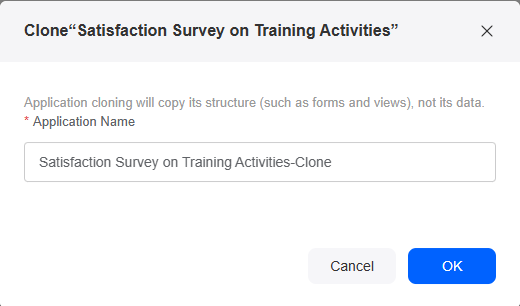
- In the displayed dialog box, click OK to go to the new application. Figure 8 Cloned application

Related Documents
- Basic Concepts
- In applications for data entry, queries, and process approvals, associated filters and option limits are often used to maintain data consistency and reduce user errors. For details, see Setting Option Associations.
Feedback
Was this page helpful?
Provide feedbackThank you very much for your feedback. We will continue working to improve the documentation.See the reply and handling status in My Cloud VOC.
The system is busy. Please try again later.
For any further questions, feel free to contact us through the chatbot.
Chatbot


