
Fast Image Loading
Scenario
For an image greater than 1 GB, especially an ultra-large image (such as an AI image), you can use the image tool package to generate an index image. When the image is pulled for the first time, the index image is pulled to quickly load the image, reducing the waiting time. After the index image is generated, you need to configure it on the CCE console.

This feature is only available in the AP-Singapore region.
Constraints
- Anonymous access to the image repository must be allowed.
- Images cannot be used across namespaces.
- Only CCE containerd v1.6 or later is supported. Docker is not supported.
Procedure
Generating an Index Image
- Download and decompress the image tool package to a node where the Docker client is installed. The Docker client must be of a version later than v20.0.0.
The image tool package supports only x86-64 Linux.
- Copy apull-image-build and apull-builder to the /usr/bin directory.
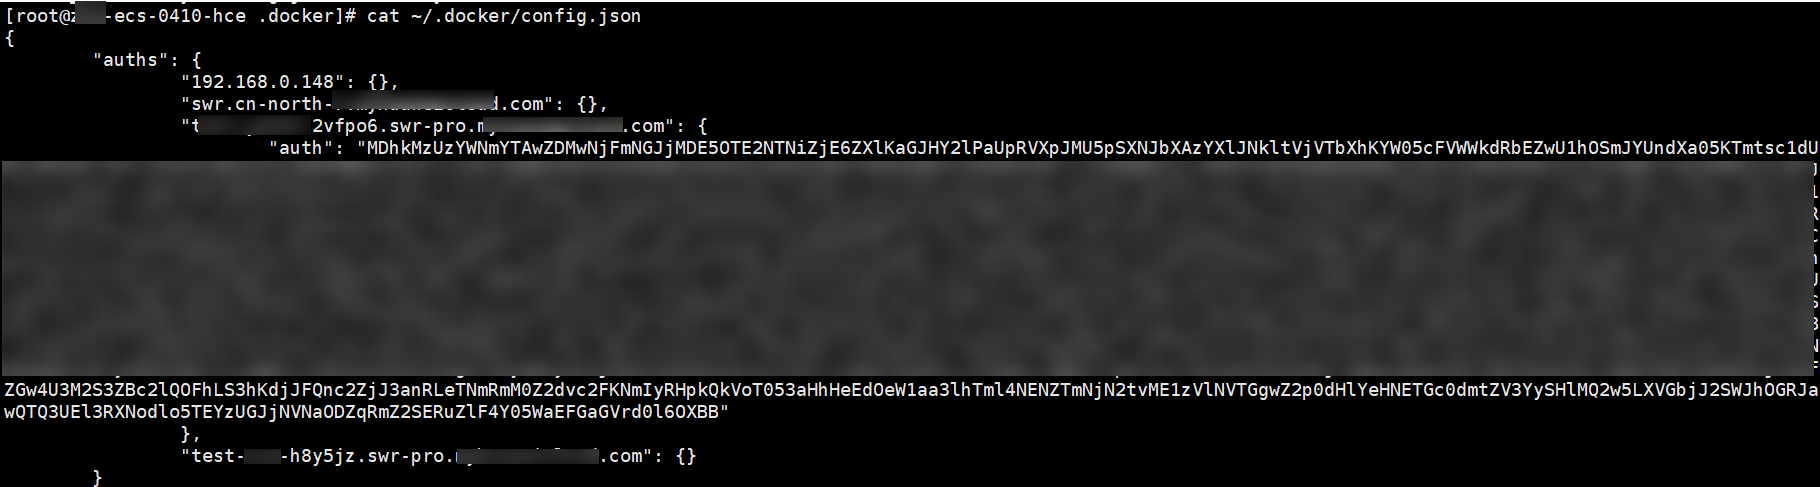
- Copy the Docker login credential to /root/.docker/config.json.
- Push the source image to the container image server. If the image has been pushed, skip this step. For details about how to push images, see Pushing an Image to a Container Image Server.
- Generate an index image. The index image is automatically pushed to the repository on the container image server. The index image is the key to speeding up the initial image pull.
apull-image-build convert --oci-ref --source <source-image> --target <index-image>
Example:
apull-image-build convert --oci-ref --source rnd-dockerhub.huawei.com:88/apull/centos-oci:latest --target rnf-dockerhub.huawei.com:88/apull/centos-oci:apull

- The names of the source image and index image must be the same. If the names are different, the index image will fail to be generated.
- The image tags must be different. If the tags are the same, the source image will be overwritten.
Configuring the Index Image on CCE
- Log in to the CCE console and purchase a cluster. For details, see Buying a Cluster.
- Click the name of the cluster to go to its console. In the navigation pane, choose Nodes > Node Pools. Then click Create Node Pool. In the Advanced Settings area, copy and paste the following commands for Post-installation Command. Configure other parameters based on service requirements. For details, see Creating a Node Pool.
cd /tmp
wget --no-check-certificate https://cce-statics.ap-southeast-3.obs.ap-southeast-3.myhuaweicloud.com/job-platform-package/cce-addons/addons-apull-20250415193050793.zip
unzip addons-apull-20250415193050793.zip
cd addons
bash install.sh
- Create a workload in the cluster. When you create the workload, enter the image name or select the image for Image Name (Container Settings > Basic Info), and select the index image tag (apull) set in 5 for Image Tag. Configure other parameters based on service requirements. For details, see Creating a Deployment.
Now the image can be quickly loaded when the workload runs for the first time.
Feedback
Was this page helpful?
Provide feedbackThank you very much for your feedback. We will continue working to improve the documentation.See the reply and handling status in My Cloud VOC.
For any further questions, feel free to contact us through the chatbot.
Chatbot


