Migrating a Source Server with Extension NICs
Background
SMS can identify and update the settings of the primary NIC for each source server to be migrated, but cannot handle the settings of extension NICs. If the source server has extension NICs, the following situations may occur:
- If you choose to create a target server during the migration, the target server will not have extension NICs.
- If you choose to use an existing server with extension NICs as the target server, the extension NICs cannot be correctly loaded after the migration.
To retain the network settings of the source server on the target server, you need to perform the steps below.
Prerequisites
You have completed the migration preparations.
Step 1: Download, Install, and Start the SMS-Agent
Download and install the SMS-Agent that matches the OS of the source server.
Step 2: Configure the Target Server and Start the Migration
You can create a target server or select an existing one as the target server.
- If you choose to create a target server, follow the instructions in Configuring the Target Server.
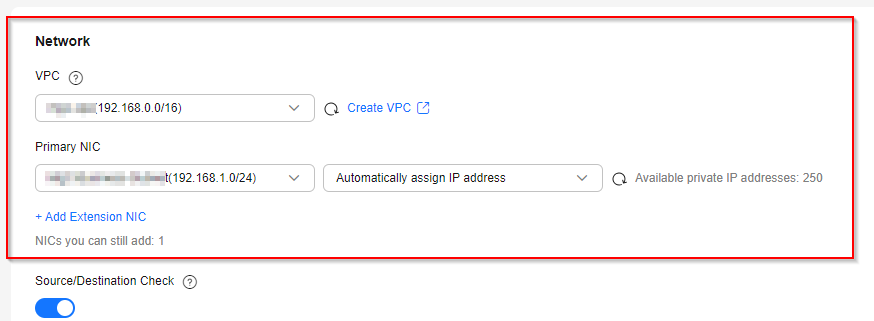
- If you choose to use an existing server as the target server, follow the instructions in Configuring the Target Server. When you configure the network for the target server, do not add extension NICs.

After the target server is configured, start a full replication and launch the target server after the replication is complete.
Step 3: Manually Add Extension NICs
After the migration is complete, log in to the target server, an ECS, and manually add extension NICs. For details, see Attaching a Network Interface.

To further update the NIC settings for the target server, you can:
- For Linux, manually edit the NIC configuration file, which is usually located in /etc/network/interfaces or /etc/netplan/. The exact location depends on your Linux distribution.
- For Windows, choose Control Panel > Network and Internet, and on the screen, update the network adapter settings.
Feedback
Was this page helpful?
Provide feedbackThank you very much for your feedback. We will continue working to improve the documentation.See the reply and handling status in My Cloud VOC.
For any further questions, feel free to contact us through the chatbot.
Chatbot


