Help Center/
Data Warehouse Service /
User Guide/
Migrating Service Data to a DWS Cluster/
Migrating Data to a DWS Cluster Using GDS-Kafka/
Managing Jobs
Updated on 2025-09-25 GMT+08:00
Managing Jobs
After creating a cluster instance, you can customize a job, enable a job, and migrate data.
You can create jobs to migrate data or automatically create tables.
- Data migration: Data is migrated from Kafka to DWS.
- Automatic table creation: Tables and fields in the source database are synchronized to DWS, but data is not migrated.
Creating a Job
- Log in to the DWS console.
- In the navigation pane, choose Data > Data Integration > Instances.
- In the instance list, click Job Management in the Operation column of the target instance to go to the job management page of the instance. Alternatively, click the instance name to go to the instance details page and click Job Management in the navigation pane.
- Click Data Migration or Create Table. (By default, the Kafka Connection parameter cannot be configured if you click Create Table.)
- Enter the job name, configure Kafka Connection, DWS Cluster Connection, and Customized Table/Field Mapping, and click Test Connection.
- Check to ensure the connection passes the test, and click Next.
- Click Next and confirm the settings.
- Click OK.
- Return to the job list. In the Operation column of the job, click Start. For details, see Starting a Job.
Viewing Job Details
- Log in to the DWS console.
- In the navigation pane, choose Data > Data Integration > Instances.
- In the instance list, click Job Management in the Operation column of the target instance to go to the job management page of the instance. Alternatively, click the instance name to go to the instance details page and click Job Management in the navigation pane.
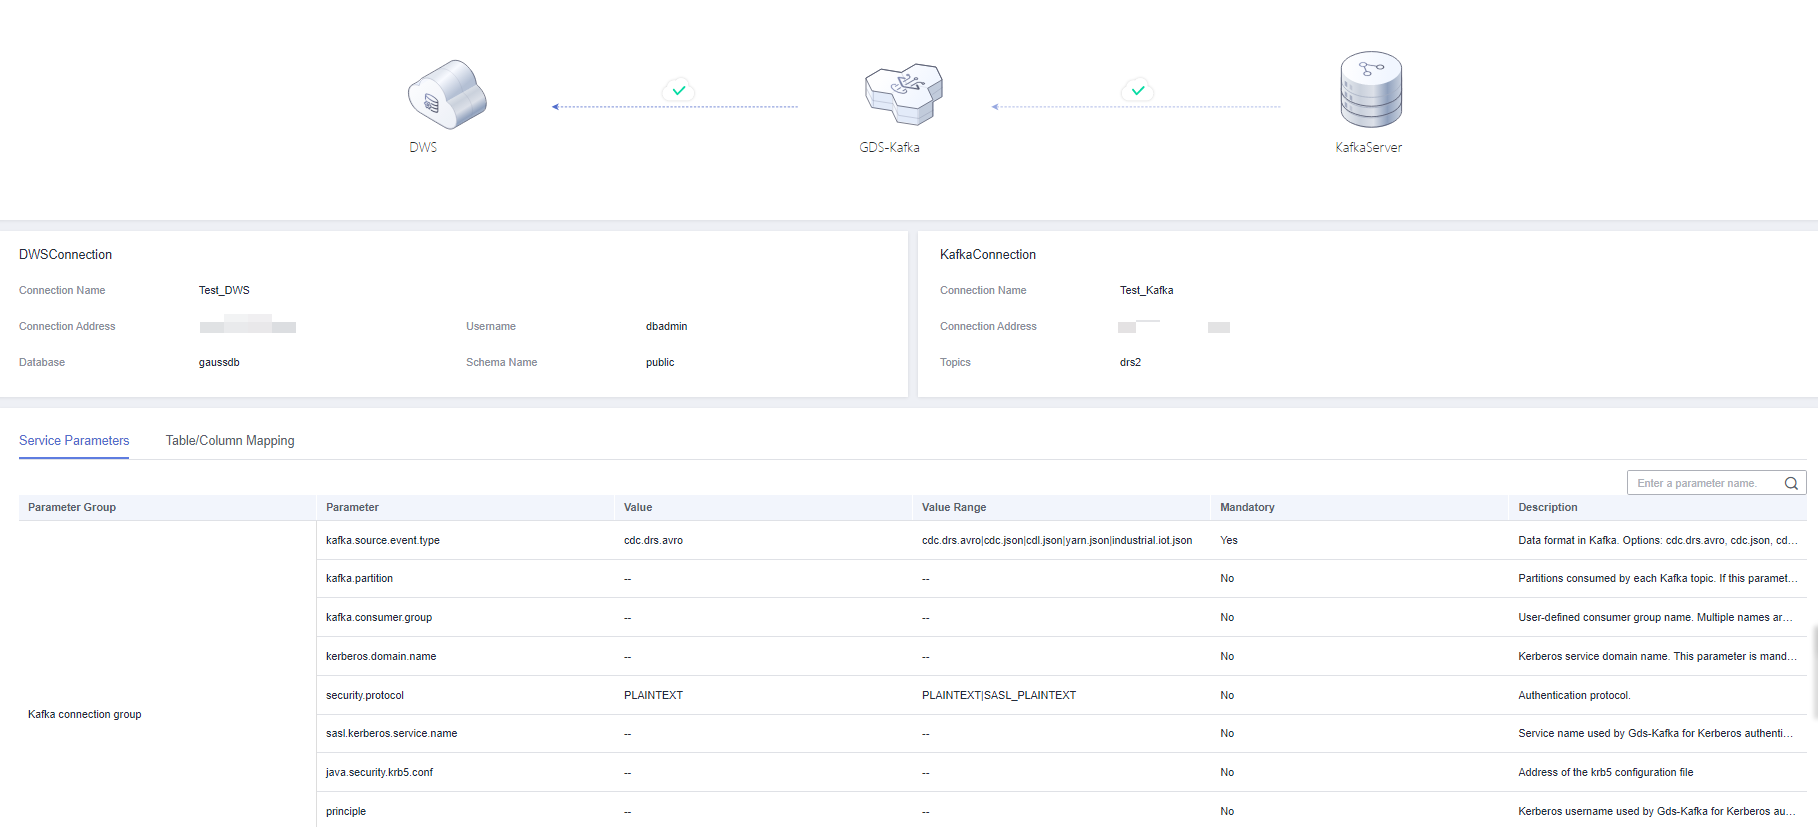
- Click a job name to go to the details page. Check the job information, including the connections, service parameters, and table/column mappings.

Starting a Job
- Log in to the DWS console.
- In the navigation pane, choose Data > Data Integration > Instances.
- In the instance list, click Job Management in the Operation column of the target instance. Alternatively, click the instance name to go to the instance details page and click Job Management in the navigation pane.
- In the Operation column of a job, click Start.
- In the displayed dialog box, click OK to start the job.
Stopping a Job
- Log in to the DWS console.
- In the navigation pane, choose Data > Data Integration > Instances.
- In the instance list, click Job Management in the Operation column of the target instance. Alternatively, click the instance name to go to the instance details page and click Job Management in the navigation pane.
- In the Operation column of a job, click Stop.
- In the displayed dialog box, click OK to stop the job.
Deleting a Job
- Log in to the DWS console.
- In the navigation pane, choose Data > Data Integration > Instances.
- In the instance list, click Job Management in the Operation column of the target instance. Alternatively, click the instance name to go to the instance details page and click Job Management in the navigation pane.
- In the Operation column of a job, click Delete.
- Click OK.
Feedback
Was this page helpful?
Provide feedbackThank you very much for your feedback. We will continue working to improve the documentation.See the reply and handling status in My Cloud VOC.
The system is busy. Please try again later.
For any further questions, feel free to contact us through the chatbot.
Chatbot


