Help Center/
IoT Device Access/
User Guide/
Rules/
Data Forwarding to Third-Party Applications/
AMQP Data Forwarding/
Android SDK Access Example
Updated on 2024-11-06 GMT+08:00
Android SDK Access Example
This topic describes how to use AMQP to connect the Android system to the IoT platform and receive subscribed messages from the platform.
Preparations
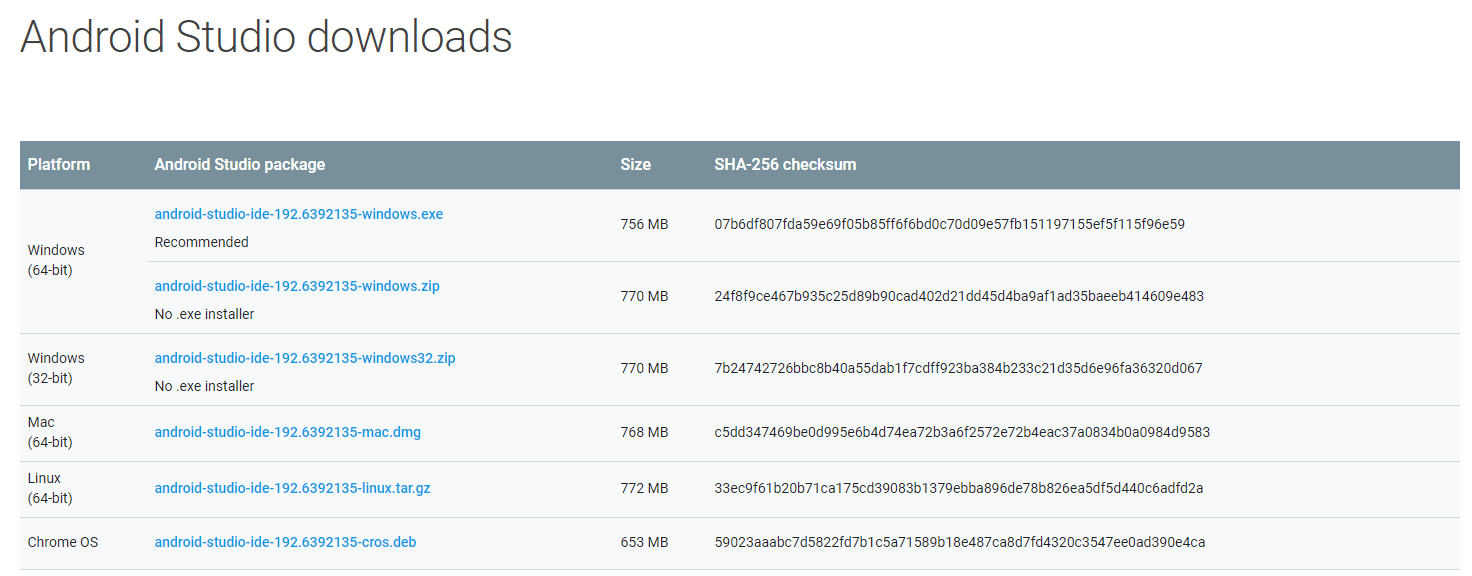
- Install Android Studio. Go to the Android Studio website to download and install a desired version. The following uses Android Studio 4.1.1 running on 64-bit Windows as an example.
Figure 1 Downloading Android Studio
- Install the JDK. You can also use the built-in JDK of the IDE.
- Go to the Oracle website to download a desired version. The following uses JDK 8 for Windows x64 as an example.
- After the download is complete, run the installation file and install Node.js as prompted.
Development Environment
The development environments used in this example are as follows:
- JDK 1.8 or later
- Android SDK Platform of API level 28 or later
- Apache Qpid Proton-J client
Sample Code
- Download the AMQP demo.
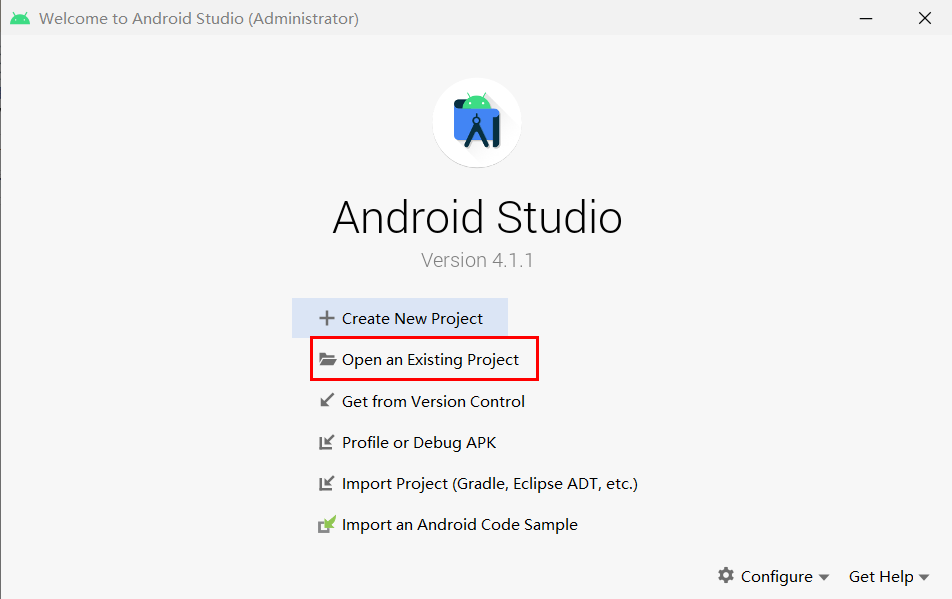
- Run Android Studio, click Open, and select the sample code downloaded in 1.
Figure 2 Incorporate into existing projects
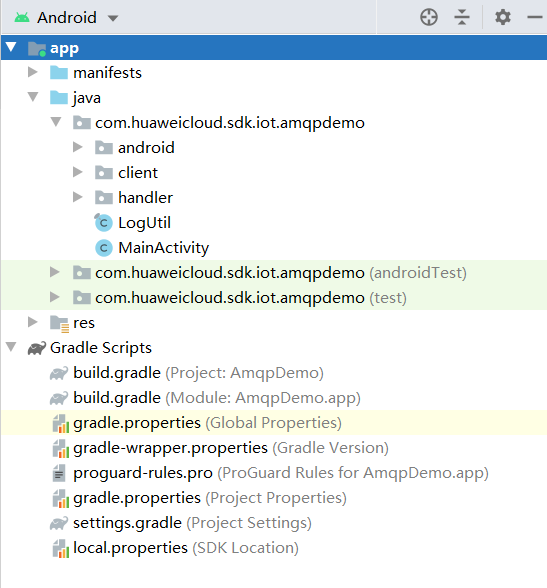
- Import the sample code.
Figure 3 Importing the project structure
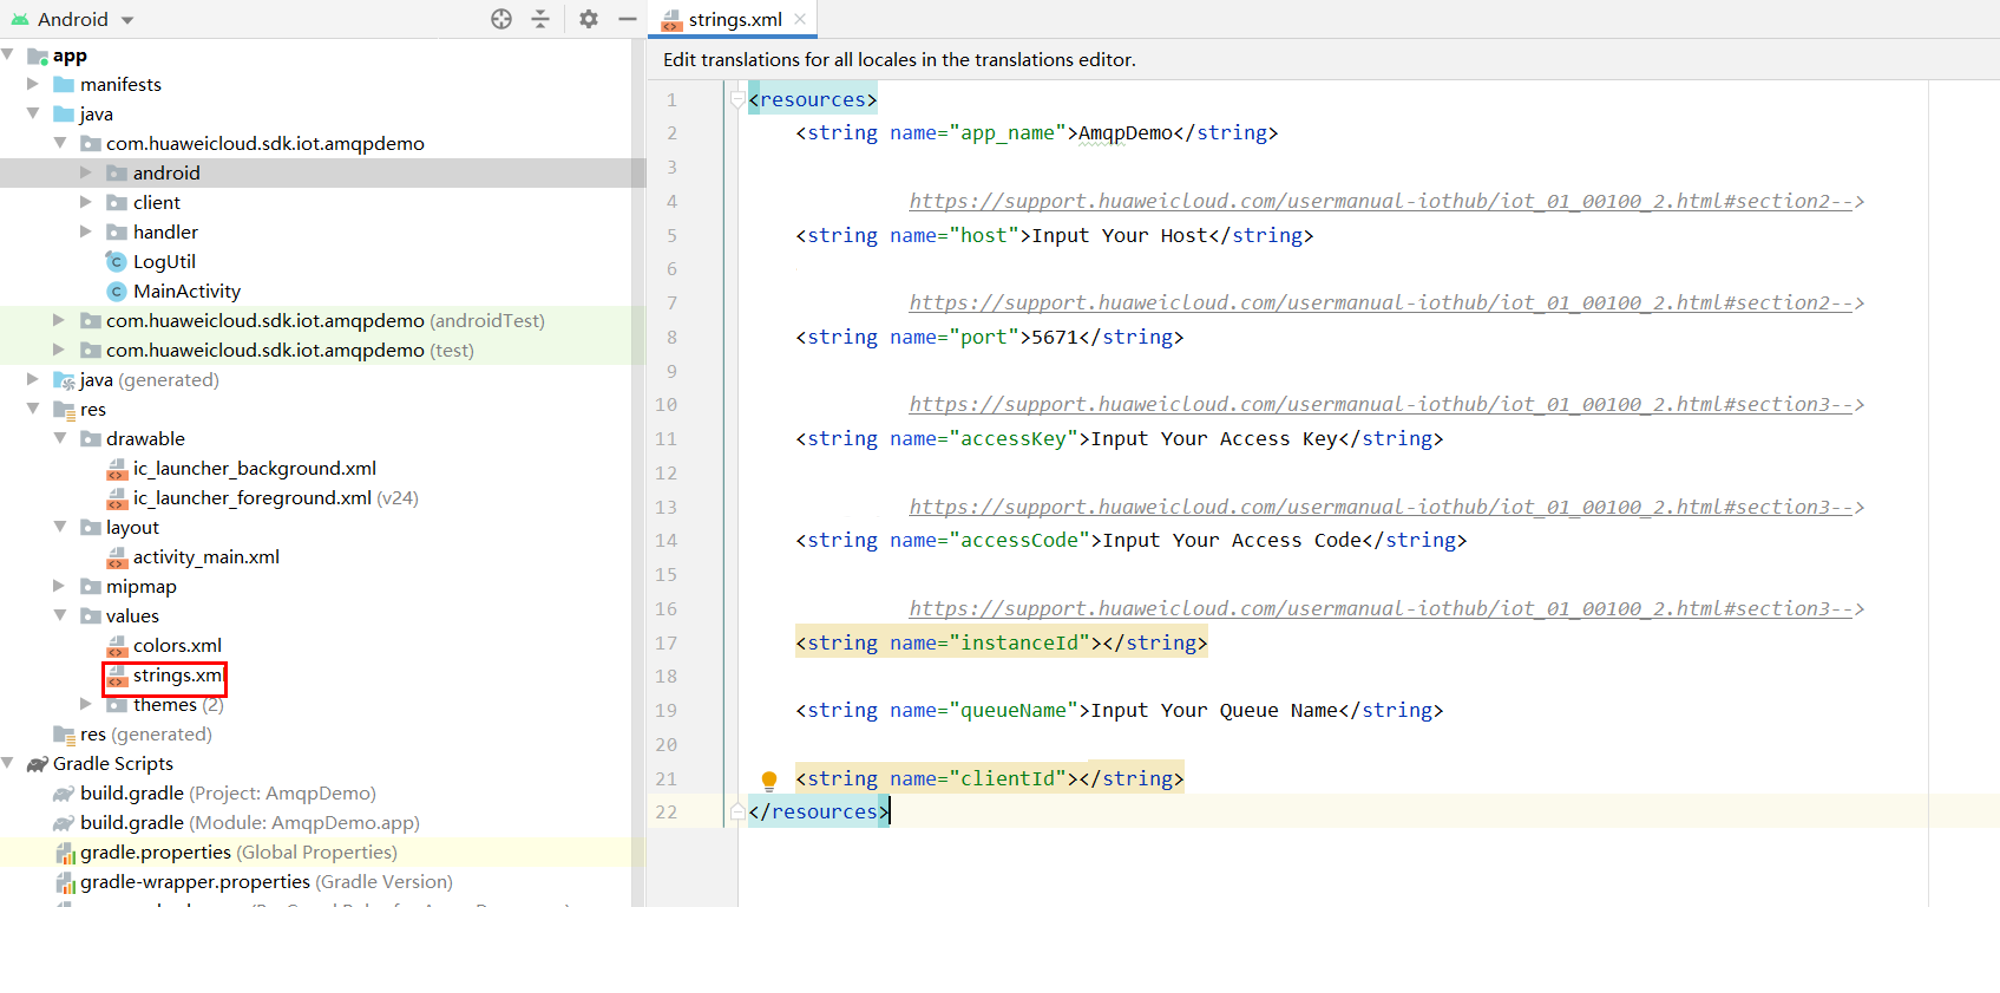
- (Optional) Set AMQP connection parameters in the res\values\strings.xml file in advance. For details, see AMQP Client Access.
Figure 4 Modifying connection parameters
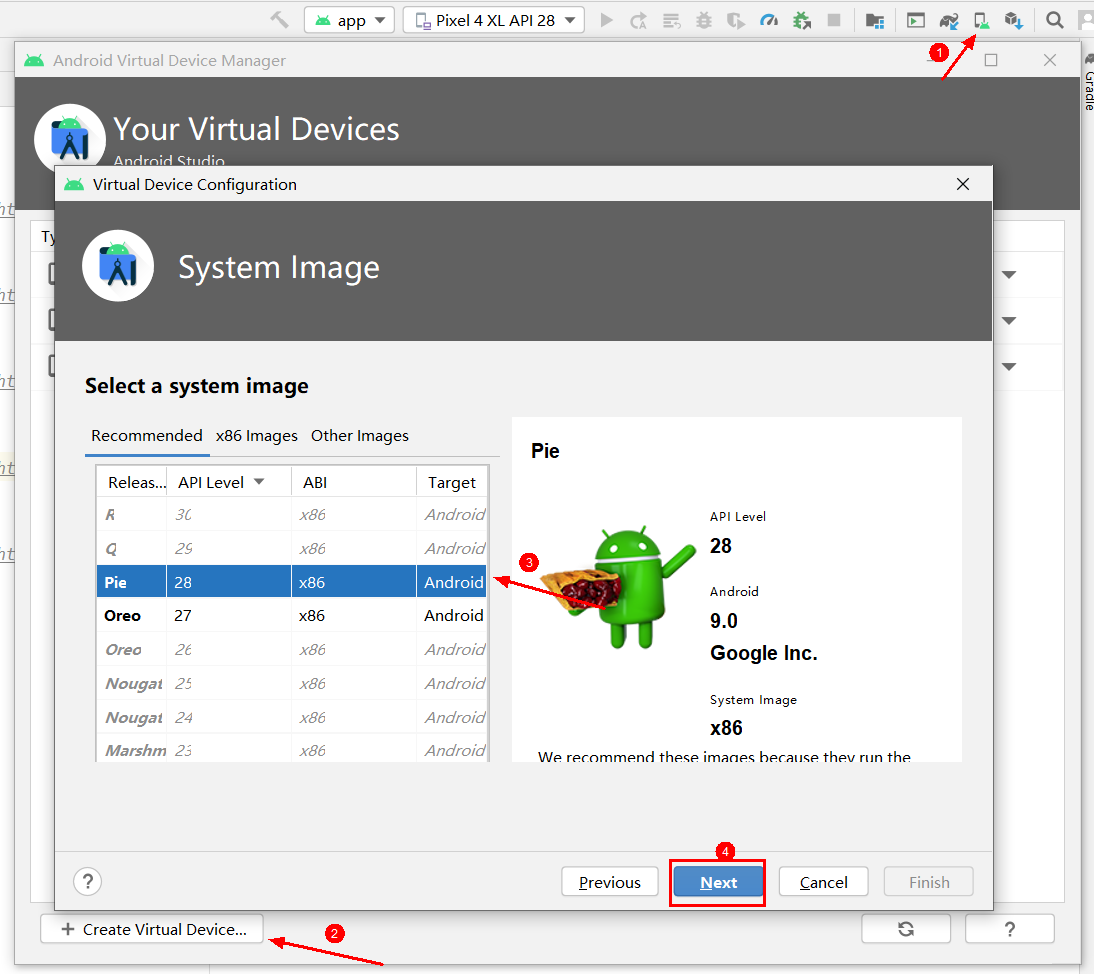
- In the AVD Manager configuration, select a device model and a virtual device of API level 28 for debugging.
Figure 5 Configuring the AVD Manager
- Start the demo for debugging.
Figure 6 Starting the demo

Related Information
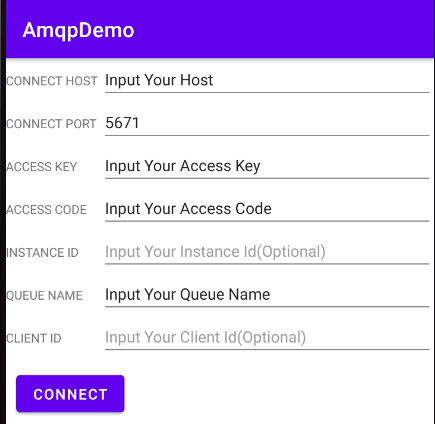
AMQP connection configuration page is displayed in the following figure. INSTANCE ID is mandatory when multiple standard IoTDA instances are purchased in the same region. For details about the parameters, see AMQP Client Access.
Figure 7 AMQP connection configuration

- The following figure shows the page indicating that the connection is successful after the parameter modification.
Figure 8 Connection succeeded

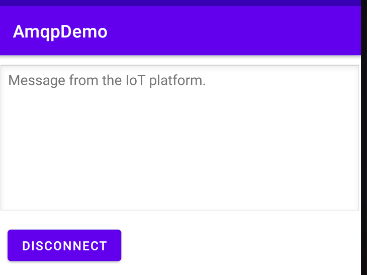
- The following figure shows the page indicating that the transfer data is successfully obtained.
Figure 9 Receiving platform messages
- The following figure shows the page indicating that the network connection failed.
Figure 10 Network connection failed

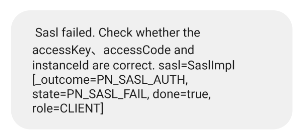
- The following figure shows the page indicating that access information (accessKey, accessCode, and instanceId) is incorrect.
Figure 11 Incorrect access information
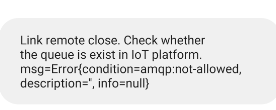
- The following figure shows the page indicating that the queue does not exist.
Figure 12 Queue not existing
Parent topic: AMQP Data Forwarding
Feedback
Was this page helpful?
Provide feedbackThank you very much for your feedback. We will continue working to improve the documentation.See the reply and handling status in My Cloud VOC.
The system is busy. Please try again later.
For any further questions, feel free to contact us through the chatbot.
Chatbot


