
Creating a Pipeline with the GUI
Preparations
- You have enabled and authorized CodeArts Pipeline.
- Create a project.
- If you use a CodeArts Repo repository, create a code repository.
- If you want to enhance permissions to do operations on CodeArts Repo or connect to a third-party repository, create a service endpoint.
Notes and Constraints
- GitLab pipeline source is available in LA-Mexico City2, LA-Sao Paulo1, and AP-Singapore regions.
- Bitbucket pipeline source is available only in AP-Singapore region.
- Create a custom pipeline template.
- System templates are used to clone or generate pipelines. They cannot be edited or deleted.
- Pipeline source is not required for a template.
- Stage admission configuration is not supported for template orchestration.
Creating a Pipeline
- Access the CodeArts Pipeline homepage.
- Click Create Pipeline. Configure parameters by referring to Table 1.
Table 1 Basic information Parameter
Description
Example Value
Name
Pipeline name. Enter only letters, digits, underscores (_), and hyphens (-) with a maximum of 128 characters.
Enter pipeline01.
Agency URN
Unique identifier of IAM agency. If set: uses this agency identity and permissions to access other cloud services. If not set: uses the operator's identity and permissions.
-
Project
Project that a pipeline belongs to.
- If you access CodeArts Pipeline through the homepage, select a project as needed.
- If you access CodeArts Pipeline through a project, the parameter cannot be changed.
The default project is project01.
Pipeline Source
Code source associated with the pipeline:
- CodeArts code source:
Repo: provides comprehensive code hosting services for enterprises and Git-based online code hosting services for software developers.
- Third-party code source
- GitHub: After connecting to a GitHub account, you can obtain the repository and branch information of that account.
- GitLab: After connecting to a GitLab account, you can obtain the repository and branch information of that account.
- Bitbucket: After connecting to a Bitbucket account, you can obtain the repository and branch information of that account.
- Git: After connecting to a Git repository, you can obtain its branch information.
- Artifact: After connecting to an Artifact account, you can obtain the repository type and version information of the artifact.
- Repo (other projects): Code is pulled from CodeArts Repo repositories of other projects. Select a project, and then select a code repository and a default branch.
- Artifact source
Use SWR as the pipeline source to run the pipeline and generate system parameters such as the artifact name, download address, and version number for extensions.
NOTE:- If you do not need to associate the pipeline with a code repository, you can select None. In this case, executing a job that should be associated with a repository will result in an error. For details, see FAQ.
Select Repo.
Orchestration Method
Method of orchestrating a pipeline. If you select Repo as the code source, you can choose either of the following ways to orchestrate a pipeline.
- Graphical: Uses the GUI to clearly display serial and parallel jobs.
- YAML: Uses YAML (One YAML file can be used for multiple pipelines). Syntax auto-completion and validation available. For details, see Creating a Pipeline with YAML.
Select Graphical.
Service Endpoint
You need to use a service endpoint to connect to a third-party repository. Select an endpoint created in Preparations or click Create One to create an endpoint. For details, see Creating Service Endpoints.
-
Workspace
Workspace of the Bitbucket account.
-
Repository
Repository associated with the pipeline. You can select an existing repository or click Create Repository to create a repository. For details, see Creating a Repository Using a Template.
Select Repo01.
Default Branch
Branch used when a pipeline is executed manually or at a specified time.
Select master.
Repo Endpoint
Optional. Configure an endpoint to enhance permissions for Repo. Endpoints are used for change-triggered pipelines and repository operation extensions. You can select an endpoint created in Preparations or click Create One to create an endpoint. For details, see .
-
Alias
Optional. After you set a repository alias, system parameters will be generated based on the alias. For example, Alias_REPOSITORY_NAME indicates the repository name. You can check the generated parameters on the Parameter Configuration page and reference them in a pipeline in the format of ${Parameter name}.
Enter a maximum of 128 characters, including only letters, digits, and underscores (_).
-
Description
Optional. Pipeline description. Enter a maximum of 1,024 characters.
-
Source Artifact Repository Type
Repository type used for the Artifact pipeline source. Select Software Release Repositories or Docker Repositories.
-
Version Policy
Artifact version used when a pipeline is executed. Select Latest or Specific Version. This parameter is mandatory when Pipeline Source is set to Artifact.
-
Deployment Package
Software package generated during software development. This parameter is mandatory when Pipeline Source is set to Artifact.
-
Organization
If Pipeline Source is set to SWR, select the SWR organization.
If Pipeline Source is set to Artifact, select an organization in the current project.
Organizations isolate and manage images within each company or department.
-
Image Name
If Pipeline Source is set to SWR, select an image in the organization.
If Pipeline Source is set to Artifact, select an image in the organization of the current project.
-
Specified Version
Image version selected for the SWR pipeline source.
-
Source Alias
If you select SWR or Artifact for pipeline source, after you set an artifact source alias, system parameters will be generated based on the alias. For example, Alias_ARTIFACT_NAME indicates the artifact name. You can check the generated parameters on the Parameter Configuration page and reference them in a pipeline in the format of ${Parameter name}.
Enter a maximum of 128 characters, including only letters, digits, underscores (_), hyphens (-), and periods (.).
-
- Click Next. The Select Template page is displayed. The following uses the Blank Template as an example.
- System or custom templates: Jobs will be automatically generated based on the selected template. For more information, see Managing Pipeline Templates.
- Blank Template: Create a pipeline from scratch.
- Click OK to create a pipeline.
The Task Orchestration page is displayed. You can configure the pipeline or click Cancel to return to the pipeline list.
Figure 1 Task orchestration
Managing Pipeline Templates
CodeArts Pipeline provides system templates and allows you to customize templates. You can use templates to quickly create continuous delivery pipelines and standardize the delivery process.
|
Template |
Description |
|---|---|
|
Maven-Build |
|
|
Python-Build |
|
|
Go-Build |
|
|
SpringBoot-Pipeline |
|
|
NodeJS-Build |
|
|
PHP-Build |
|
- Access pipeline templates
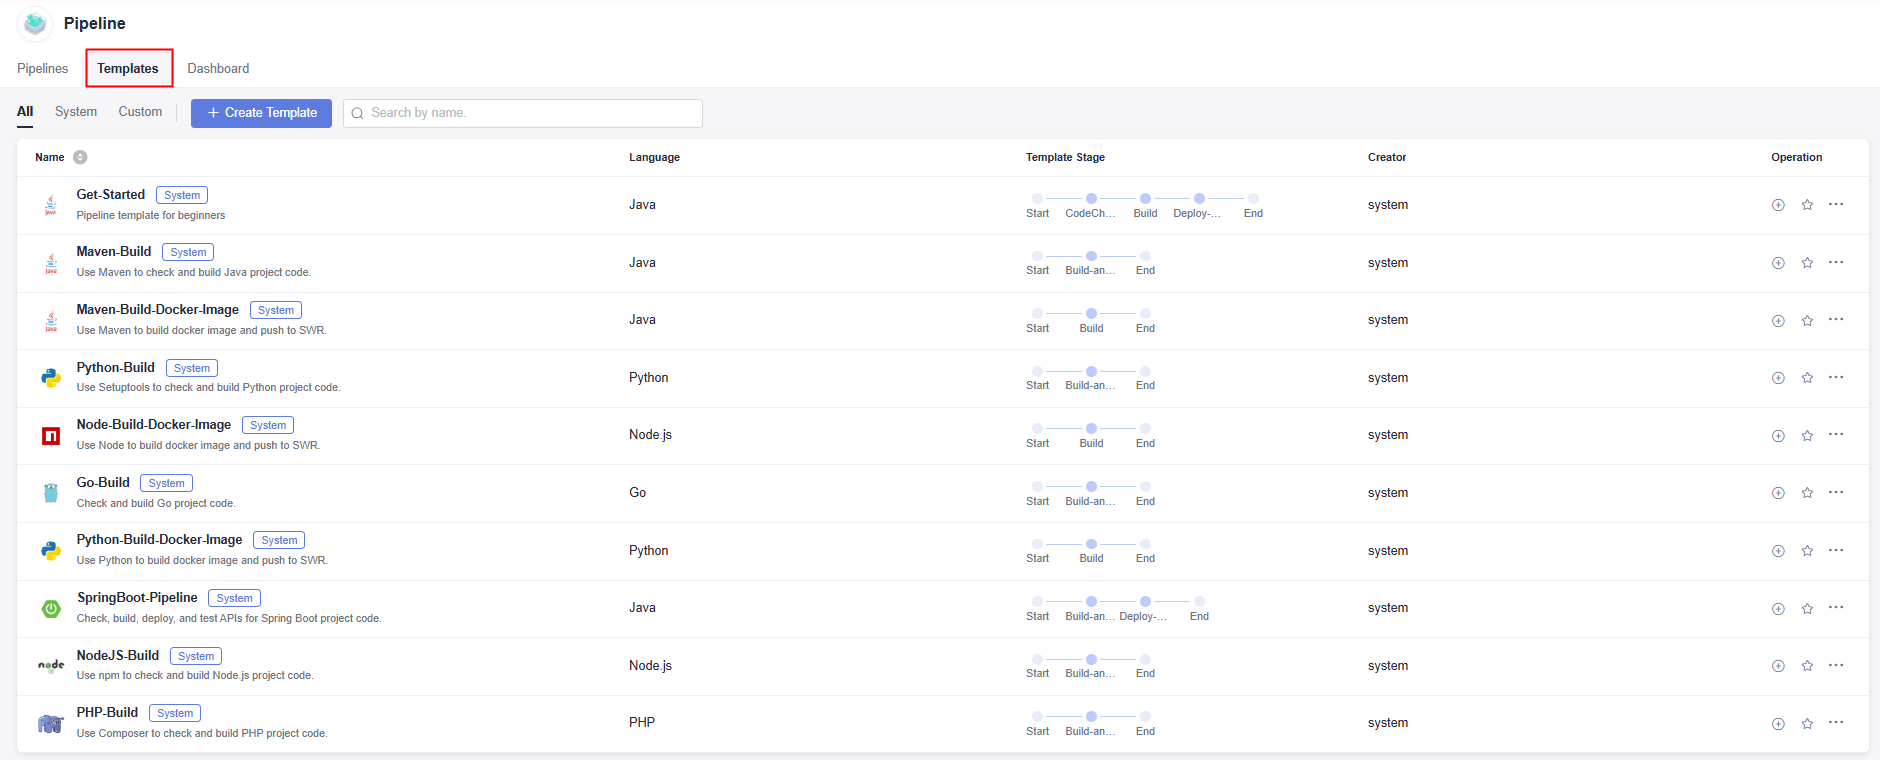
- Homepage: Access the CodeArts Pipeline homepage, and switch to the Templates tab page.
Figure 2 Pipeline templates
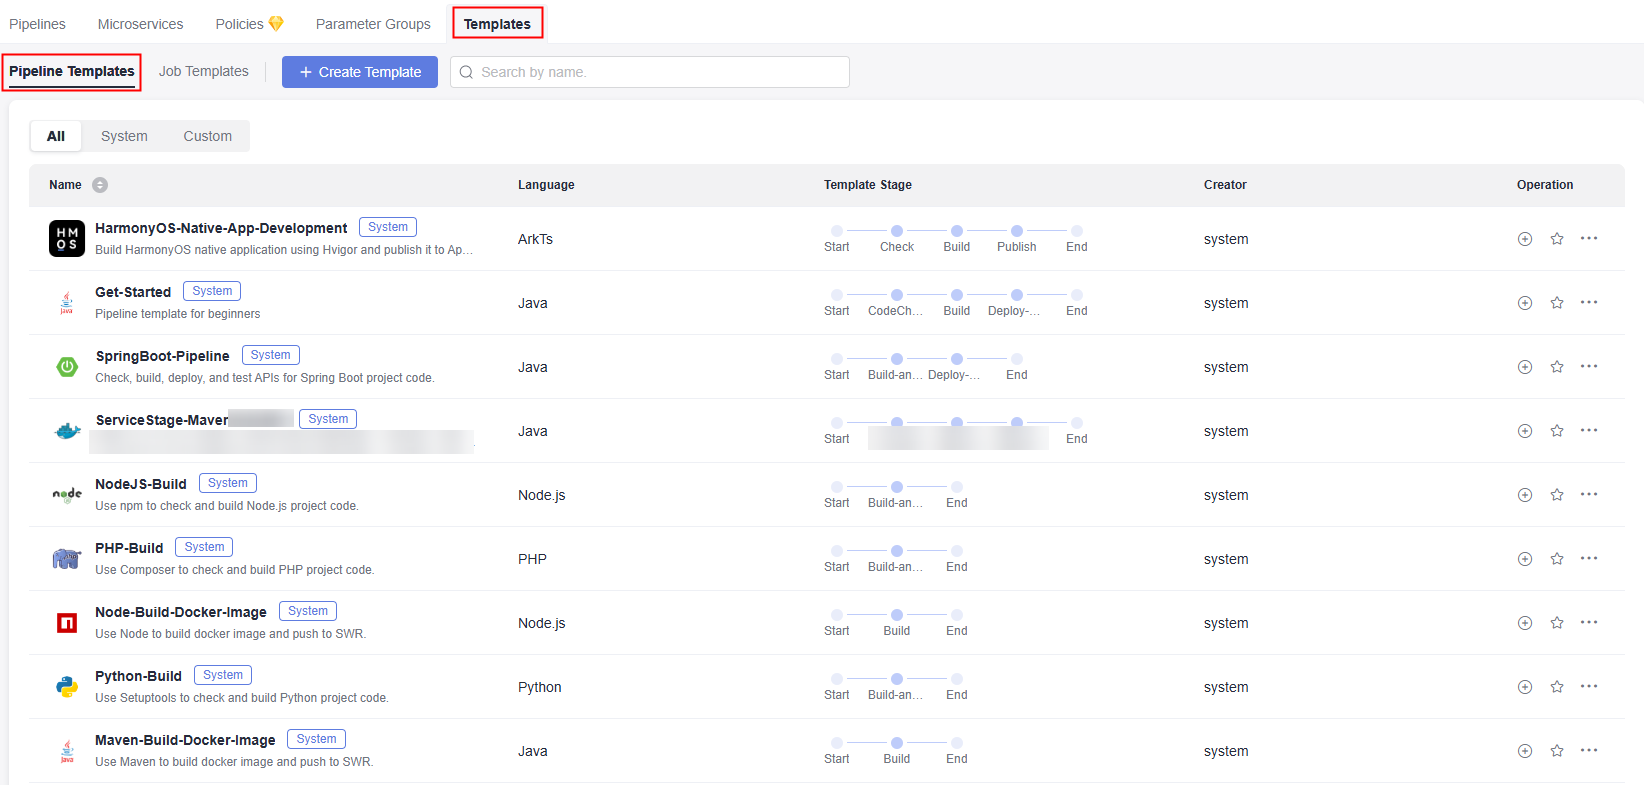
- Project: Access the pipeline list in a project, and switch to the Templates tab.
Figure 3 Pipeline templates
 You can perform the following operations on pipeline templates.
Table 3 Operations on templates Parameter
Description

Click this icon, you will be redirected to the page where you can quickly create a pipeline using a template.

Click this icon to favorite a template. After a template is favorited, the icon changes to
 . You can click to unfavorite the template.
- Click this icon and select Edit. On the displayed Task Orchestration tab page, you can edit the template.
- Click this icon and select Clone. On the displayed Task Orchestration tab page, you can clone the template.
- Click this icon and select Delete. In the displayed window, delete the template as prompted.
- Homepage: Access the CodeArts Pipeline homepage, and switch to the Templates tab page.
- Customize a pipeline template
- Access pipeline templates.
- Click Create Template. The Task Orchestration page is displayed.
- Configure basic information, stages/jobs, and parameters.
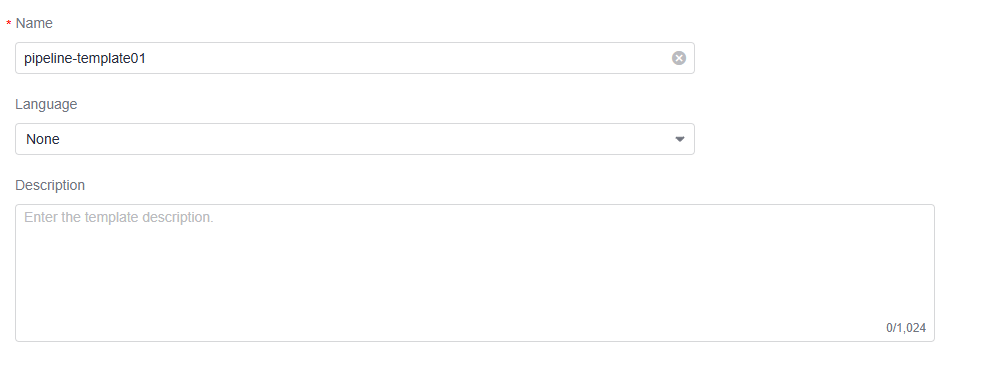
- Basic Information: Specify the template name, language (Java, Python, Node.js, Go, .NET, C++, PHP, ArkTS), and description (optional). Language is None by default.
Figure 4 Basic information
- Configure the stage admission
- Automatic (default): The pipeline automatically proceeds to the next stage.
- Manual: The pipeline proceeds only after manual confirmation.
- Time window: The pipeline proceeds to the next stage within a specified period.
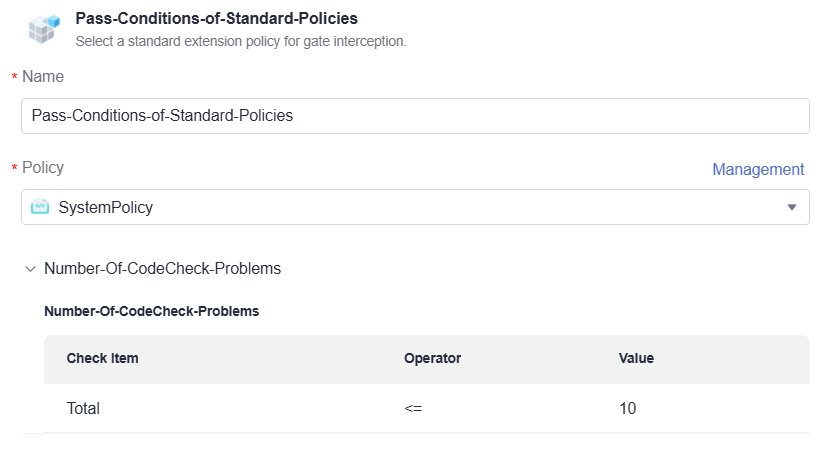
- Configure pass conditions
- Task Orchestration: You can add official, third-party, and custom extensions to a pipeline template. After tasks of build, code check, deployment, and API test are configured in a template, corresponding tasks will be created when you create a pipeline using this template.
- Parameter Configuration: Add parameters to the template. Pipeline template parameters include custom and predefined parameters. Custom parameters include string, auto-increment, and enumeration types. For details about how to configure parameters, see Configuring Custom Parameters.
- Basic Information: Specify the template name, language (Java, Python, Node.js, Go, .NET, C++, PHP, ArkTS), and description (optional). Language is None by default.
- Click Save. A message is displayed, indicating that the template is created successfully.
Tutorial Video
This video demonstrates how to create and execute a pipeline.
Feedback
Was this page helpful?
Provide feedbackThank you very much for your feedback. We will continue working to improve the documentation.See the reply and handling status in My Cloud VOC.
For any further questions, feel free to contact us through the chatbot.
Chatbot


