

Node.js SDK Access Example
This section describes how to use a Node.js AMQP SDK to connect to the platform and receive subscribed messages from the platform.
Development Environment
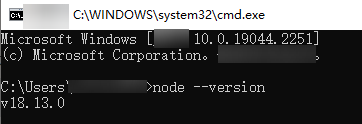
Node.js 8.0.0 or later is used. Download it from the Node.js official website. After installation, run the following command to check the version:
node --version
If the version is displayed and is later than 8.0.0, the installation is successful.
Sample Code
- Create a JavaScript file (for example, HwIotAmqpClient.js) on the local computer and save the following sample code to the file. Modify related connection parameters by referring to AMQP Client Access.
const container = require('rhea'); // Obtain the timestamp. var timestamp = Math.round(new Date()); // Set up a connection. var connection = container.connect({ // Access domain name. For details, see AMQP access address. 'host': '${UUCID}.iot-amqps.*****.com', 'port': 5671, 'transport': 'tls', 'reconnect': true, 'idle_time_out': 8000, // Method to assemble username. For details, Client identity authentication parameters. 'username': 'accessKey=${yourAccessKey}|timestamp=' + timestamp + '|instanceId=${instanceId}', // For details about accessCode, see Client identity authentication parameters. 'password': '${yourAccessCode}', 'saslMechannisms': 'PLAIN', 'rejectUnauthorized': false, 'hostname': 'default', }); // Create a Receiver connection. You can use DefaultQueue. var receiver = connection.open_receiver('${yourQueue}'); // Callback function for receiving messages pushed from the cloud container.on('message', function (context) { var msg = context.message; var content = msg.body; console.log(content); // Send an ACK message. Note that the callback function should not contain time-consuming logic. context.delivery.accept(); }); - Go to the directory where the HwIotAmqpClient.js file is located and run the following command to install the rhea library:
npm install rhea
After installation, the project files shown in the following figure are displayed.

- Run the following command to start the AMQP client:
node HwIotAmqpClient.js
- Running result examples
- Successful subscription:
If the following log information is displayed, the AMQP client subscription is successful and the data is obtained from the platform.

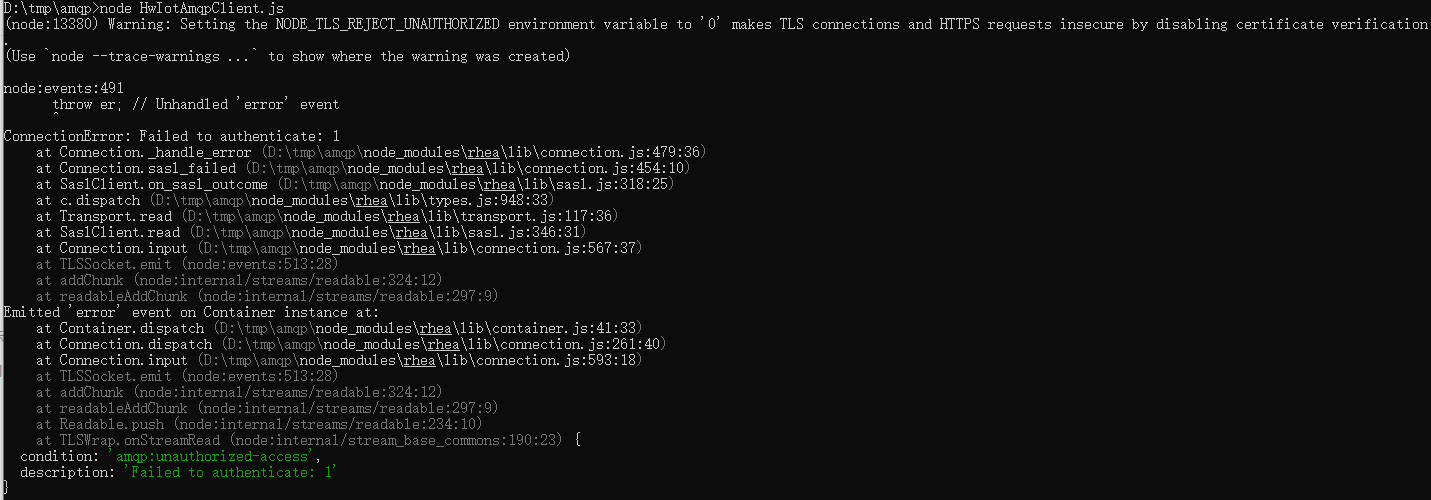
- Failed subscription:
The following log indicates that the AMQP client authentication fails on the platform. Check whether the access code is correct and whether the difference between the timestamp and the standard time is greater than 5 minutes.
What is your overall rating for this page?
Thank you very much for your feedback. We will continue working to improve the documentation.See the reply and handling status in My Cloud VOC.
For any further questions, feel free to contact us through the chatbot.
Chatbot


