
Setting an Instance as Paid
Intelligent O&M is available for paid and free instances. Paid instances can enjoy more value-added functions.
For details about instance billing policies, see Intelligent O&M Billing.
If you want to set an instance as paid, go to Setting an Instance as Paid.
If you want to set more than one instance as paid, go to Setting Instances as Paid.
If you want to set your instances as free instances, see Setting a Paid Instance as Free.
Setting an Instance as Paid
- Log in to the Huawei Cloud console.
- Click
 in the upper left corner and select a region and project.
 - Click
 in the upper left corner, and under Databases, click Data Admin Service.
 - In the navigation pane, choose Intelligent O&M > Instance List.
Alternatively, on the Overview page, click Go to Intelligent O&M.
- In the upper right corner of the Instance List page, search for instances by engine type, instance name, or instance IP.
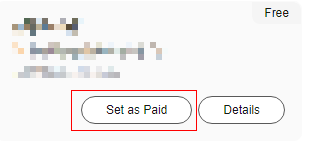
- Select the instance that you want to set as paid and click Set as Paid.
Figure 1 Setting an instance as paid
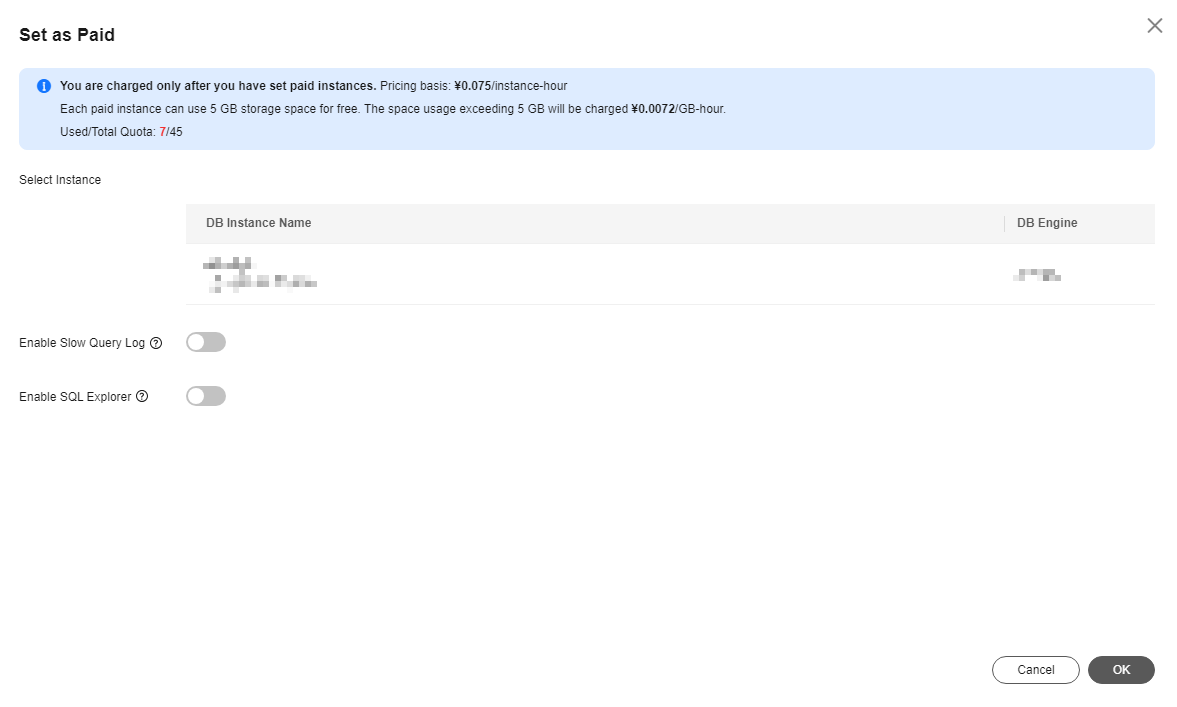
- Carefully read the information displayed in the dialog box and click OK.
Figure 2 Setting an instance as paid
- On the Instance Overview page, check whether the instance status changes to Paid.
Figure 3 Instance overview
Setting Instances as Paid
- Log in to the Huawei Cloud console.
- Click in the upper left corner and select a region and project.
- Click in the upper left corner, and under Databases, click Data Admin Service.
- In the navigation pane, choose Intelligent O&M > Instance List.
Alternatively, on the Overview page, click Go to Intelligent O&M.
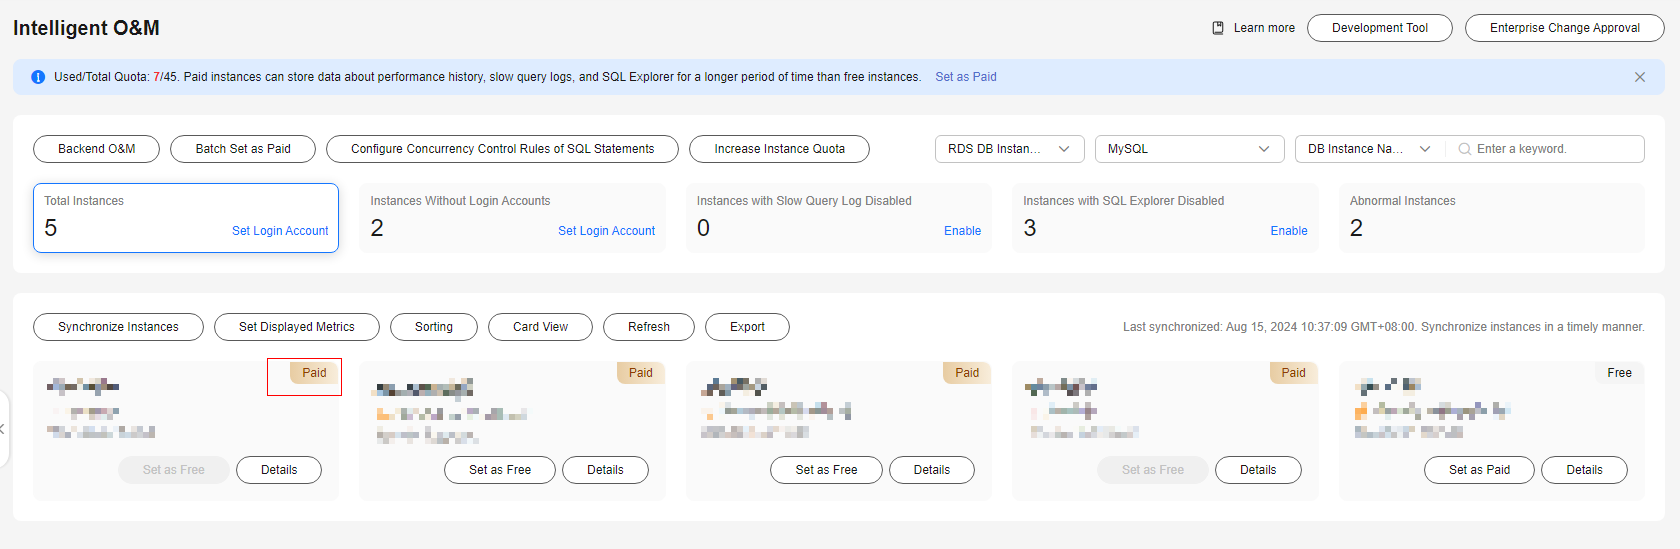
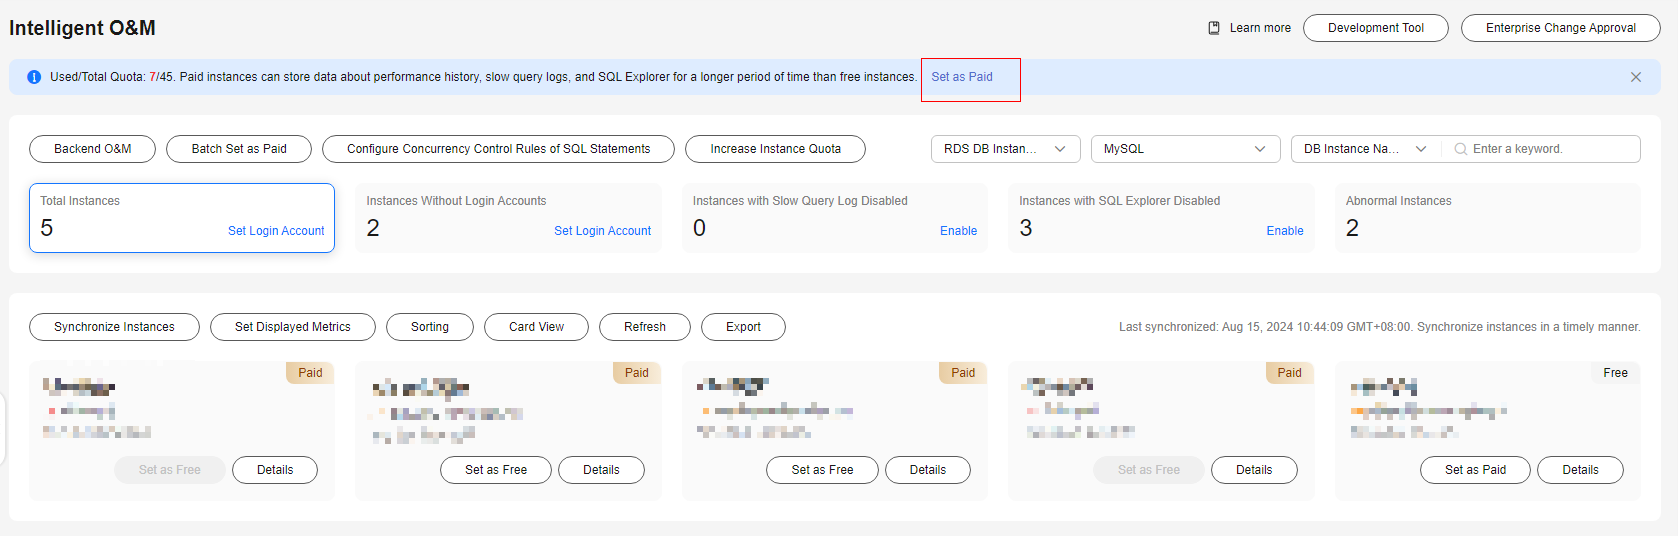
- On the displayed page, click Batch Set as Paid or Set as Paid.
Figure 4 Setting instances as paid
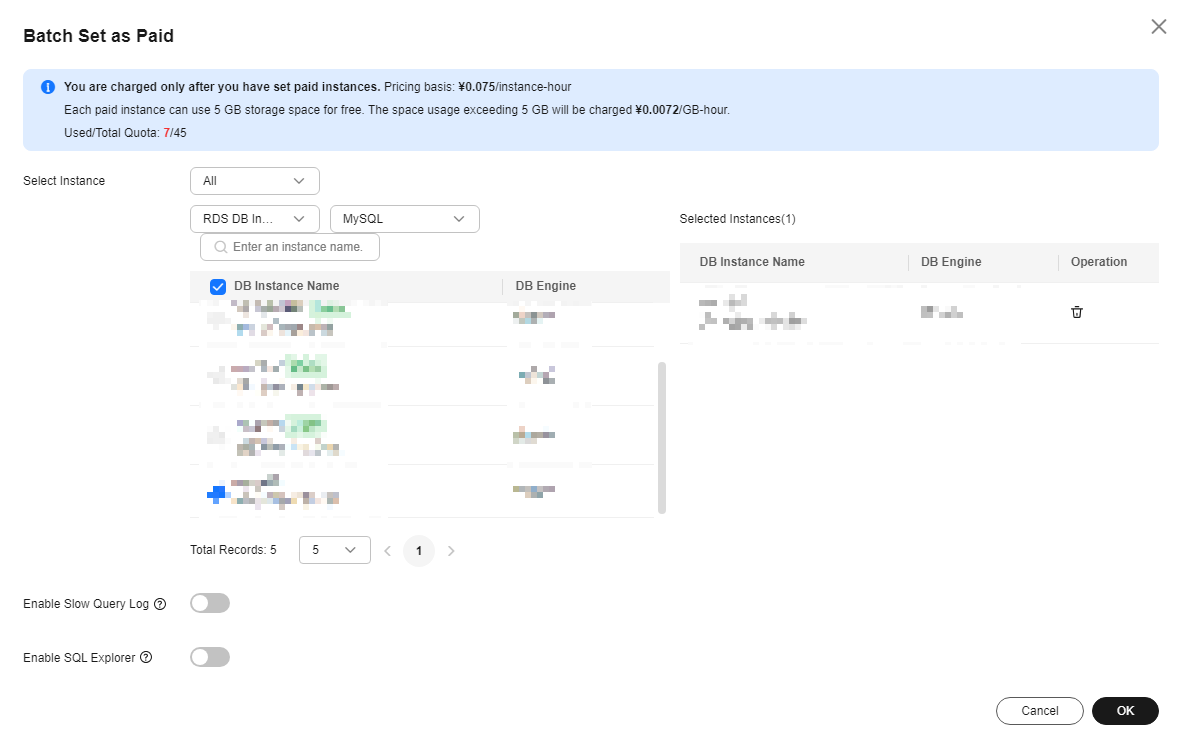
- Carefully read the information displayed in the dialog box, select the instances that you want to set as paid, and click OK.
Figure 5 Setting instances as paid
- On the Instance Overview page, check whether the instance status changes to Paid.
Setting a Paid Instance as Free
- Log in to the Huawei Cloud console.
- Click in the upper left corner and select a region and project.
- Click in the upper left corner, and under Databases, click Data Admin Service.
- In the navigation pane, choose Intelligent O&M > Instance List.
Alternatively, on the Overview page, click Go to Intelligent O&M.
- In the upper right corner of the Instance List page, search for instances by engine type, instance name, or instance IP.
- Locate the instance that you want to set as free and click Set as Free on the Instance Overview page.
Figure 6 Setting an instance as free

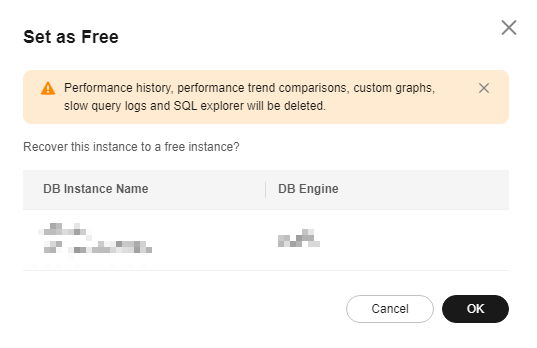
- Carefully read the information displayed in the dialog box and click OK.
Figure 7 Setting an instance as free
- If an instance has been set as paid for shorter than 5 minutes, a warning will be displayed. You can set the instance as free after the time displayed in the dialog box.
Figure 8 Setting an instance as paid

- If the instance has been set as paid for more than 5 minutes, you can change its status. After that, Free is displayed on the Instance Overview page.
Figure 9 Instance overview

- If an instance has been set as paid for shorter than 5 minutes, a warning will be displayed. You can set the instance as free after the time displayed in the dialog box.
Feedback
Was this page helpful?
Provide feedbackThank you very much for your feedback. We will continue working to improve the documentation.See the reply and handling status in My Cloud VOC.
For any further questions, feel free to contact us through the chatbot.
Chatbot


