Node.js Demo Usage Guide
Overview
This topic uses Node.js as an example to describe how to connect a device to the platform over MQTTS or MQTT and how to use platform APIs to report properties and subscribe to a topic for receiving commands.

The code snippets in this document are only examples and are for trial use only. To put them into commercial use, obtain the IoT Device SDKs of the corresponding language for integration by referring to Obtaining Resources.
Prerequisites
- You have installed Node.js by following the instructions provided in Install Node.js.
- You have obtained the device access address from the IoTDA console. For details, see Platform Connection Information.
- You have created a product and a device on the IoTDA console. For details, see Creating a Product, Registering an Individual Device, and Registering a Batch of Devices.
Preparations
- Go to the Node.js website to download and install a desired version. The following uses Windows 64-bit and Node.js v12.18.0 (npm 6.14.4) as an example.

- After the download is complete, run the installation file and install Node.js as prompted.
- Verify that the installation is successful.
Press Win+R, enter cmd, and press Enter. The command-line interface (CLI) is displayed.
Enter node -v and press Enter. The Node.js version is displayed. Enter npm -v. If any version information is displayed, the installation is successful.
Importing Sample Code
- Download the sample code quickStart(Node.js) and decompress the package.
- Press Win+R, enter cmd, and press Enter to open the CLI. Run the following commands to install the global module:
npm install mqtt -g: This command is used to install the MQTT protocol module.
npm install crypto-js -g: This command is used to install the device secret cryptographic algorithm module.
npm install fs -g: This command is used to load the platform certificate.
- Find the directory where the package is decompressed.
 Code directory:
- DigiCertGlobalRootCA.crt.pem: platform certificate file
- MqttDemo.js: Node.js source code for MQTT or MQTTS connection to the platform, property reporting, and command delivery.
- Set the project parameters in the demo. In MqttDemo.js, set the server address, device ID, and device secret for connecting to the device registered on the console when the demo is started.
- Server address: domain name. For details on how to obtain the server address, see Platform Connection Information. The server address must match and be used together with the corresponding certificate file during SSL-encrypted access.
- Device ID and secret: obtained after the device is registered on the IoTDA console or the API Creating a Device is called.
var TRUSTED_CA = fs.readFileSync("DigiCertGlobalRootCA.crt.pem");// Obtain a certificate. // MQTT connection address of the platform (Replace it with the domain name of the IoT platform that the device is connected to.) var serverUrl = "xxx.myhuaweicloud.com"; // Enter the access address of the platform that the device is connected to. // Device ID and secret obtained during device registration (Replace them with the actual values.) var deviceId = "722cb****************"; var secret = "****"; var timestamp = dateFormat("YYYYmmddHH", new Date()); var propertiesReportJson = {'services':[{'properties':{'alarm':1,'temperature':12.670784,'humidity':18.37673,'smokeConcentration':19.97906},'service_id':'smokeDetector','event_time':null}]}; var responseReqJson = {'result_code': 0,'response_name': 'COMMAND_RESPONSE','paras': {'result': 'success'}}; - Select different options from mqtt.connect(options) to determine whether to perform SSL encryption during connection establishment on the device. You are advised to use the default MQTTS connection.
// MQTTS connection
var options = {
    host: serverUrl,
    port: 8883,
    clientId: getClientId(deviceId),
    username: deviceId,
    password:HmacSHA256(secret, timestamp).toString(),
    ca: TRUSTED_CA,
    protocol: 'mqtts',
    rejectUnauthorized: false,
    keepalive: 120,
    reconnectPeriod: 10000,
    connectTimeout: 30000
}

// MQTT connection is insecure and is not recommended.
var option = {
    host: serverUrl,
    port: 1883,
    clientId: getClientId(deviceId),
    username: deviceId,
    password: HmacSHA256(secret, timestamp).toString(),
    keepalive: 120,
    reconnectPeriod: 10000,
    connectTimeout: 30000
    //protocol: 'mqtts'
    //rejectUnauthorized: false
}

// By default, options is used for secure connection.
var client = mqtt.connect(options);
Starting the Demo
To connect a device or gateway to the platform, upload the device information to bind the device or gateway to the platform.
- This demo provides methods such as establishing an MQTT or MQTTS connection. By default, MQTT uses port 1883, and MQTTS uses port 8883. (In the case of MQTTS connections, you must load the certificate for verifying the platform identity. The certificate is used for login authentication when the device connects to the platform.) Call the mqtt.connect(options) method to establish an MQTT connection.
 1
 2
 3
 4
 5
 6
 7
 8
 9
10
11
12
13
14
15
16
17
18
var client = mqtt.connect(options);

client.on('connect', function () {
    log("connect to mqtt server success, deviceId is " + deviceId);
    // Subscribe to a topic.
    subScribeTopic();
    // Publish a message.
    publishMessage();
})

// Respond to the command.
client.on('message', function (topic, message) {
    log('received message is ' + message.toString());

    var jsonMsg = responseReq;
    client.publish(getResponseTopic(topic.toString().split("=")[1]), jsonMsg);
    log('response message is ' + jsonMsg);
})
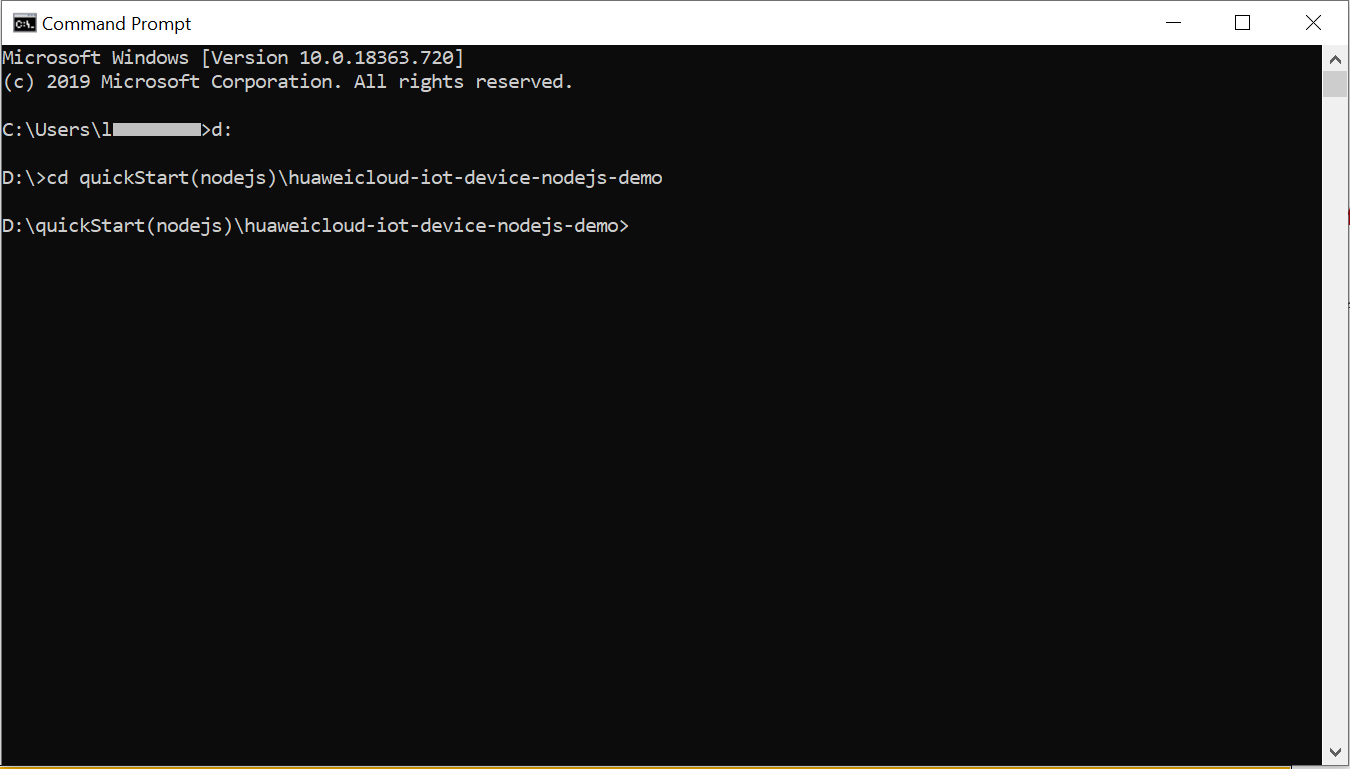
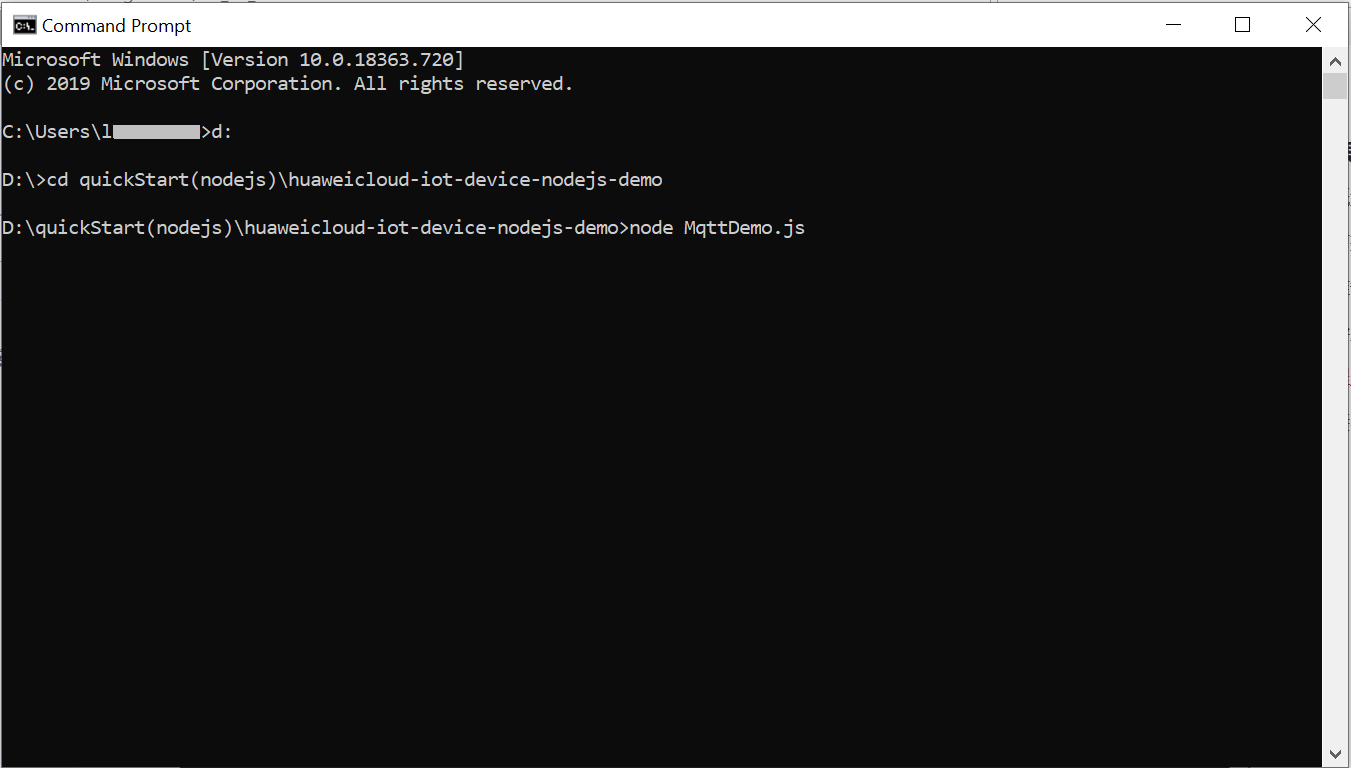
Find the Node.js demo source code directory, modify key project parameters, and start the demo.

Before the demo is started, the device is in the offline state.
Figure 1 Device list - Device offline status
After the demo is started, the device status changes to online.
Figure 2 Device list - Device online status
If the connection fails, the reconnect function executes backoff reconnection. The example code is as follows:
 1
 2
 3
 4
 5
 6
 7
 8
 9
10
11
12
13
14
15
16
17
18
19
20
client.on('reconnect', () => {

    log("reconnect is starting");

    // Backoff reconnection
    var lowBound = Number(defaultBackoff)*Number(0.8);
    var highBound = Number(defaultBackoff)*Number(1.2);

    var randomBackOff = parseInt(Math.random()*(highBound-lowBound+1),10);

    var backOffWithJitter = (Math.pow(2.0, retryTimes)) * (randomBackOff + lowBound);

    var waitTImeUtilNextRetry = (minBackoff + backOffWithJitter) > maxBackoff ? maxBackoff : (minBackoff + backOffWithJitter);

    client.options.reconnectPeriod = waitTImeUtilNextRetry;

    log("next retry time: " + waitTImeUtilNextRetry);

    retryTimes++;
})
- Only devices that subscribe to a specific topic can receive messages about the topic published by the broker. For details on the preset topics, see Topics. This demo calls the subScribeTopic method to subscribe to a topic. After the subscription is successful, wait for the platform to deliver a command.
 1
 2
 3
 4
 5
 6
 7
 8
 9
10
// Subscribe to a topic for receiving commands.
function subScribeTopic() {
    client.subscribe(getCmdRequestTopic(), function (err) {
        if (err) {
            log("subscribe error:" + err);
        } else {
            log("topic : " + getCmdRequestTopic() + " is subscribed success");
        }
    })
}
- Publishing a topic means that a device proactively reports its properties or messages to the platform. For details, see the API Device Reporting Properties. After the connection is successful, call the publishMessage method to report properties.
1
2
3
4
5
6
7
8
// Report JSON data. serviceId must be the same as that defined in the product model.
function publishMessage() {
    var jsonMsg = propertiesReport;
    log("publish message topic is " + getReportTopic());
    log("publish message is " + jsonMsg);
    client.publish(getReportTopic(), jsonMsg);
    log("publish message successful");
}
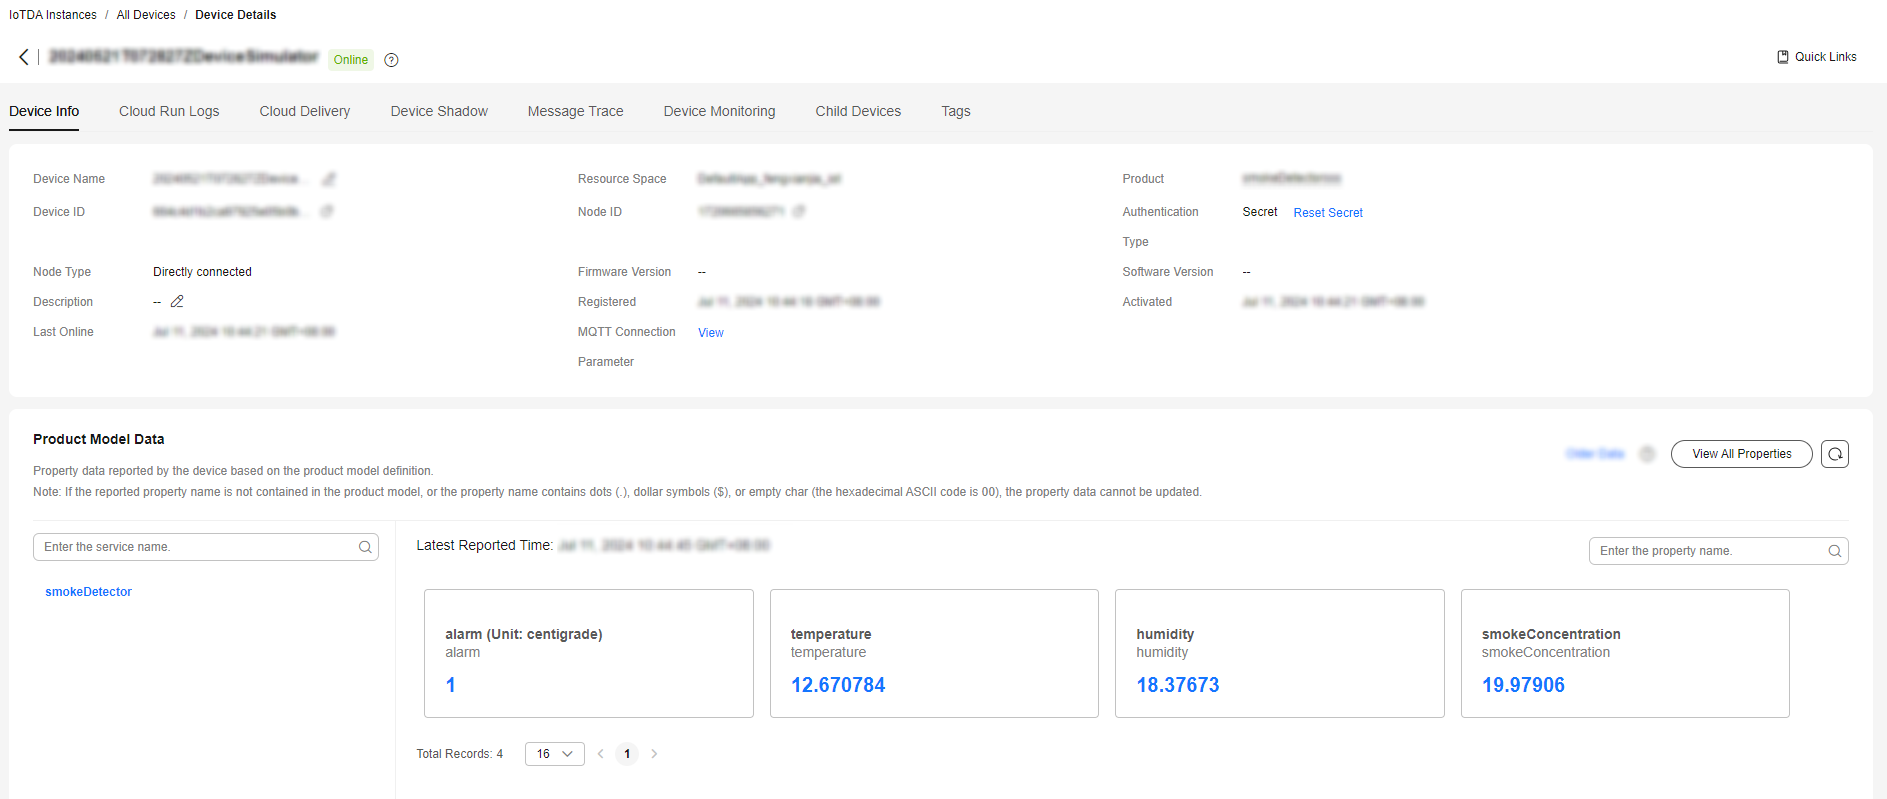
Reported properties in the JSON format are as follows:1var propertiesReportJson = {'services':[{'properties':{'alarm':1,'temperature':12.670784,'humidity':18.37673,'smokeConcentration':19.97906},'service_id':'smokeDetector','event_time':null}]};
The following figure shows the CLI.

If the properties are reported, the following information is displayed on the IoTDA console:
Figure 3 Viewing reported data - Demo_smokeDetector

If the latest data is not displayed on the device details page, check whether the services and properties reported by the device are the same as those in the product model.
Receiving a Command
The demo provides the method for receiving commands delivered by the platform. After an MQTT connection is established and a topic is subscribed, you can deliver a command to a device of specific ID on the device details page of the IoTDA console or by using the demo on the application side. After the command is delivered, the MQTT callback function receives the command delivered by the platform.
For example, deliver a command carrying the parameter name smokeDetector: SILENCE and parameter value 50.

After the command is delivered, the demo receives a 50 message. The following figure shows the command execution page.

Feedback
Was this page helpful?
Provide feedbackThank you very much for your feedback. We will continue working to improve the documentation.See the reply and handling status in My Cloud VOC.
For any further questions, feel free to contact us through the chatbot.
Chatbot


