Updated on 2025-12-02 GMT+08:00
One-stop Cross-AZ ECS Migration
Scenario
Use MgC to quickly migrate cloud servers from one AZ to another within a region. A maximum of 30 cloud servers can be migrated in a single batch.
Preparations
- Prepare a HUAWEI ID or an IAM user that has the permissions to access MgC. For details, see Preparations.
- Create a migration project on the MgC console. For details, see Managing Migration Projects. Set Project Type to Application migration.
Creating a Cross-AZ Server Migration Workflow
- Sign in to the MgC console. In the navigation pane, under Project, select your application migration project from the drop-down list.
- In the navigation pane on the left, choose Overview.
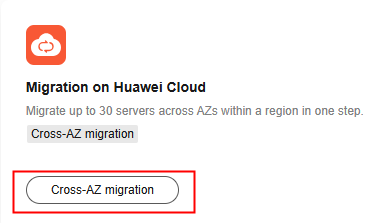
- In the Use Cases area, click Cross-AZ Migration under Migration on Huawei Cloud.

- In the Get Started with Cross-AZ Migration dialog box, enter an application name and select the desired region from the Region drop-down list.
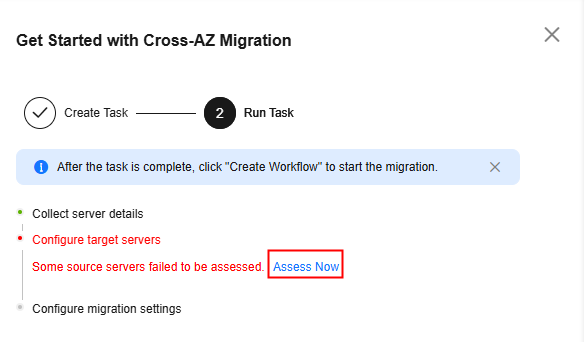
- Select the source AZ and target AZ, and click Create and Run. The system automatically creates a cross-AZ migration plan and collects information about the servers in the source AZ. After the collection is complete, the system automatically configures target servers that have the same specifications as source servers.
- If the target servers are configured successfully for all source servers, the system automatically configures migration settings. After the migration settings are configured, go to Step 6.
- If the system fails to configure a target server for any source server, click Access Now to manually configure the target server. You need to complete the subsequent steps by referring to step 3 to step 6 in Creating a Cross-AZ Server Migration Plan.

- Click Create Workflow. The Start Workflow dialog box is displayed, indicating that the workflow has been created.
- If you want to start the migration immediately, click OK to start the workflow and view the workflow details.
- If you want to save the migration workflow without starting the migration, click Cancel. The migration workflow will move to a Waiting status, and the migration has not started yet. To run the workflow, click Run in the Operation column to manually start the migration.
Feedback
Was this page helpful?
Provide feedbackThank you very much for your feedback. We will continue working to improve the documentation.See the reply and handling status in My Cloud VOC.
The system is busy. Please try again later.
For any further questions, feel free to contact us through the chatbot.
Chatbot


