Managing Third-Party Model Deployment Tasks
Updating a Model
After completing the operations in Creating a Third-Party Model Deployment Task, you can replace the deployed model and upgrade the configuration. The procedure is as follows:
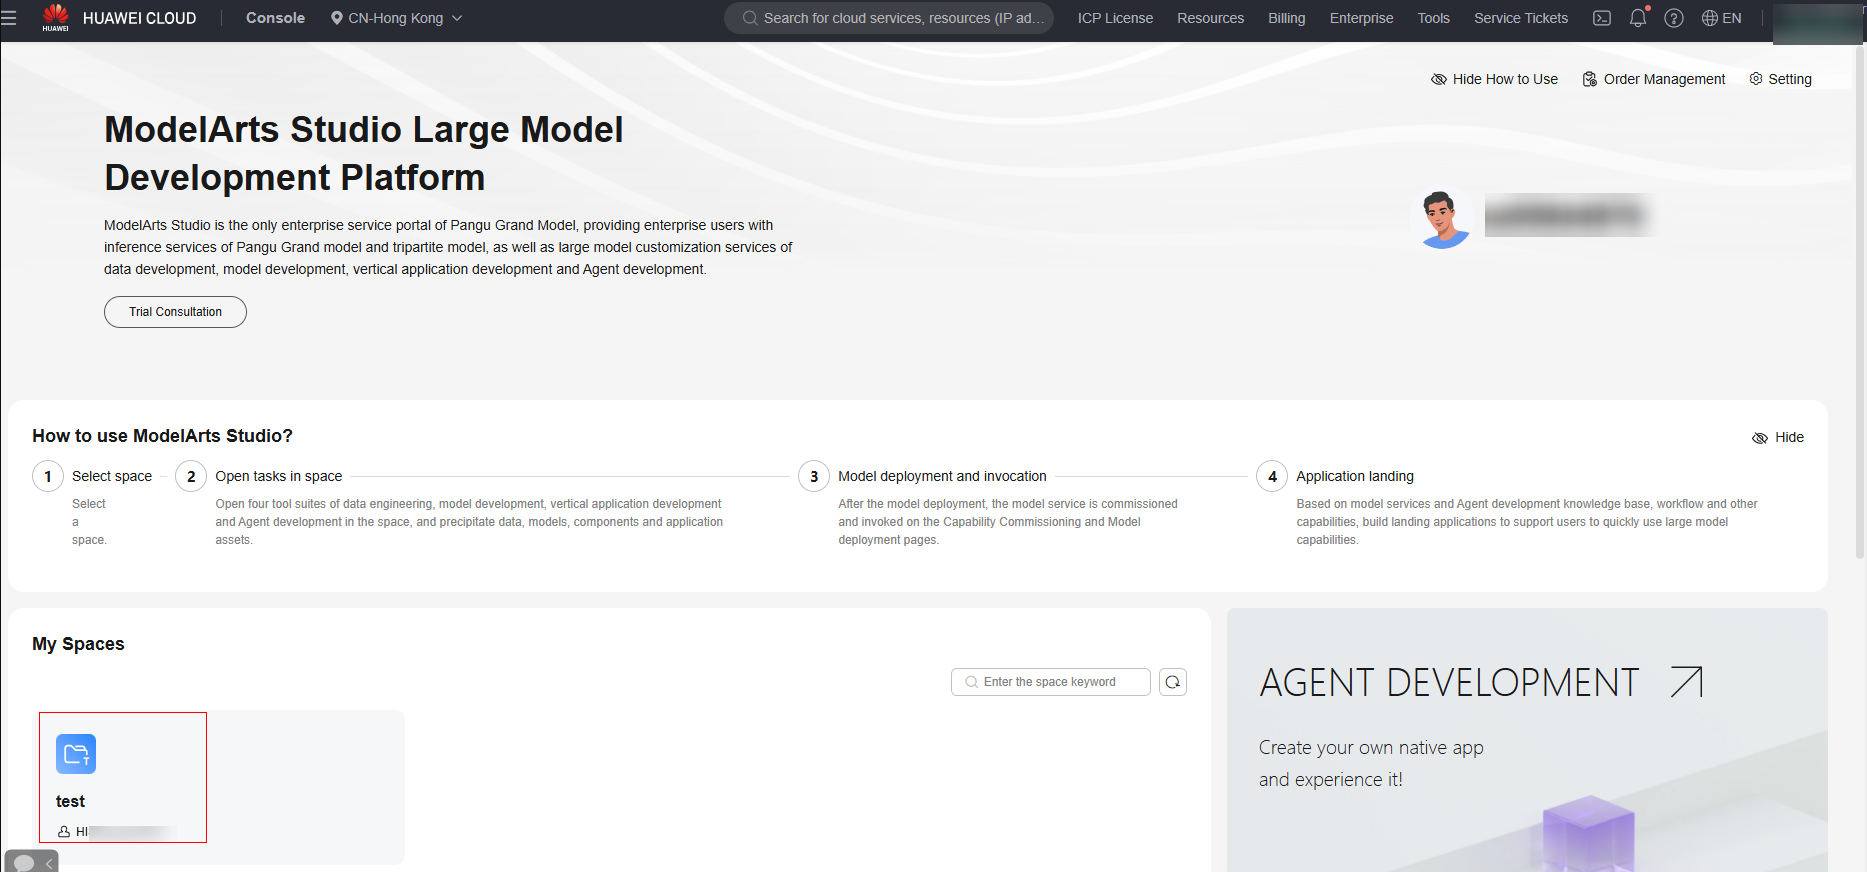
- Log in to ModelArts Studio Large Model Deveopment Platform. In the My Spaces area, click the required workspace.
Figure 1 My Spaces

- In the navigation pane, choose Model Development > Model Deployment. Click the model name to go to the model details page.
- Click Update Model in the upper right corner.
- In the Modifiable Configuration > Deployed Model area, you can select a model to replace the deployed model.
- In the Upgrade Configuration area, select either of the following upgrade modes:
- Full upgrade: Services of the old and new versions run at the same time until the new version completely replaces the old version. The old version can still be used before the new version is deployed. Twice the number of resources required by the service will be used for a one-time full upgrade.
- Rolling upgrade: Some instance resources are reserved for rolling upgrade. Instances of the old version are stopped one by one or in batches and the new version is started. During the rolling upgrade, you can change the number of instances. If you choose to reduce the number of instances during the upgrade, the system deletes the old version first and then performs the upgrade. The old version is unavailable during the upgrade.

After the upgrade configuration is complete, you need to restart the deployment task. The upgrade mode is the restart mode.
Modifying Deployment Configurations
After completing the operations in Creating a Third-Party Model Deployment Task, you can modify the description of the deployed model and upgrade the configuration, but cannot replace the model. The procedure is as follows:
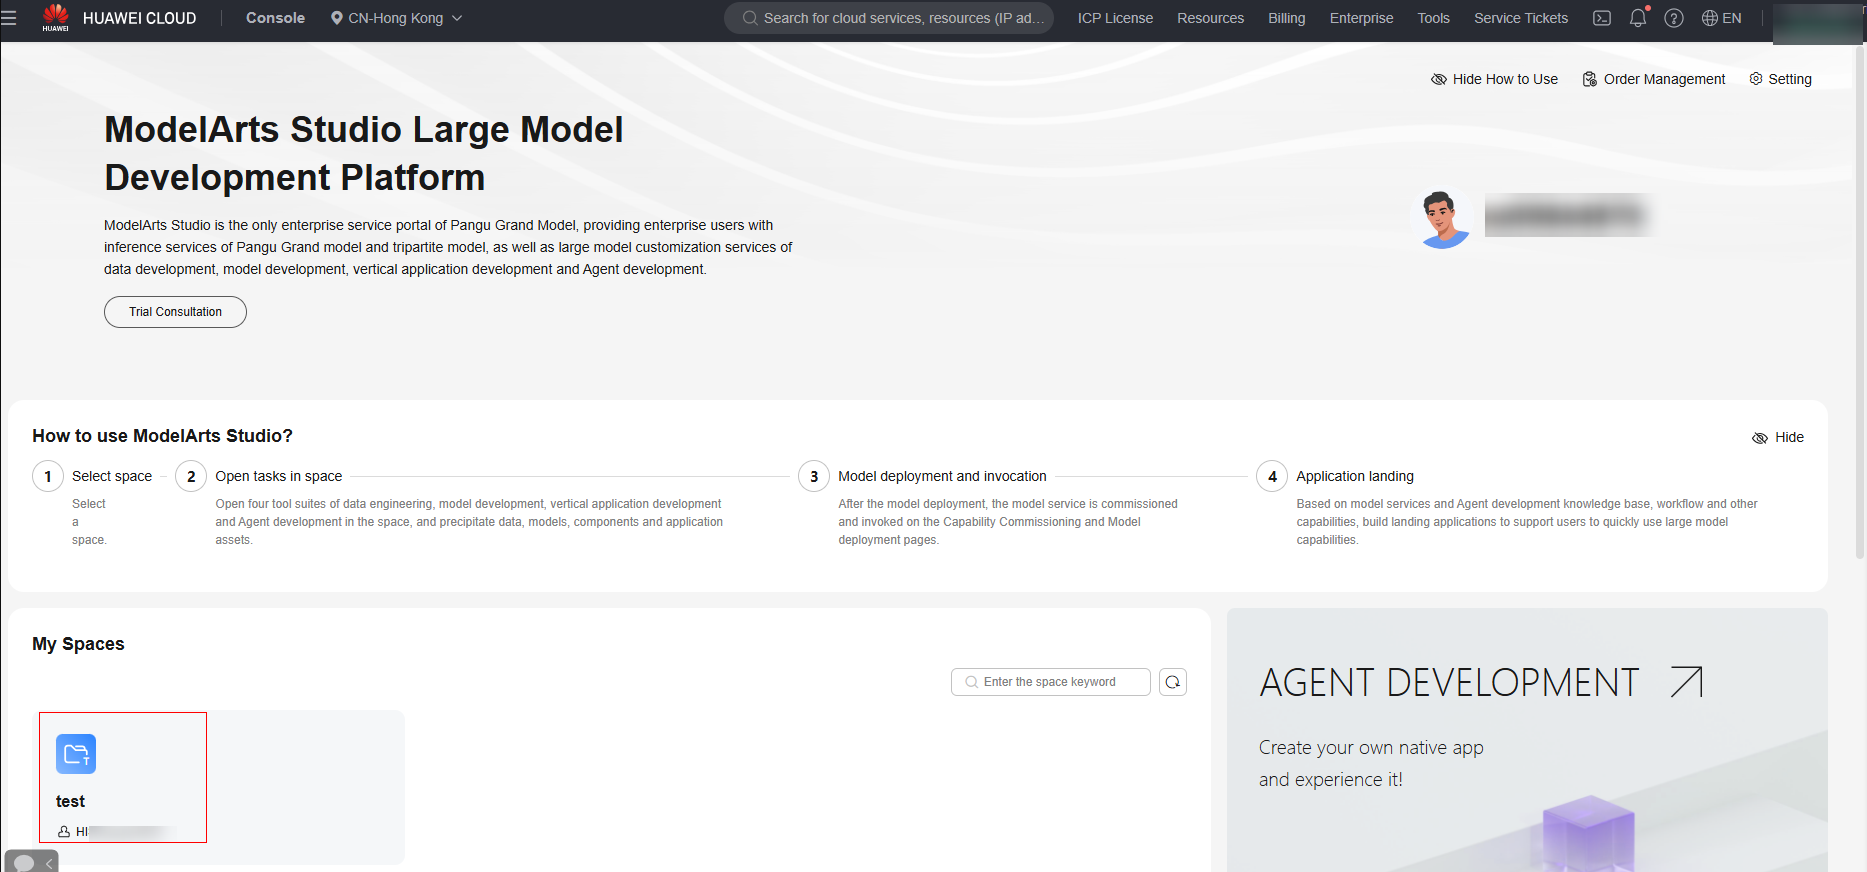
- Log in to ModelArts Studio Large Model Deveopment Platform. In the My Spaces area, click the required workspace.
Figure 2 My Spaces

- In the navigation pane, choose Model Development > Model Deployment. Click the model name to go to the model details page.
- Click Modify Deployment in the upper right corner.
- In the Modifiable Configuration area, modify the description of a deployed model if required.
- In the Upgrade Configuration area, select either of the following upgrade modes:
- Full upgrade: Services of the old and new versions run at the same time until the new version completely replaces the old version. The old version can still be used before the new version is deployed. Twice the number of resources required by the service will be used for a one-time full upgrade.
- Rolling upgrade: Some instance resources are reserved for rolling upgrade. Instances of the old version are stopped one by one or in batches and the new version is started. During the rolling upgrade, you can change the number of instances. If you choose to reduce the number of instances during the upgrade, the system deletes the old version first and then performs the upgrade. The old version is unavailable during the upgrade.

After the upgrade configuration is complete, you need to restart the deployment task. The upgrade mode is the restart mode.
Scaling Model Deployment Instances
After the operations in Creating a Third-Party Model Deployment Task are complete, you can scale in or out the instances where the model has been deployed. The procedure is as follows:
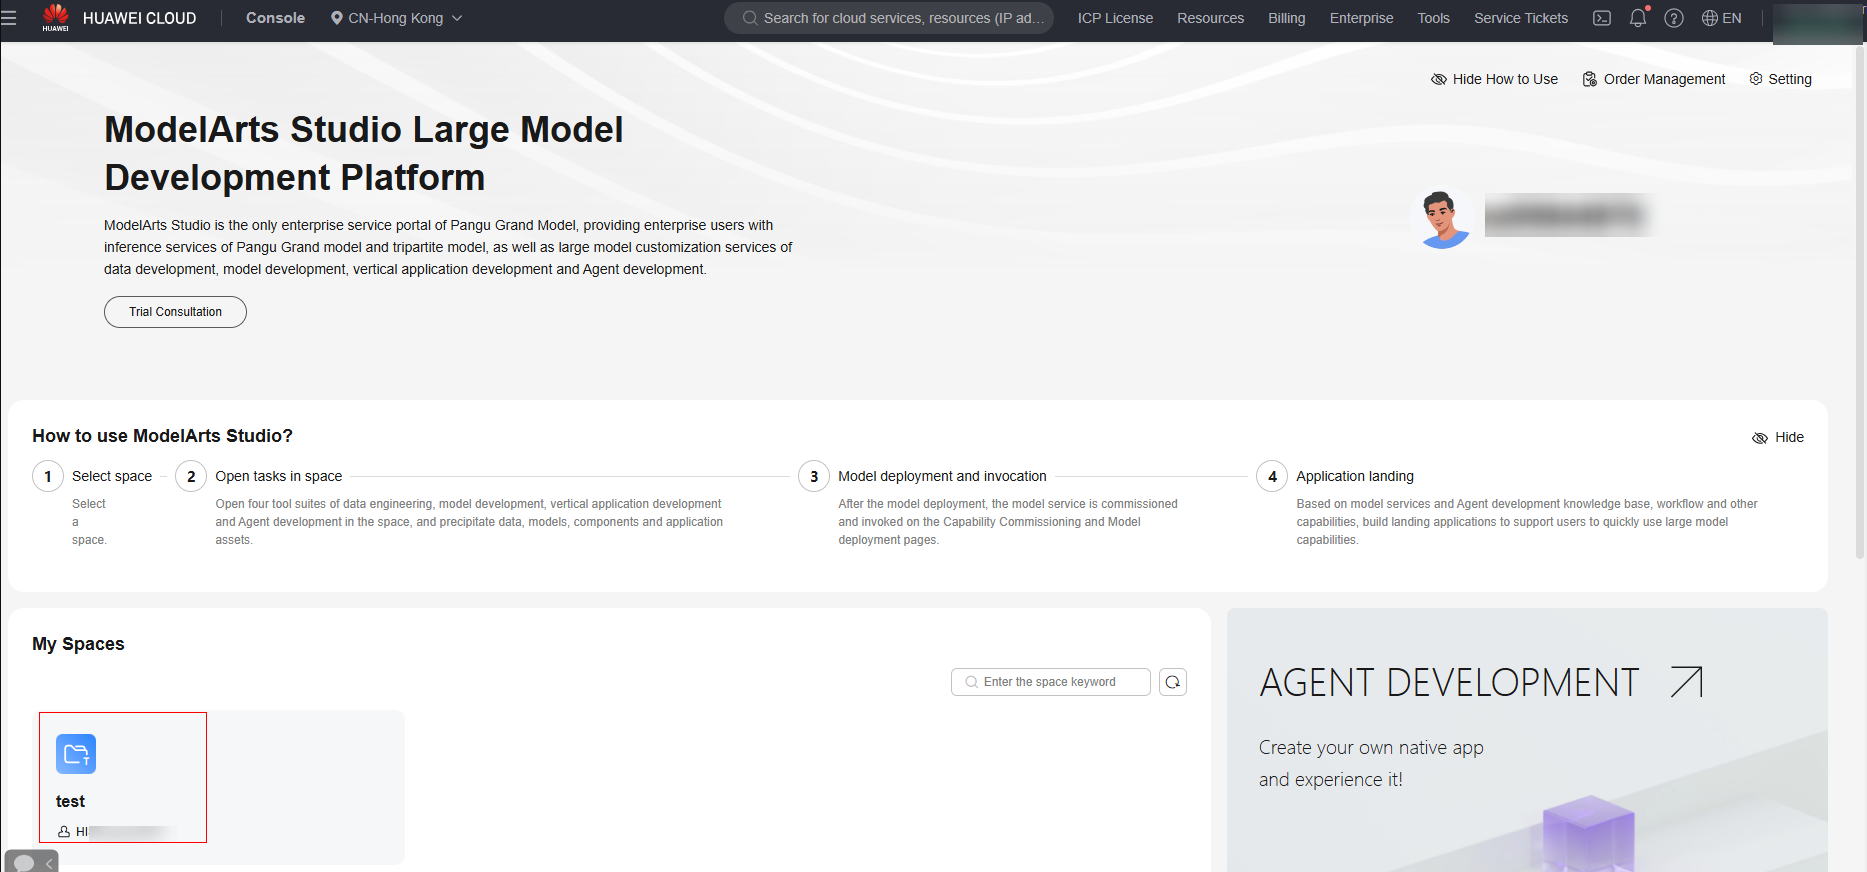
- Log in to ModelArts Studio Large Model Deveopment Platform. In the My Spaces area, click the required workspace.
Figure 3 My Spaces

- In the navigation pane, choose Model Development > Model Deployment. Click the model name to go to the model details page.
- Click Scale in the upper right corner. On the page that is displayed, change the number of instances and click OK.
Managing Model Deployment Tasks
In the navigation pane, choose Model Development > Model Deployment. In the model service list, you can start, stop, call, and delete a service.
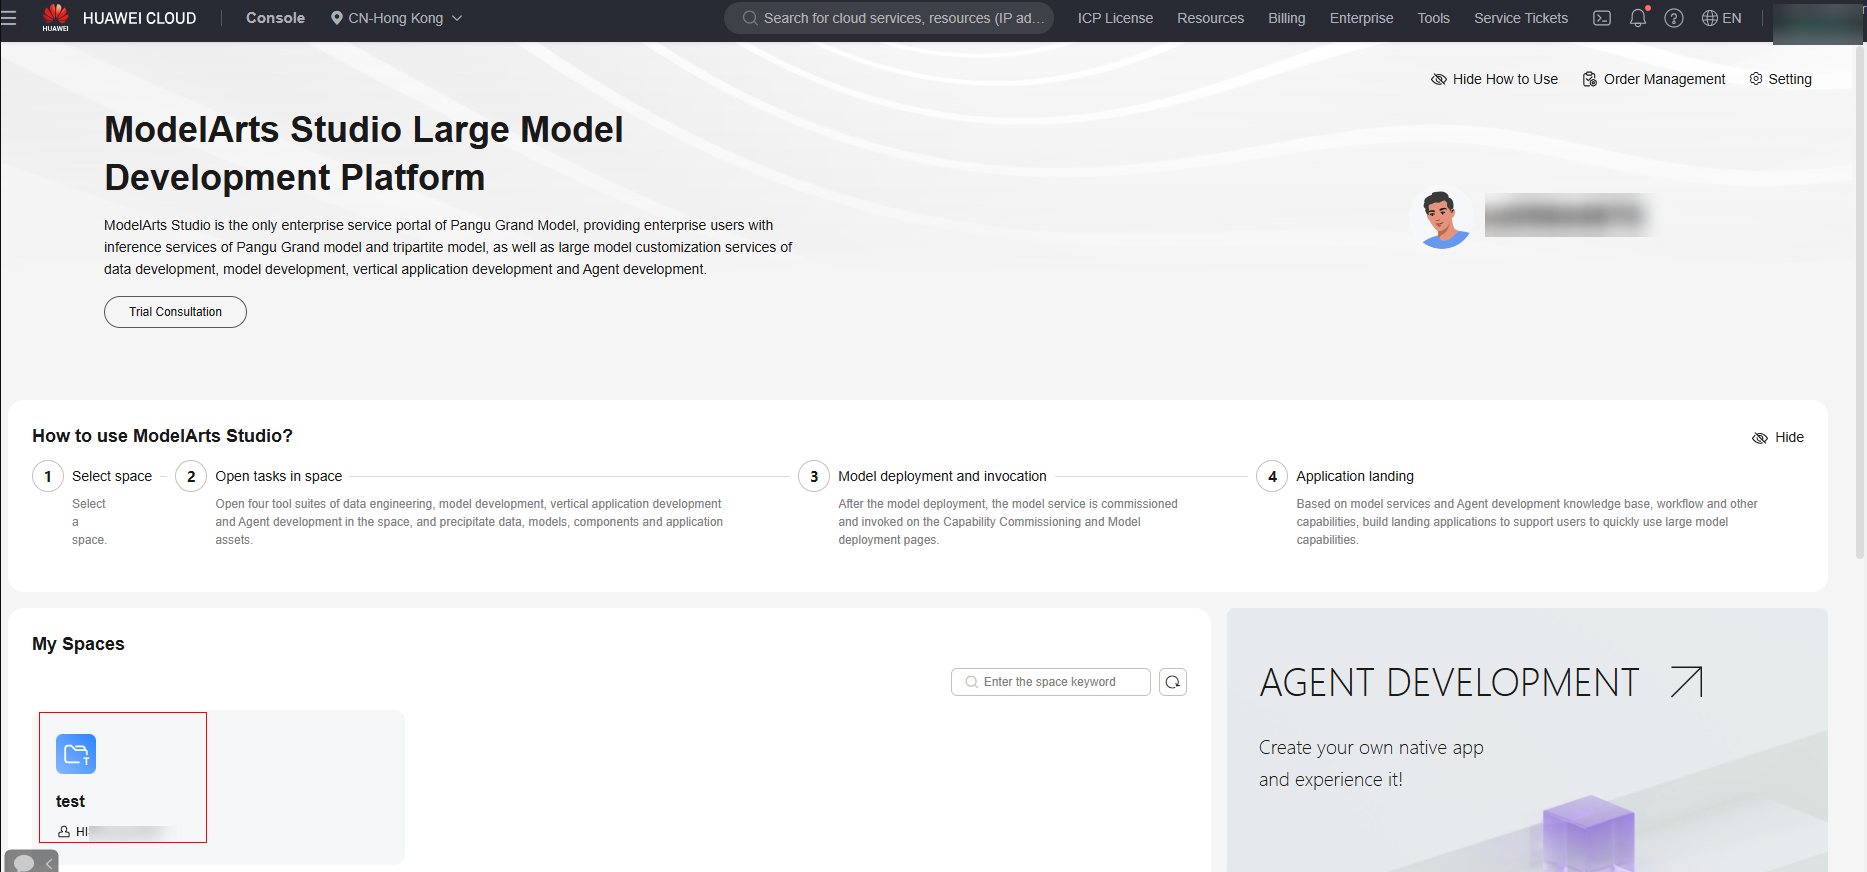
- Log in to ModelArts Studio Large Model Deveopment Platform. In the My Spaces area, click the required workspace.
Figure 4 My Spaces

- In the navigation pane, choose Model Development > Model Deployment. Perform the following operations:
- Start: Click Start in the Operation column to start a stopped model service. After the model service is started, it can be called for inference.
- Stop: Click Stop in the Operation column to stop a model service in the Running state.
- Call Statistics: Choose More > Call Statistics in the Operation column to view the call statistics of the model, including the number of calls and token statistics.
- Delete: Click More > Delete in the Operation column to delete unnecessary model deployment tasks.

Deleting a training job is a high-risk operation. Before deleting a job, ensure that it is no longer needed.
Feedback
Was this page helpful?
Provide feedbackThank you very much for your feedback. We will continue working to improve the documentation.See the reply and handling status in My Cloud VOC.
For any further questions, feel free to contact us through the chatbot.
Chatbot


