Using Data Engineering to Build a Third-Party Model Dataset
Process of Building a Third-Party Model Dataset
Table 1 describes how to use data engineering to build a third-party model dataset on ModelArts Studio.
|
Procedure |
Step |
Description |
Reference |
|---|---|---|---|
|
Importing data to the Pangu platform |
Creating an import task |
Import data stored in OBS or local data into the platform for centralized management, facilitating subsequent processing or publishing. Note: When importing data, set Dataset Type to Other. |
|
|
Processing other datasets |
Processing other datasets |
Use custom processing operators to preprocess data, ensuring it meets the model training standards and service requirements. |
|
|
Publishing other datasets |
Publishing other datasets |
Data publishing refers to publishing a single dataset in a specific format as a published dataset for subsequent model training operations. |
Creating a Third-Party Model Dataset
For details about how to create a third-party model dataset on ModelArts Studio, see Table 1.
Creating an import job
Before creating an import job, prepare data based on the preceding requirements.
You can use OBS to import data. For details, see Using OBS Console.
To create an import job, do as follows:
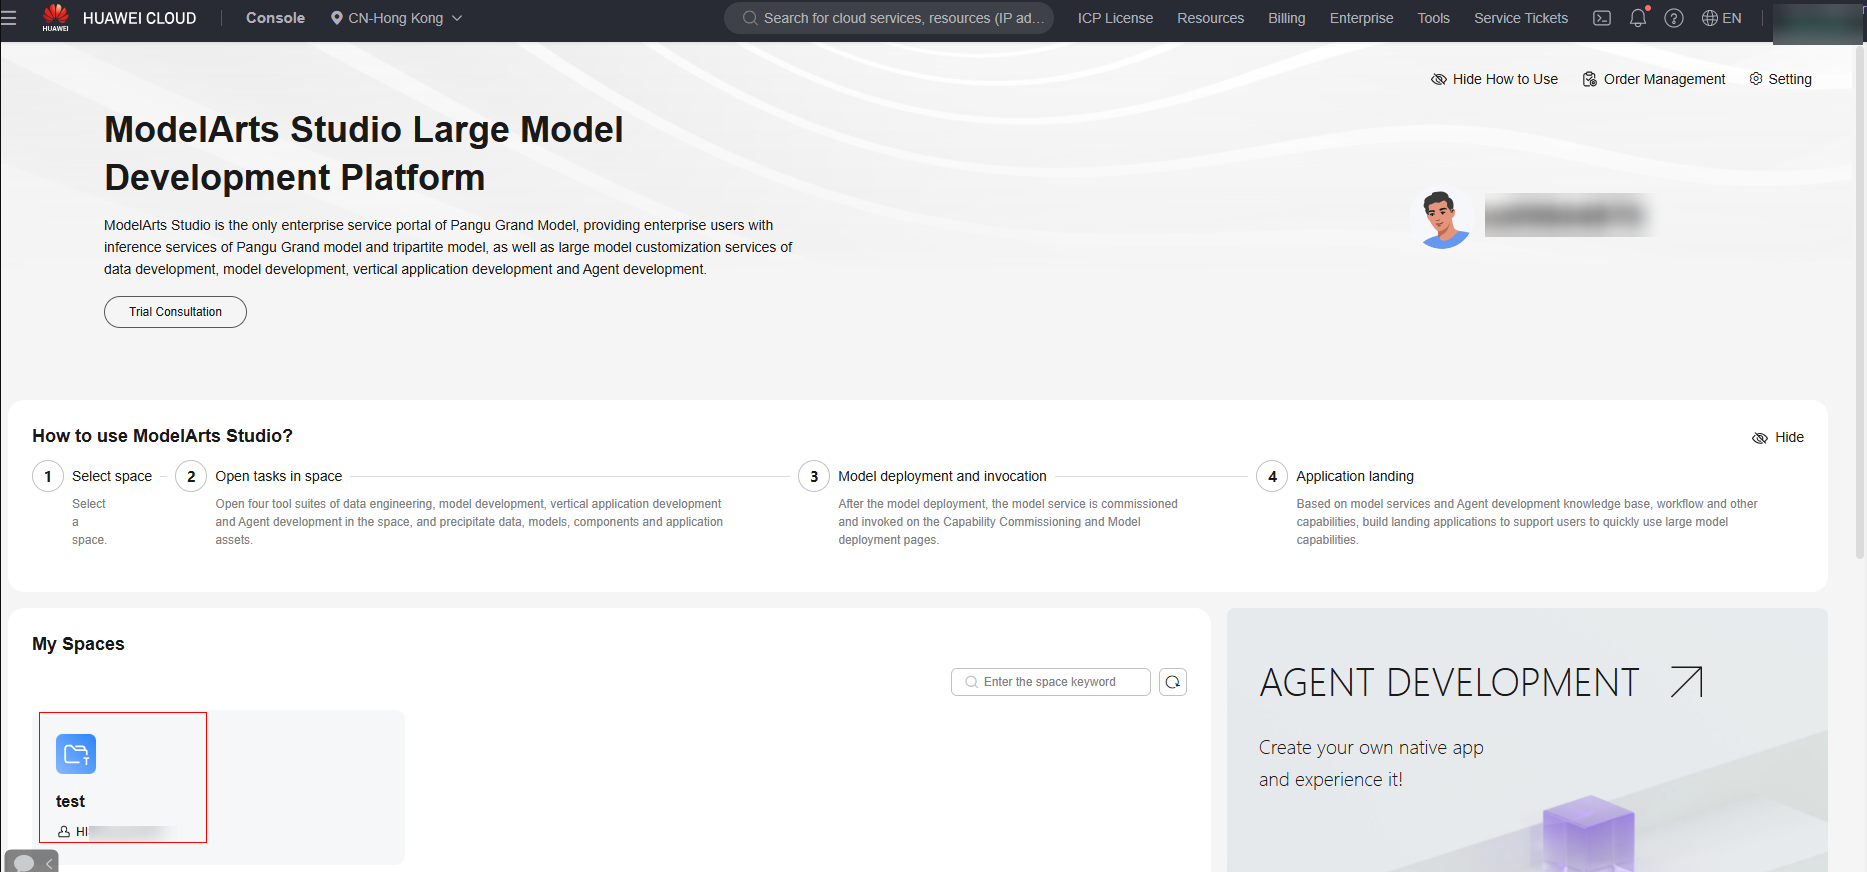
- Log in to ModelArts Studio Large Model Deveopment Platform. In the My Spaces area, click the required workspace.
Figure 1 My Spaces

- In the navigation pane, choose Data Engineering > Data Acquisition. On the Import Task page, click Create Import Job in the upper right corner.
- Select a dataset of the Other type and select the OBS path where the training data is stored.
- Click Create Now to create a dataset.
- In the navigation pane, choose Data Engineering > Data Publishing > Publish Task. On the displayed page, click Create Data Publish Task in the upper right corner.
- Select a dataset of the Other type and select the created dataset. Click Next. Set the data usage and dataset visibility, enter the dataset name and description, set extended information (optional), and click OK.
Feedback
Was this page helpful?
Provide feedbackThank you very much for your feedback. We will continue working to improve the documentation.See the reply and handling status in My Cloud VOC.
For any further questions, feel free to contact us through the chatbot.
Chatbot


