
Help Center/ Huawei Cloud Astro Zero/ User Guide (Low-Code)/ Backend Development/ BPMs/ Setting the Layout of the Runtime-State BPM
Updated on 2025-08-15 GMT+08:00
Setting the Layout of the Runtime-State BPM
After configuring the diagram elements and BPM, you can configure the GUI layout of the BPM in the runtime environment.
Setting the Layout of the Runtime Environment
- Log in to the application designer by referring to Logging In to the Application Designer.
- In the navigation pane, choose BPMs and click a BPM.
- On the BPM development and design page, select a blank area, and click
 on the right.
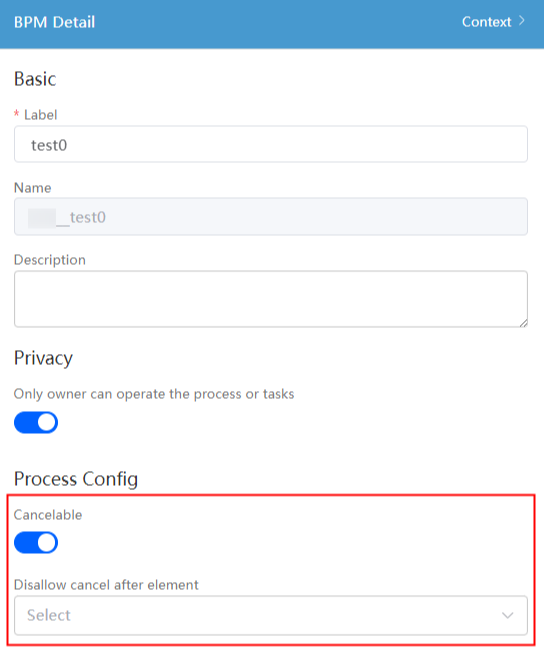
 - In the BPM configuration area, set whether the BPM can be canceled and which element cannot be canceled. Figure 1 Configuration
- Click
 and set Instance Label to the display name of the BPM instance in the runtime state.
 - In the BPM Layouts area, click
 next to the instance details to edit the BPM layout. On the page for editing the layout, you can modify the titles of Instance Basic Info, Active Tasks, and History in the runtime state, and edit the columns to be displayed in History.Figure 2 Editing a layout
- After the configuration is complete, click
 in the upper part of the BPM design page to save the BPM.
 - Choose Run > Run Now in the upper part of the application designer page to preview the application.
- On the displayed page, click History. Figure 3 Previewing an application

- In the historical task list, click the task name of the instance to view the runtime layout of the BPM.
If the cancelable option is enabled in 4, you can view the cancel button.
Feedback
Was this page helpful?
Provide feedbackThank you very much for your feedback. We will continue working to improve the documentation.See the reply and handling status in My Cloud VOC.
The system is busy. Please try again later.
For any further questions, feel free to contact us through the chatbot.
Chatbot


