
Using MQTT.fx to Send and Receive Messages
Overview
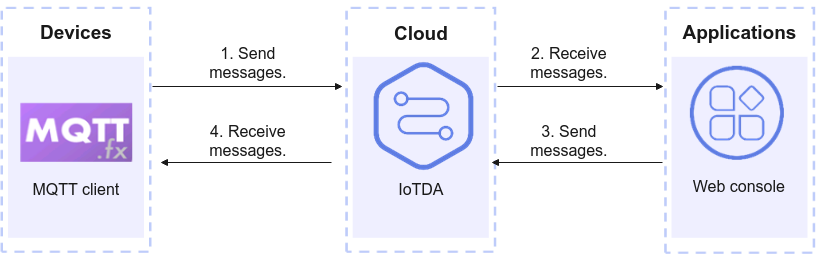
MQTT.fx is an MQTT client written in Java based on Eclipse Paho. It supports Windows, macOS, and Linux OSs. It can be used to simulate the connection of devices to Huawei Cloud IoTDA through MQTTS/MQTT, and the publishing and subscription of messages through topics. This section uses Windows as an example to describe how to use MQTT.fx to access Huawei Cloud IoTDA and send and receive messages.
Prerequisites
- You have registered a Huawei Cloud account.
- You have enabled IoTDA. For details, see Subscribing to IoTDA.
- You have created a product and a device. For details, see Registering a Device.
Using MQTT.fx to Connect to IoTDA
- Download MQTT.fx (64-bit OS) or MQTT.fx (32-bit OS) and install it.
- Open the MQTT.fx client and choose Extras > Edit Connection Profiles from the menu bar.
- On the Edit Connection Profiles page, set related parameters and click OK. Figure 2 MQTT.fx connection parameters

Parameter
Description
Example Value
Profile Name
Name of the configuration file.
Enter MQTT Test.
Profile Type
Type of the connection to be configured.
The value is fixed at MQTT Broker, indicating that the MQTT server is to be connected.
Broker Address
Access address of the MQTT server.
Access your instance, choose Overview, click Access Details, and obtain the MQTTS access address. For details, see MQTTS access address.
Broker Port
Access port of the MQTT server.
Enter 8883.
Client ID
IoTDA can send and receive messages only after device access authentication is successful. For details about device authentication parameters, see
Go to the device details page, find MQTT Connection Parameter, and click View to check the clientId, username, and password.
User Name
Password
SSL/TLS
Enable SSL/TLS
Whether to use the SSL or TLS encryption protocol.
Yes
Protocol
Protocol version.
Select TLSv1.2.
CA certificate file
CA certificate file.
Obtain the CA certificate of the corresponding region from the certificate resource page.
- After setting the parameters, click Connect. If the icon in the upper right corner turns green, MQTT.fx has been connected to Huawei Cloud IoTDA. If the icon in the upper right corner turns red, the connection fails. Click the Log tab to check logs, modify the configuration based on the log information, and try again. Figure 3 MQTT.fx connection

- Access the IoTDA service page and click Access Console. In the navigation pane, choose IoTDA Instances and click the target instance card. In the navigation pane, choose Devices > All Devices to check the device status. The device status is expected to be online. Figure 4 Device list - Device online status

Using MQTT.fx to Send Messages
- Click the Publish tab on the MQTT.fx client.
- On the displayed tab page, enter the topic name in the Topic text box on the left, for example, /test/deviceToCloud. Enter the message content in the Message text box, for example, hello. Click Publish to send the message. Figure 5 MQTT.fx message sending

- Access the IoTDA service page and click Access Console. In the navigation pane, choose IoTDA Instances and click the target instance card. In the navigation pane, choose Devices > All Devices. On the displayed page, click View. On the Message Trace tab page, check the messages sent by MQTT.fx. Figure 6 Message tracing - Viewing results

- After MQTT.fx sends messages to the platform, configure data forwarding rules to forward the messages to message middleware, storage, data analysis, or service applications.
Using MQTT.fx to Receive Messages
- Click the Subscribe tab on the MQTT.fx client.
- On the displayed tab page, enter the topic name in the Topic text box on the left and click Subscribe. /test/cloudToDevice is used as an example. After the topic is subscribed to, check the topic in the subscription list. Figure 7 MQTT.fx subscription topic

- Access the IoTDA service page and click Access Console. In the navigation pane, choose IoTDA Instances and click the target instance card. In the navigation pane, choose Devices > All Devices. On the device list, click a device to access its details page.
- Click the Cloud Delivery tab. On the Message Delivery tab page, click Deliver Message. In the displayed dialog box, configure the content and the parameters for the message to deliver. Figure 8 Delivering a message - Custom topic

- On the MQTT.fx client, click the Subscribe tab. The message received from the subscribed topic is displayed. Figure 9 Checking messages using MQTT.fx

Feedback
Was this page helpful?
Provide feedbackThank you very much for your feedback. We will continue working to improve the documentation.See the reply and handling status in My Cloud VOC.
For any further questions, feel free to contact us through the chatbot.
Chatbot


