Managing Public Groups in Applications
What Is a Public Group?
A public group can contain users, portal users, other groups, roles, and roles with subordinates. A user can be added to multiple groups.

Creating a Public Group
- Log in to the Huawei Cloud Astro Zero console and click Access Homepage. The application development page is displayed.
- In the upper left corner of the page, click
 and choose Environments > Environment Configuration.
 - Choose Maintenance from the main menu.
- In the navigation pane, choose Global Elements > Public Groups and click New.
- Set basic information about the public group and add members to the public group.
Table 1 Group parameters Parameter
Description
Label
Label of the public group, which will be displayed on the console.
Value: 1–64 characters.
Name
Name of the public group, which uniquely identifies the public group in the system.
The value must start with a letter and can contain only letters, digits, and underscores (_). It cannot end with an underscore (_).
Grant Access Using Hierarchies
Indicates whether to include the upper-level role users of the members.
For example, user A is a member of a public group and has been granted the role R1. The upper-level role of R1 is R2. If you select this option, users granted role R2 will also become the members of the public group.
Add Group Member
In the Add Group Member area, click Add to add members to the group. Select an added member and click Remove Selected Members to remove the member.
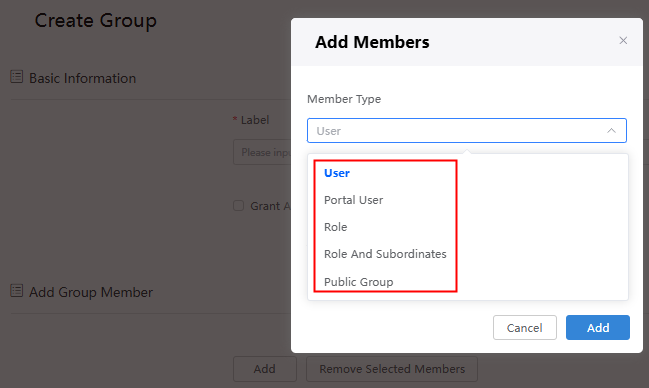
You can add a user, group, role, or roles with subordinates, or portal users to the group. If you add a role to the public group, all users granted this role also belong to this public group.
- Click Save.
On the public group details page, you can modify the basic information, add users, or remove existing users. Return to the Public Groups page and click
 next to a public group to delete it.
 - After a public group is created, you can apply it in the following scenarios:
- For notifications, to specify the recipients of emails sent by the system.
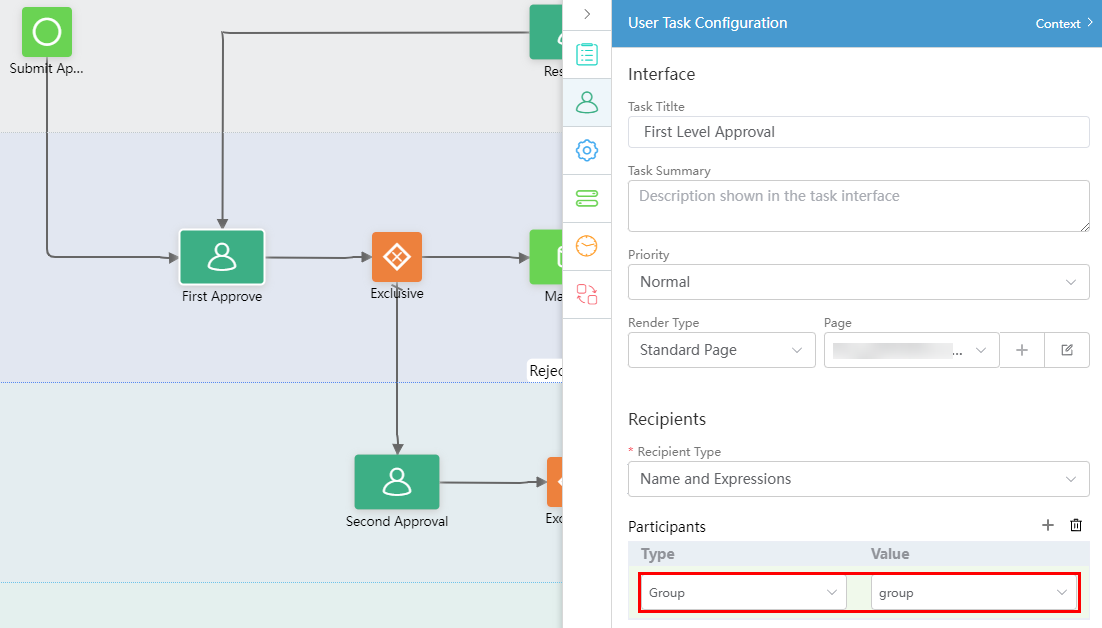
- To set the recipients for BPM user activities. See User Activity.
Figure 2 Using a public group in a BPM

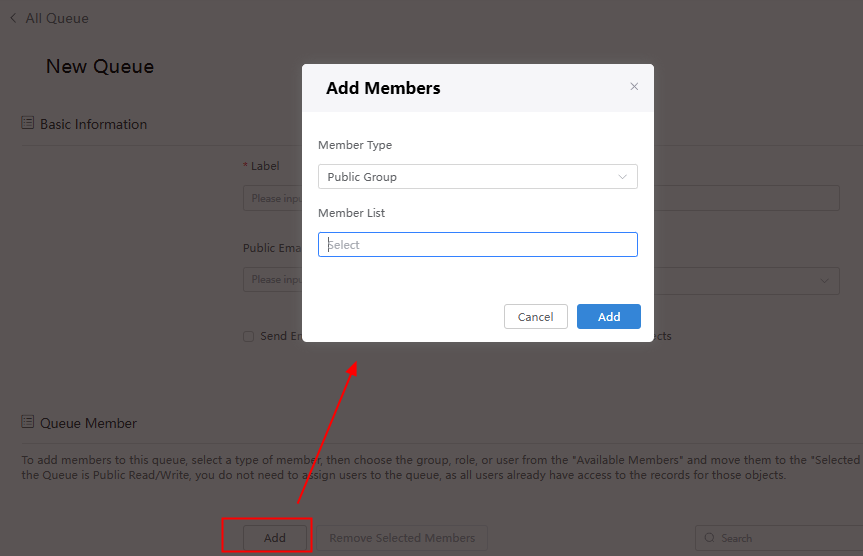
- Use the public group in a queue, see Create MQ.
Figure 3 Using a public group in a queue

Feedback
Was this page helpful?
Provide feedbackThank you very much for your feedback. We will continue working to improve the documentation.See the reply and handling status in My Cloud VOC.
For any further questions, feel free to contact us through the chatbot.
Chatbot


