Creating a Binding Relationship
Scenarios
To restrict the application scenarios of a desktop, the administrator can bind the MAC address of a terminal to a desktop so that only the bound terminal can be used to log in to the desktop.
Constraints
This feature is not applicable to Android mobile terminals and Android TCs.
Prerequisites
- The name of the desktop to which the terminal is to be bound has been obtained on the Workspace console.
- The MAC address of the terminal to be bound has been obtained.
- The terminal-desktop binding function has been enabled by referring to Enabling or Disabling Terminal-Desktop Binding.
Procedure
- Log in to the console.
- In the navigation pane, choose Policies > Terminal-Desktop Binding.
The terminal-desktop binding list is displayed.
- Record the binding relationship.
You can manually enter binding relationships or enter binding relationships in batches based on the number of binding relationships.
- Add Manually
If a small number of desktops need to be bound to terminals, you can manually enter the information.
- Click Add Manually.
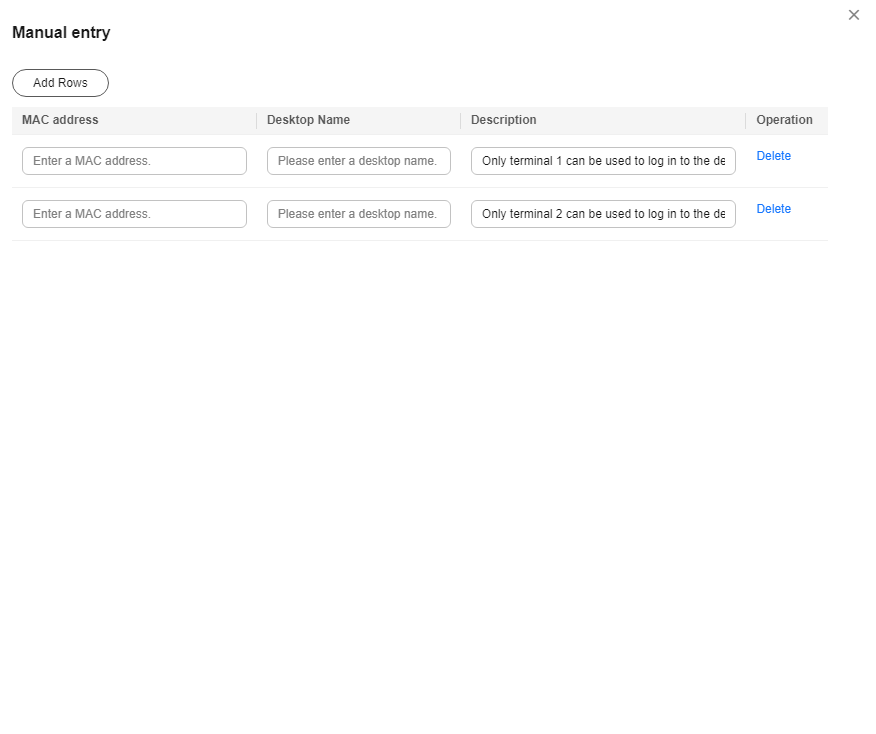
- On the displayed page, enter the MAC address, desktop name, and description, as shown in Figure 1.

- The MAC address format is xx-xx-xx-xx-xx-xx.
- One MAC address can be bound to multiple desktops.
- A desktop can be bound to multiple MAC addresses.
- Information cannot be entered if there are more than 100,000 binding relationships.
- If multiple terminals need to be bound, click Add Rows to add binding information.
- Click OK.
- Batch Add
If a large number of desktops need to be bound to terminals, you can batch enter the information.
- Click Batch Add.
- On the displayed page, click Download Template.
- Open the downloaded template and enter the serial number, MAC address, desktop name, and description, as shown in Figure 2.

- The MAC address format is xx-xx-xx-xx-xx-xx.
- One MAC address can be bound to multiple desktops.
- A desktop can be bound to multiple MAC addresses.
- The maximum size of a file to be uploaded at a time is 1 MB, and only the .xlsx format is supported.
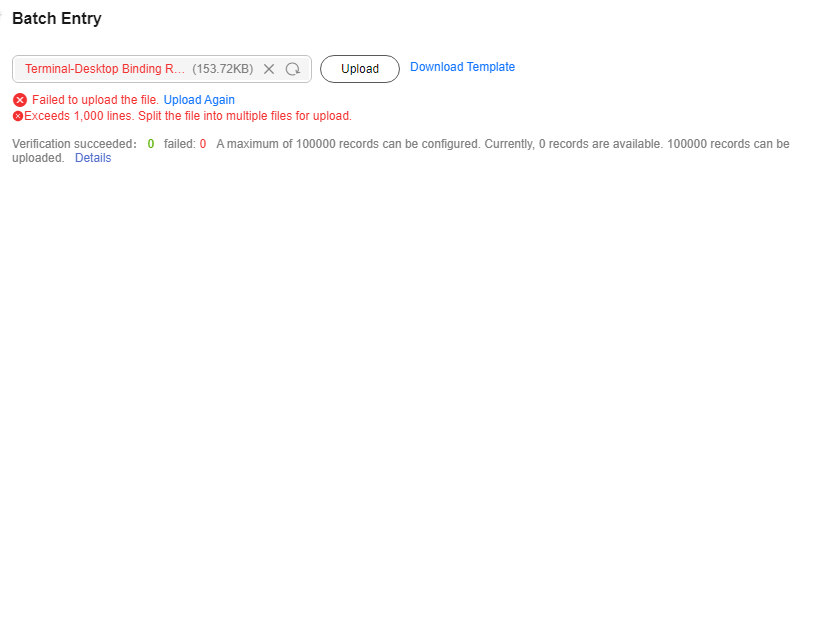
- Information cannot be entered if there are more than 100,000 binding relationships. Information of up to 1,000 binding relationships can be entered at a time.
- Save and close the template file containing the binding information.
- On the page of batch entering information, click Upload.
- Select the file in which the binding information has been filled in 3.d and click Open.
The system verifies the correctness of the imported information and compares the information with that of the existing binding relationships.
- If a message indicating successful upload is displayed, the binding relationships in the file have been uploaded to the system. After clicking Close, you can view the uploaded binding relationships on the Terminal-Desktop Binding page.
- If a message indicating failed upload is displayed, the binding relationships in the file were not uploaded to the system. You can click Details to check the exception cause, modify the uploaded file according to the exception cause, and upload the file again by referring to 3.d to 3.f. If some binding relationships pass the verification, you can click OK to upload the verified binding relationships to the system. If you click Cancel, the batch upload is canceled.


If the format of the imported information is correct and the information does not conflict with the existing binding relationships, but a message indicating upload failure still appears, click Re-upload to try again. If the upload still fails, submit a service ticket for technical support.
- Add Manually
Feedback
Was this page helpful?
Provide feedbackThank you very much for your feedback. We will continue working to improve the documentation.See the reply and handling status in My Cloud VOC.
For any further questions, feel free to contact us through the chatbot.
Chatbot


