Configuring Common Work Item Statuses
Customize common statuses that can be used by any type of work items in your project.
Constraints and Restrictions
- The New and Closed statuses cannot be deleted.
- A maximum of 50 common statuses can be customized.
Prerequisites
- You have created a Scrum project. For details, see Creating a CodeArts Project.
- An IAM user has been added to the project. For details about how to add members, see Adding Members to a CodeArts Project.
- You have permissions to custom work items. For details about how to set permissions, see Managing Project Permissions.
Procedure
- Access the CodeArts Req homepage.
- Go to a Scrum project and choose .
- In the navigation pane, choose Common Statuses. Click Add Status and add work item statuses (for example, CommonStatus 1) by referring to Table 1.
Table 1 Status parameters Parameter
Description
Status
Status name. The value can contain 2 to 15 characters, including letters, digits, underscores (_), and hyphens (-).
Status Category
Select a value from the drop-down list, including To do, Doing, and Done.
Description
The status description contains a maximum of 100 characters.
- The added status is displayed in the status list, including the name, description, category, and usage.
- Common statuses can be deleted.
- Add an existing common status (for example, CommonStatus1) for a work item. Custom common statuses can be configured and used for all types of work items of the current project.
The following uses a story status as an example:
- In the navigation pane, choose Stories > Statuses and Transitions.
On the Statuses tab page, click Add Existing Status. In the Status drop-down list, select CommonStatus1 and click OK.
- In the list, click
 next to the Status column header. You can see that CommonStatus 1 can be used in the story work item.

- In the navigation pane, choose Stories > Statuses and Transitions.
- (Optional) To prevent a closed work item from being edited, toggle on Set work item to read-only for finished work items. shown in the following figure.
Figure 1 Status management

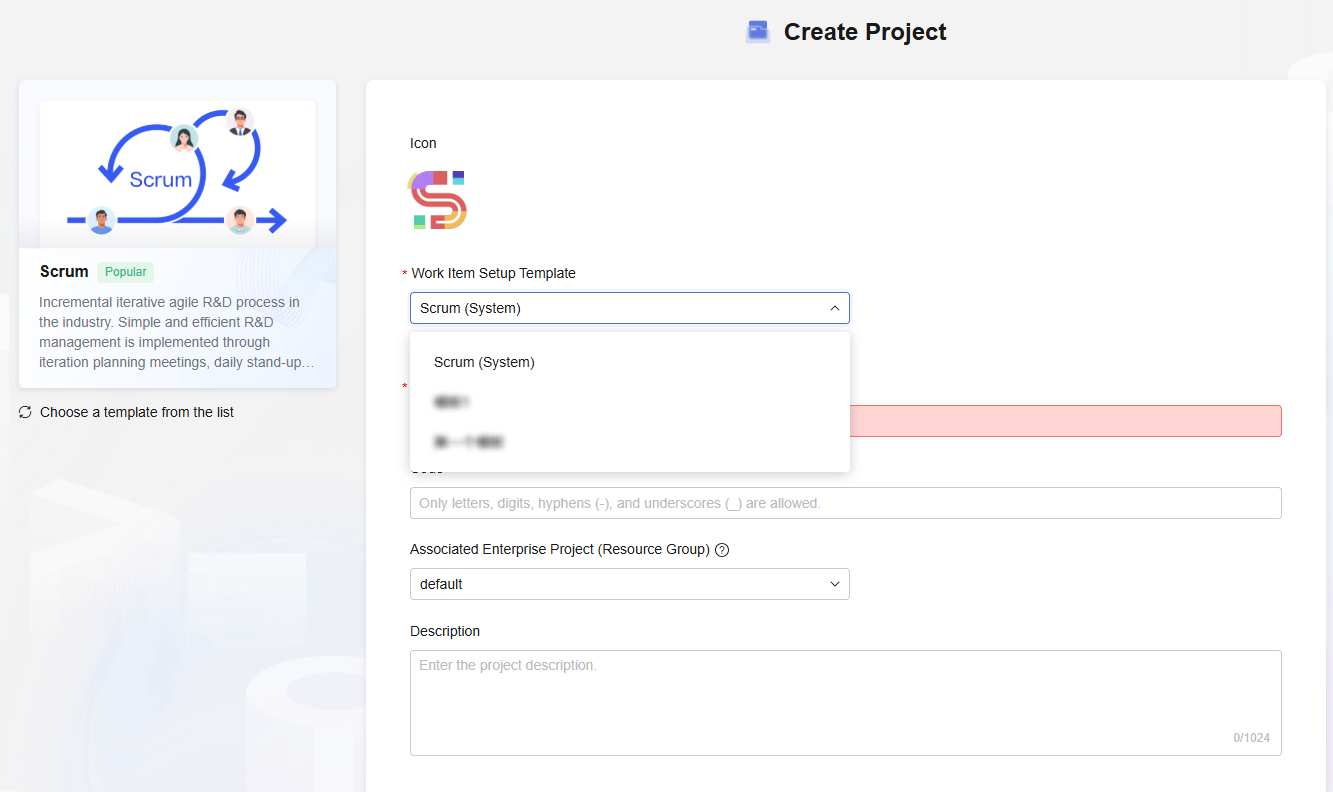
- (Optional) After the configuration is complete, click Save as Template in the upper right corner of the page. In the Save as Template dialog box, enter a template name and description, and click OK. This template can be used to create Scrum projects. For details, see the following figure.
Figure 2 Applying a work item template

Feedback
Was this page helpful?
Provide feedbackThank you very much for your feedback. We will continue working to improve the documentation.See the reply and handling status in My Cloud VOC.
For any further questions, feel free to contact us through the chatbot.
Chatbot


