How Do I Enable WireGuard in Kernel and Install wireguard-tools?

wireguard-tools comes from the community. If you encounter any problems when using the tool, visit https://github.com/WireGuard/wireguard-tools/pulls.
Enabling WireGuard in Kernel
You can run the modprobe wireguard command to enable WireGuard.
Installing wireguard-tools
- Run the following command to install the dependency package:
dnf install gcc make
- Run the following command to download the wireguard-tools source code package:
wget https://git.zx2c4.com/wireguard-tools/snapshot/wireguard-tools-1.0.20210914.tar.xz
- Run the following command to decompress the obtained source code package:
tar -xf wireguard-tools-1.0.20210914.tar.xz
- Go to the wireguard-tools-1.0.20210914/src directory and run the following commands in sequence to compile and install the tool:
make
make install
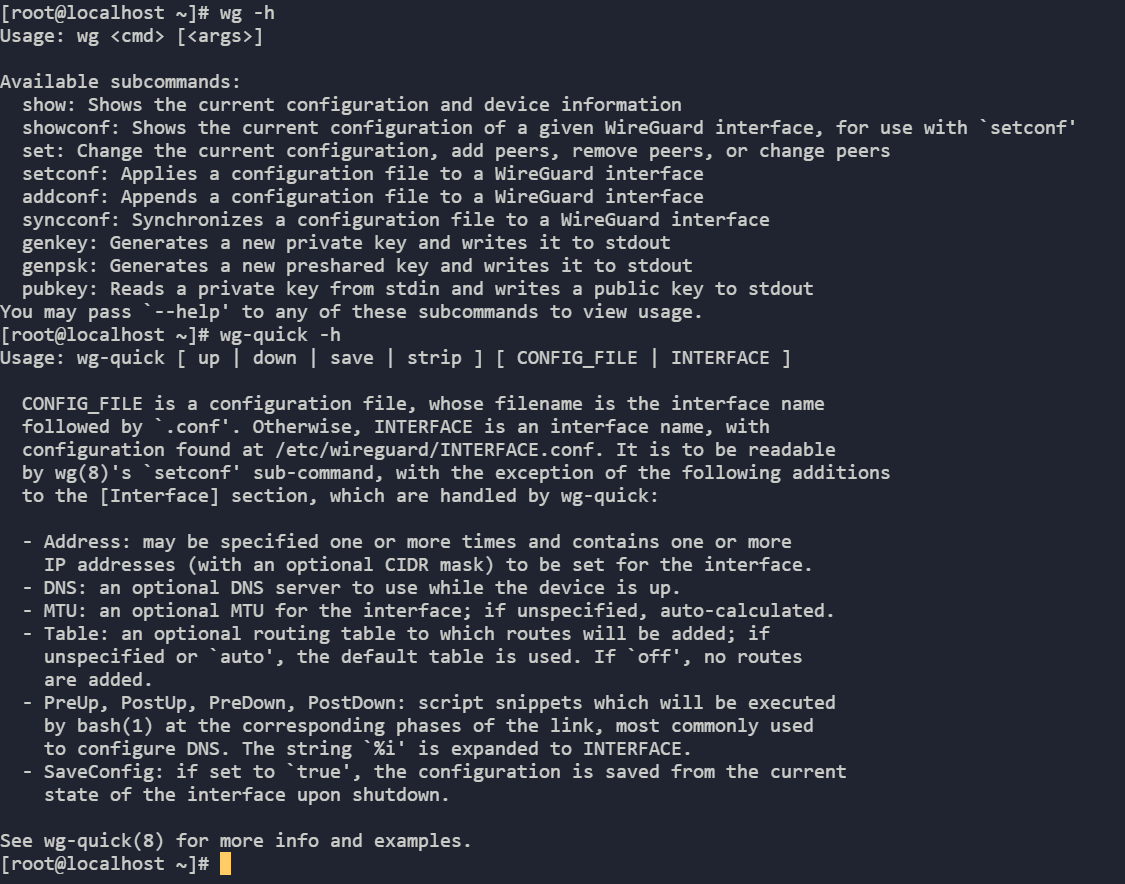
- Check whether the tool is successfully installed.
You can run the wg -h and wg-quick -h commands to check whether the installation is successful.
Figure 1 Verifying the installation
Feedback
Was this page helpful?
Provide feedbackThank you very much for your feedback. We will continue working to improve the documentation.See the reply and handling status in My Cloud VOC.
For any further questions, feel free to contact us through the chatbot.
Chatbot


