Verifying Data After Migration
When the task status changes to Incremental, the full synchronization is complete. You can log in to the GaussDB console and view the data migration result.
- Wait until the migration task status becomes Incremental.

- Click the task name to go to the Basic Information page.
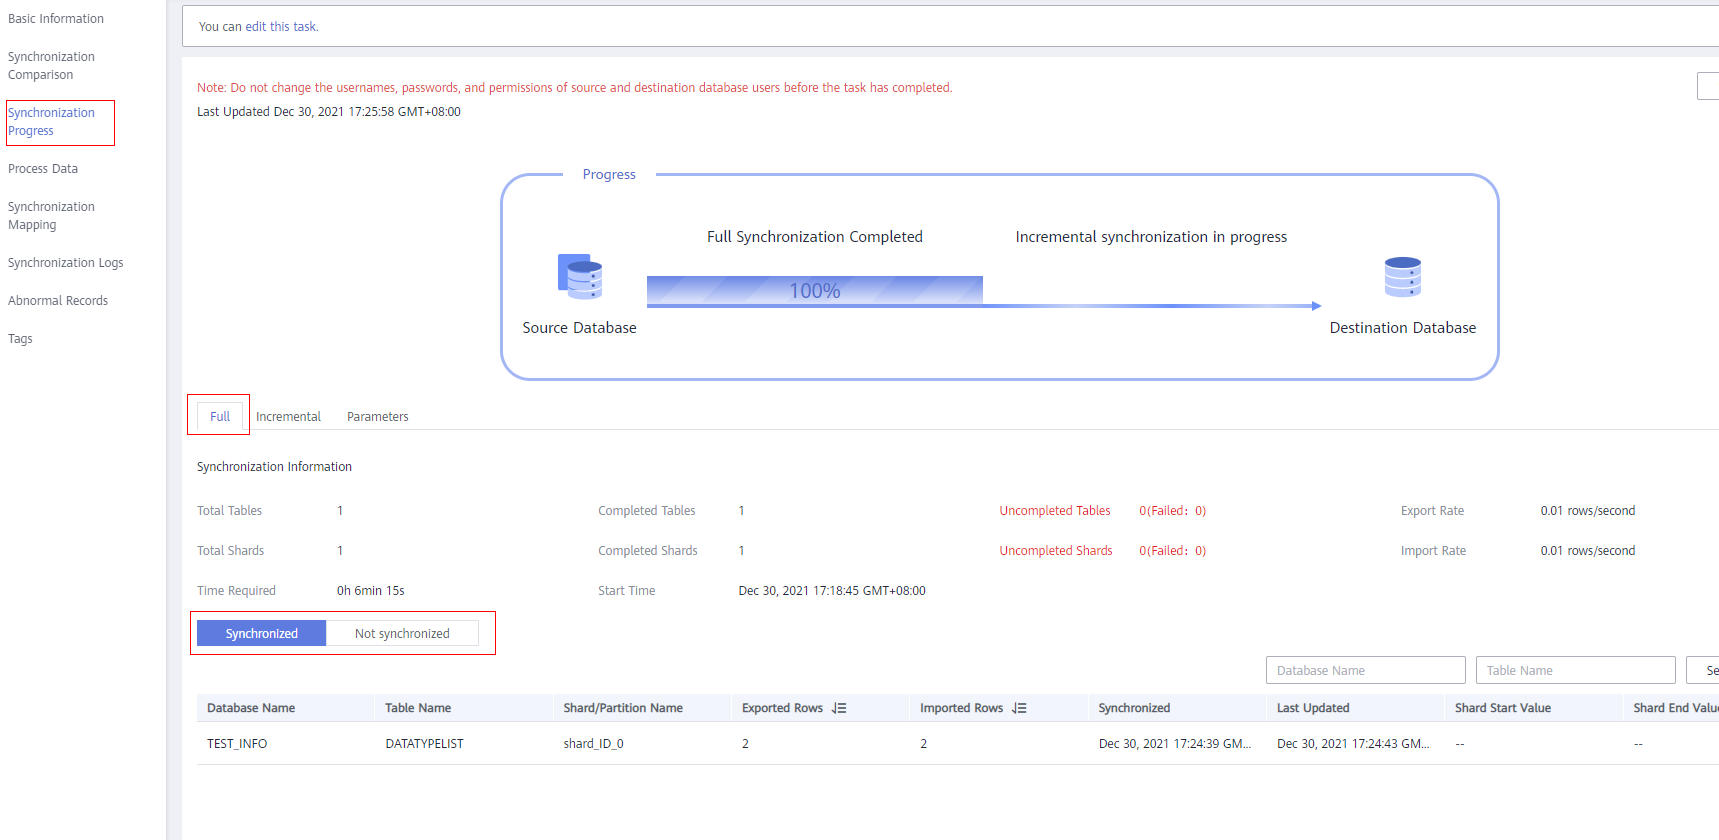
- On the Synchronization Progress page, view the full synchronization result.
As shown in the following figure, the DATATYPELIST table in the TEST_INFO database has been migrated to shard_0. Two rows were migrated successfully.
- Verify data consistency.
- Choose Synchronization Comparison > Object-Level Comparison to view the database and table migration results.
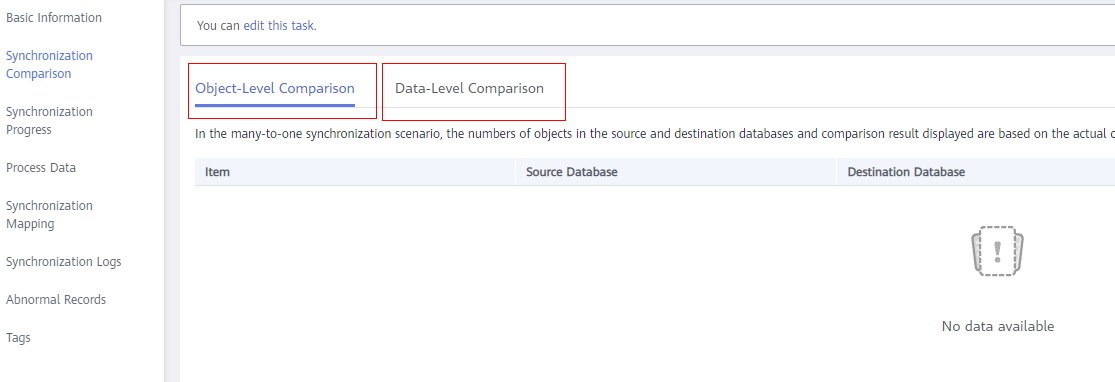
- Choose Synchronization Comparison > Data-Level Comparison, click Create Comparison Task, and view the migration results of the rows in the table.
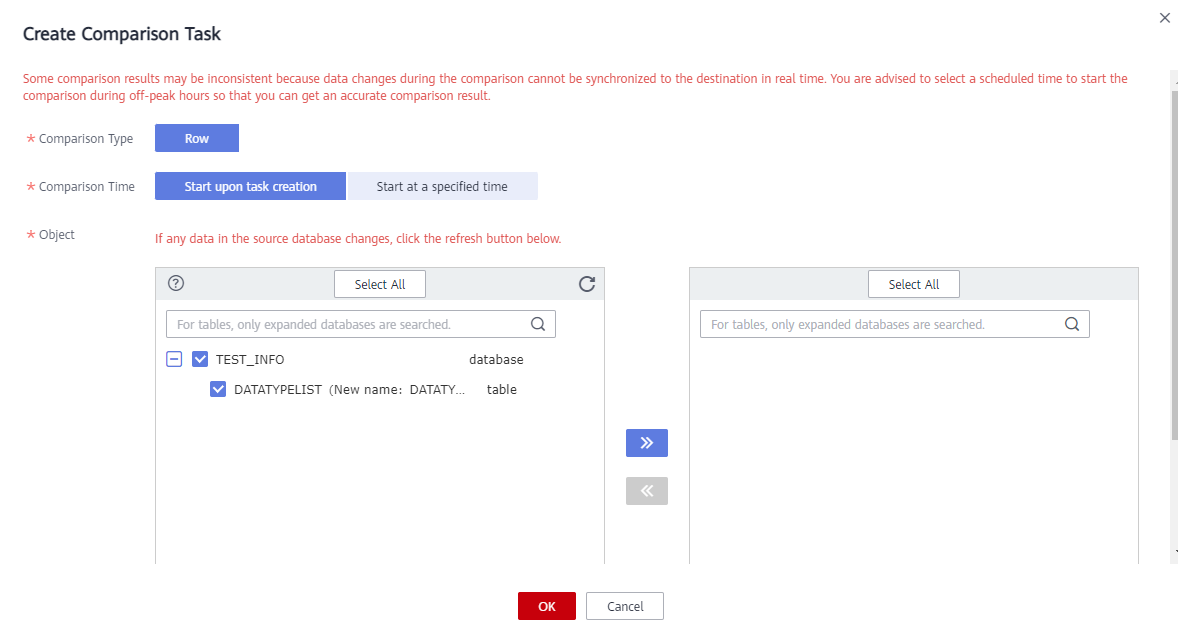
- Choose Synchronization Comparison > Object-Level Comparison to view the database and table migration results.
- Connect to test_database_info in GaussDB using DAS.
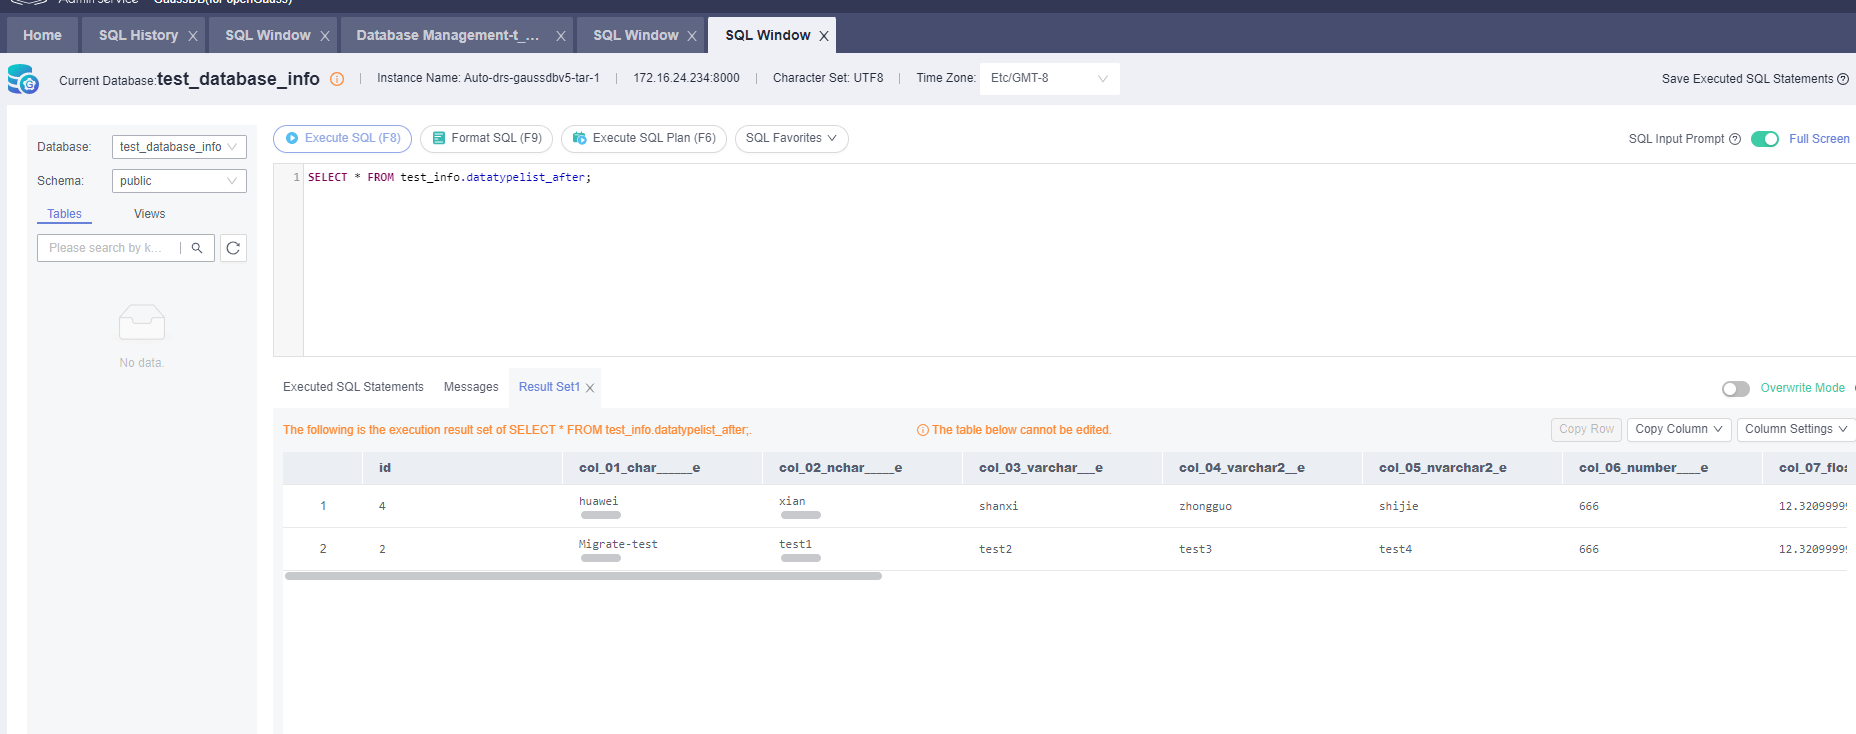
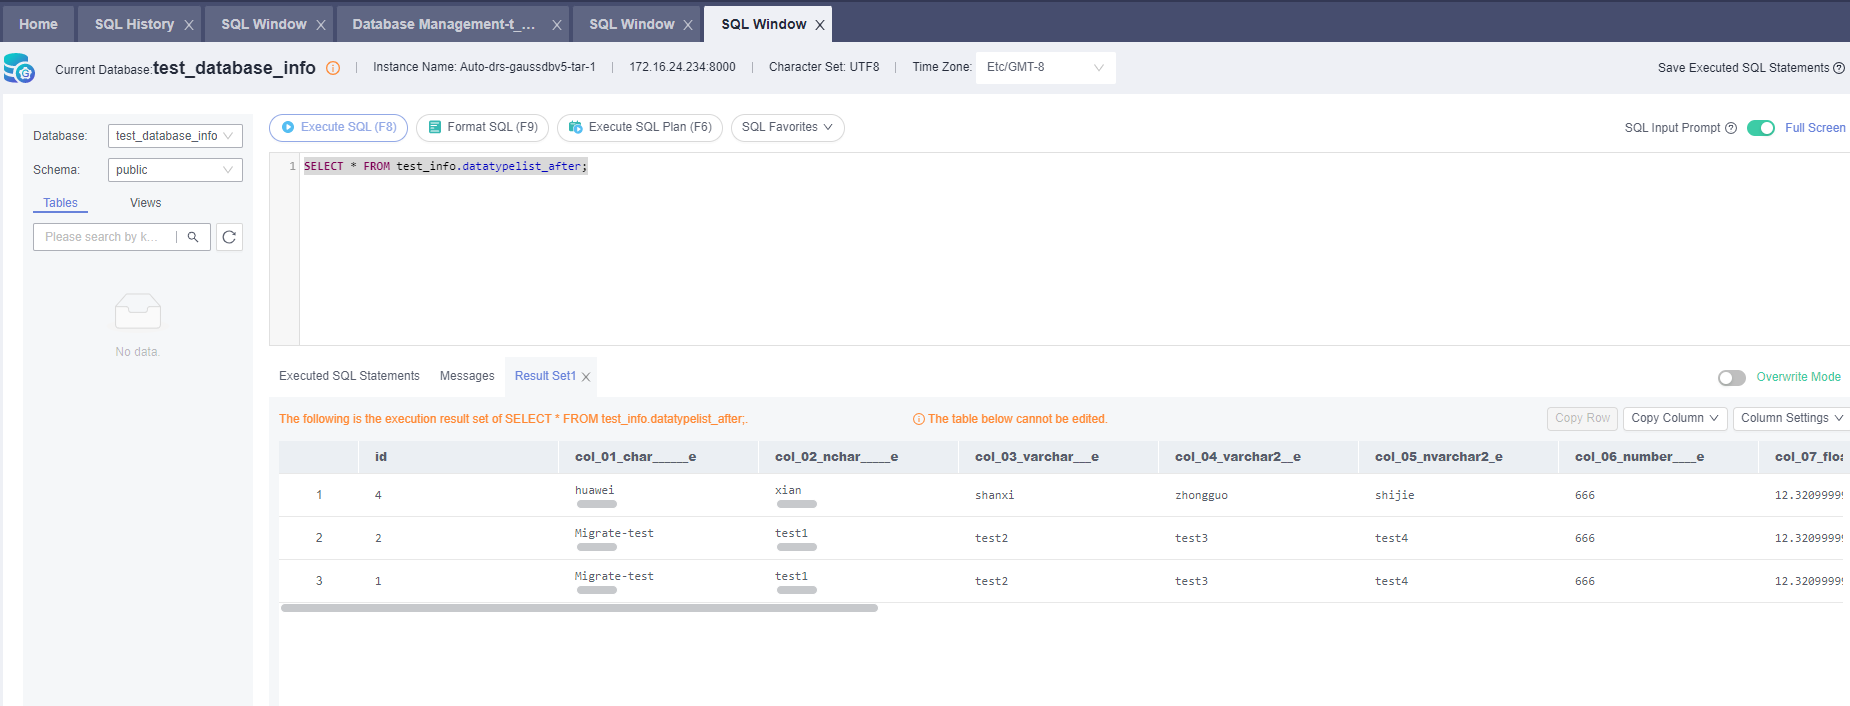
- Run the following statement to query the full synchronization result:
SELECT * FROM test_info.datatypelist_after;
After the schema in Oracle is migrated, it will be used as the schema in GaussDB. Therefore, it is required to add the schema in the query statement for exact query.
As shown in the following figure, all data types in the table were successfully migrated and the data is correct.
- Verify incremental synchronization.
In the migration type of full and incremental synchronization, after the full synchronization is complete, the data that is written to the source database after the task is created can still be synchronized to the destination database until the task is complete. The following describes how to synchronize incremental data from the source database to the destination database.
- Use a database connection tool to connect to the source Oracle database based on its IP address.
- Run the following statement to insert a data record into the source database:
- Run the following statement in the destination database to query the result:
SELECT * FROM test_info.datatypelist_after;
As shown in the following figure, the new data inserted in the source database has been synchronized to the destination database in real time.
- Stop the migration task.
After data is completely migrated to the destination database, stop the migration task.
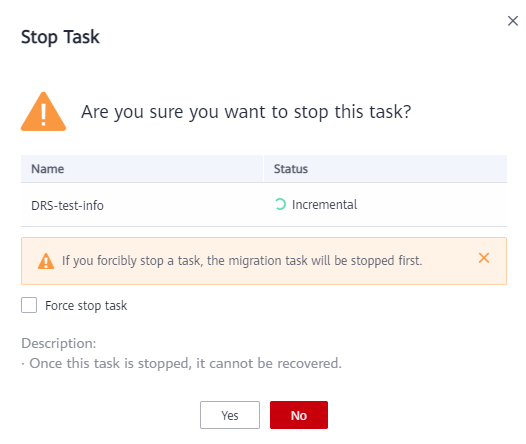
- Locate the task and click Stop in the Operation column.

- In the display box, click Yes.
- Locate the task and click Stop in the Operation column.
- After the migration is complete, test the performance.
For details, see Performance White Paper.
Feedback
Was this page helpful?
Provide feedbackThank you very much for your feedback. We will continue working to improve the documentation.See the reply and handling status in My Cloud VOC.
For any further questions, feel free to contact us through the chatbot.
Chatbot


