Logging In to the Application As a Portal User and Submitting a Questionnaire
A portal user is a user who uses service applications. After an application is developed on Huawei Cloud Astro Zero, you can share the application access address with portal users. Portal users can use the address to log in to the application and fill in the questionnaire.
Modifying the Domain Name of the Runtime Environment
Huawei Cloud Astro Zero gives a default domain name for the current environment. Portal users can use the domain name to access no-code applications. You can also customize domain names for different applications as needed.
- Log in to the Huawei Cloud Astro Zero console using the same account you used to enable Huawei Cloud Astro Zero.
- On the homepage, click Access Homepage. The application development page is displayed.
- On the top menu bar, click Workbench.
- Click
 in the upper left corner of the page and choose Environments > Environment Configuration.
 - In the navigation pane, choose System Settings > Domain Name and Login.
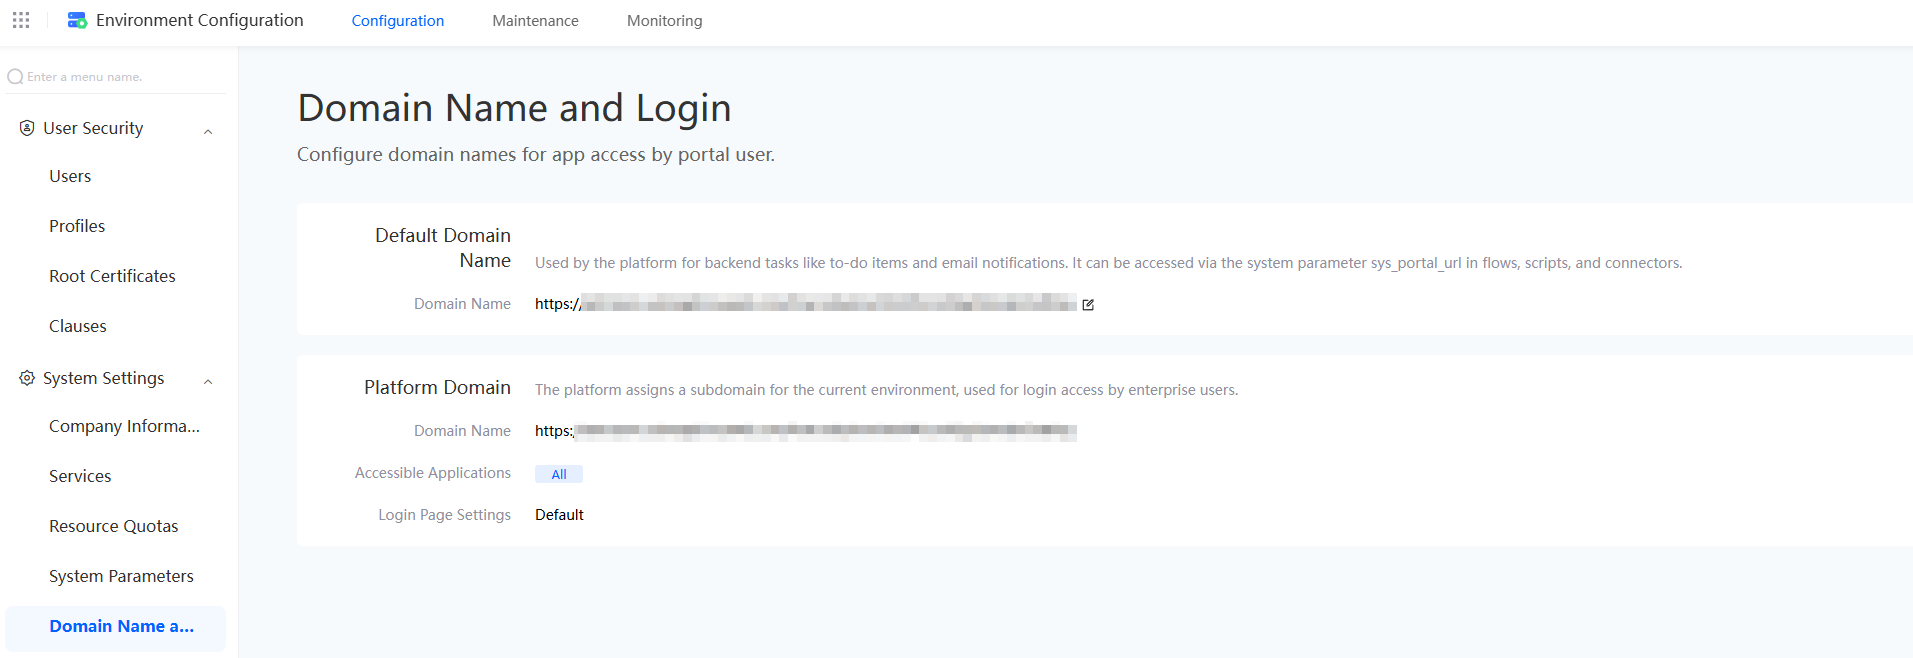
- Check the domain name of the runtime environment in the Platform Domain area.
Figure 1 Obtaining the domain name of the runtime environment
- Modify the platform domain name.
- Click Edit next to Platform Domain. On the displayed page, edit the domain name and click Save.
Go back to the console. You can see that the subdomain name of the runtime environment has been changed. Share the updated domain name with the portal user. The portal user can access the service application's login page.Figure 2 Editing the default domain name
 Figure 3 Modified subdomain name of the runtime environment
- Applications for different user types can be deployed in the same runtime environment, with each application having its own login entry.
Figure 4 Application visibility settings

Table 1 Application visibility settings Parameter
Description
Allow all apps
Tenants can access all applications in a single runtime environment designed for the same type of portal user, like enterprise members, using the enterprise's domain name for access.
Allow specific apps
The administrator can whitelist applications that can be accessed via the domain name. These include low-code, no-code, large-screen, and service account applications. While the tenant runtime environment is mainly for enterprise members, some applications are accessible to external users.
Block specific apps
The administrator can blacklist applications that cannot be accessed via the domain name. The tenant runtime environment is usually open to both public and private networks, but some applications can only be accessed from the private network.
If an application is not allowed to be accessed via the domain name, all its pages and APIs will be inaccessible via the domain name.
- Configure the login page of a service application.
Figure 5 Default login page settings
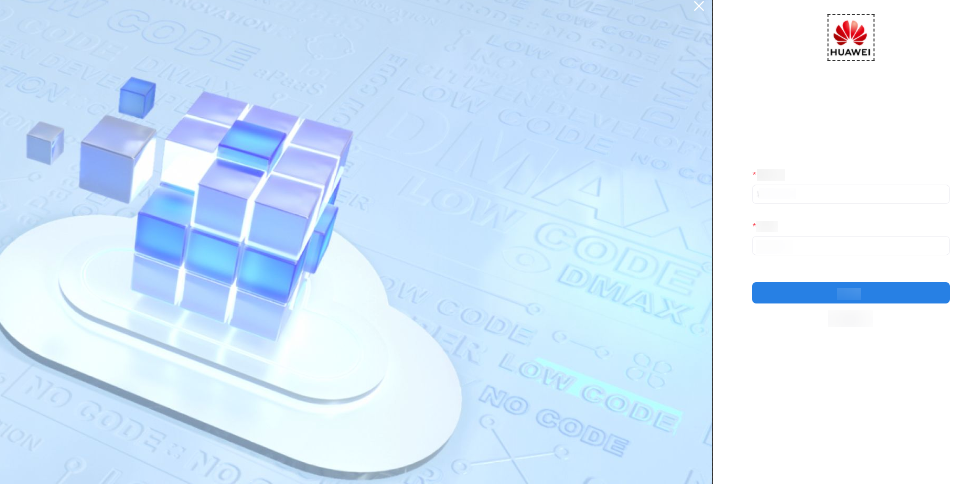
Table 2 Parameters for configuring the login page of a service application Parameter
Description
Default
Use the default login page provided by the platform for the application's login. Click
 under the logo upload area and
  under the custom background image area to change the login logo and background of the default login page.
- Logo: Recommended size: 130 x 130 pixels. File formats: PNG or JPG. Max. size: 1 MB.
- Background image: Recommended size: 1390 x 968 pixels. File formats: PNG or JPG. Max. size: 1 MB.
Identity Authentication
Set a third-party login page as the default for the application through unified authentication.
Custom
Use the custom login page. If you choose this option, make sure the custom login page has been developed and deployed as an advanced page.
- Click Edit next to Platform Domain. On the displayed page, edit the domain name and click Save.
Submitting Questionnaire Data As a Portal User
Developers share a form with portal users. Portal users log in to the system, fill in the form, and submit the form.
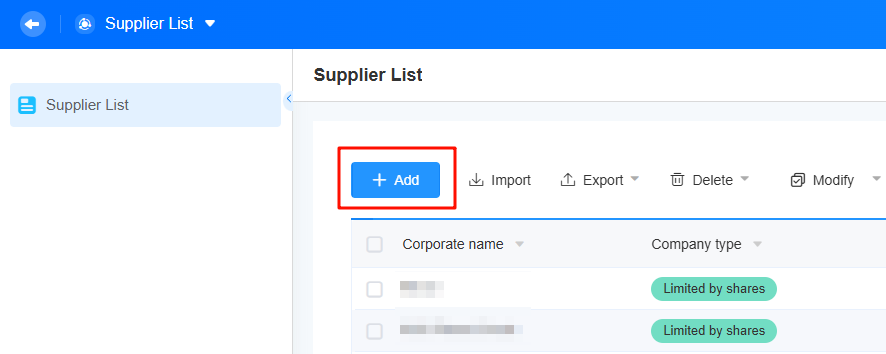
- After developing an application, click Add in the corresponding form.
Figure 6 Clicking the add button
- In the displayed dialog box, click
 . The form sharing page is displayed.
Figure 7 Clicking the share button
- Copy the access address and share it with portal users.
Figure 8 Obtaining the access address
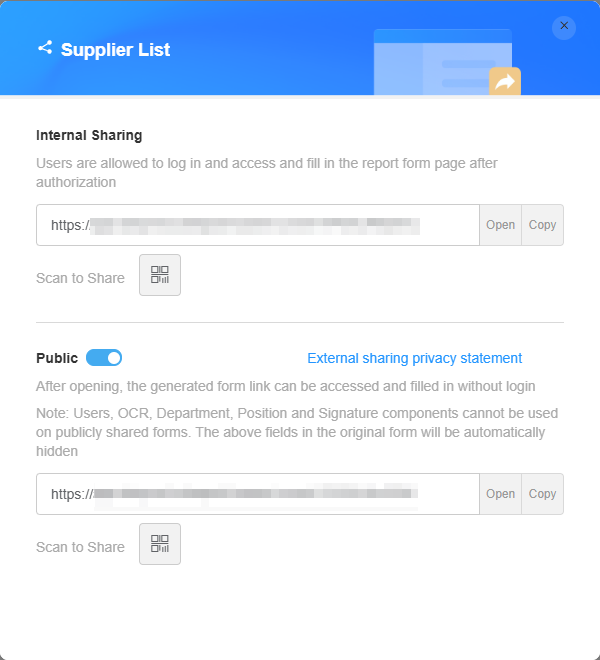
Table 3 Parameters for sharing settings Parameter
Description
Internal Sharing
Share the form with internal users. When this is enabled, internal users can log in to the system and fill in the form.
Click Generate Poster in the QR code to create a poster for this form. For details, see Generating a Poster from a Form.
Public
Share the form with external users. Anonymous users can access and fill in the form without login.
Click Generate Poster in the QR code to create a poster for this form. For details, see Generating a Poster from a Form.
- Enter the obtained access address in the browser as a portal user. The login page is displayed.
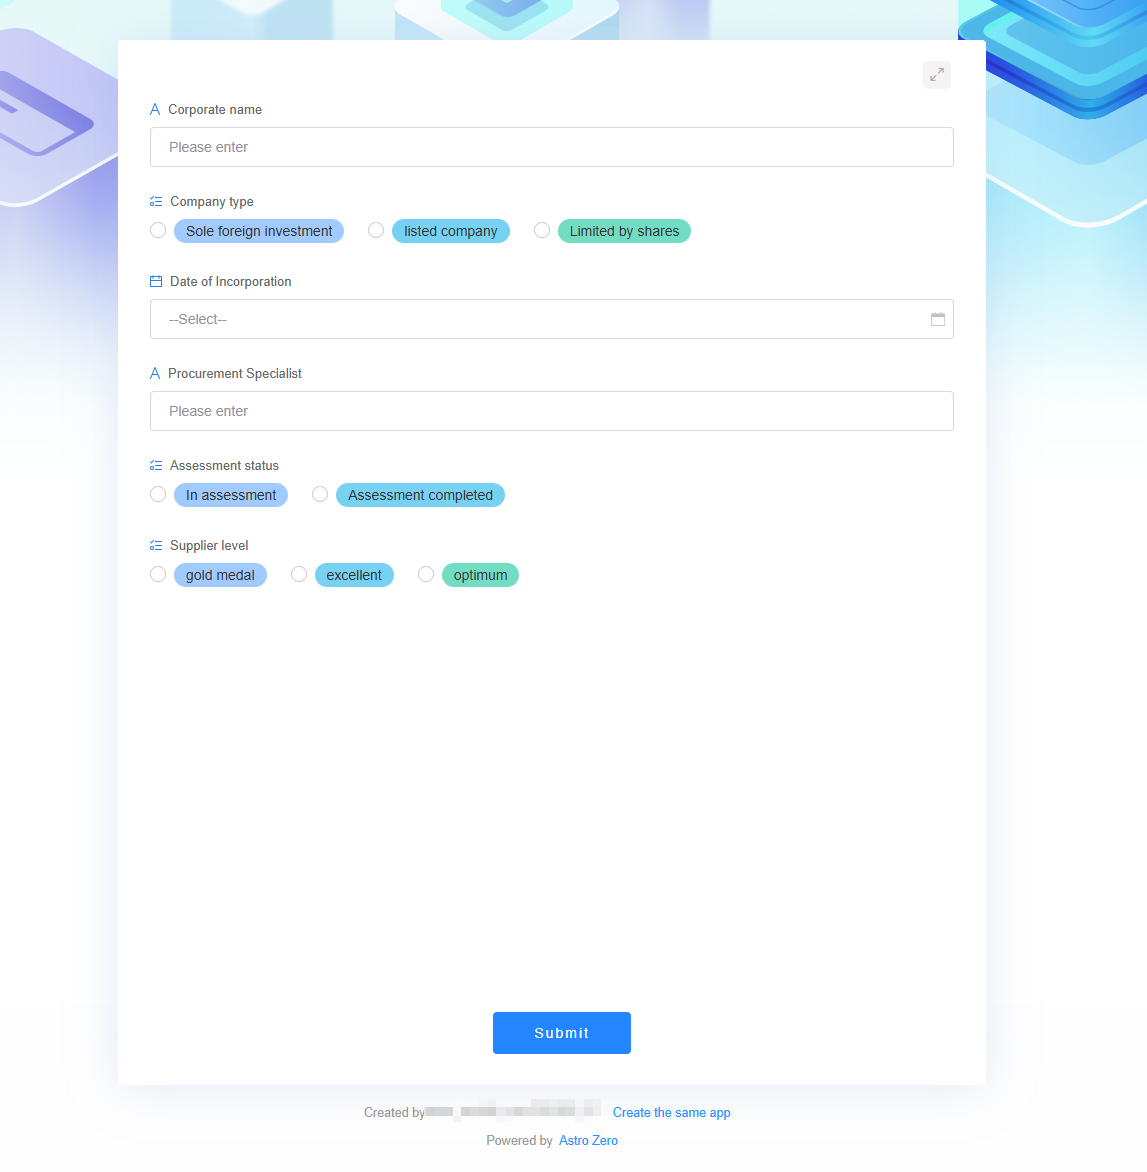
- Enter the username and password and click Login to enter the form and fill in the questionnaire.
If the address is public, you can access and fill out the questionnaire without logging in.Figure 9 Form login page
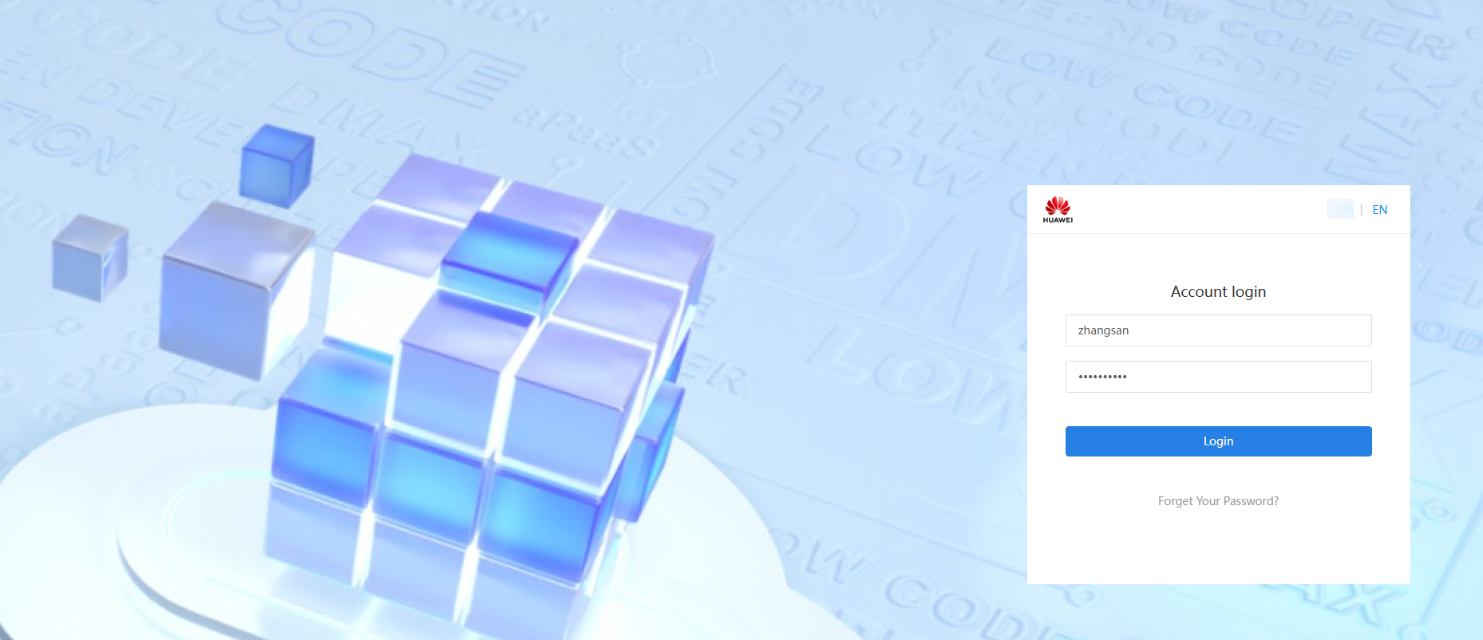 Figure 10 Filling in the questionnaire
Feedback
Was this page helpful?
Provide feedbackThank you very much for your feedback. We will continue working to improve the documentation.See the reply and handling status in My Cloud VOC.
For any further questions, feel free to contact us through the chatbot.
Chatbot


