Configuring a Workflow
Workflow is a core tool for designing and automating complex tasks on the agent development platform. It helps developers efficiently process complex tasks through task orchestration, condition judgment, and collaboration of multiple components. A workflow contains various nodes, such as the LLM node, Knowledge Repo node, IntentDetection node, Branch node, and Code node. Each node has a specific function to process data, execute tasks, and run algorithms. With visualized design, developers can clearly see the data flow and task execution sequence, and complete complex agent task orchestration.
Adding a Workflow
Workflow skills can be added to agents. Workflows can be orchestrated on the canvas. Different nodes, such as plug-ins and large models, can be combined to implement complex and stable service process orchestration.
If you need to add a workflow, ensure that the workflow has been orchestrated. For details about how to orchestrate a workflow, see Developing a Workflow Application.
To add a workflow, perform the following steps:
- In the skill > Workflow area, click
 .
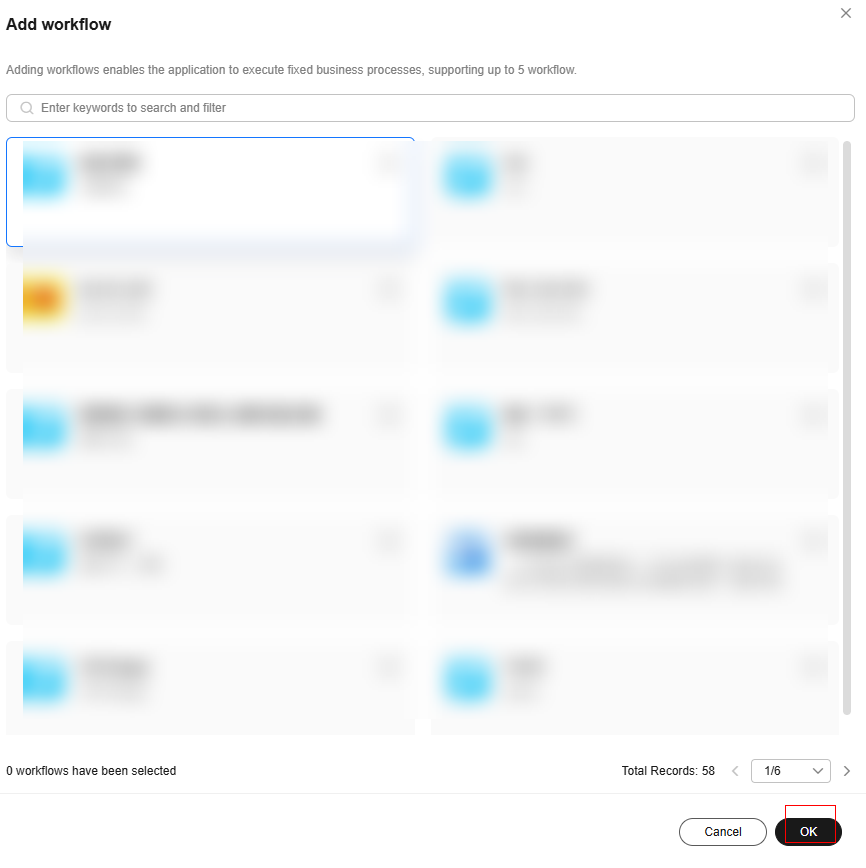
. - In the Add Workflow dialog box, click
 to add a workflow, and then click OK.
Figure 1 Adding a workflow
- View the added workflow on the skill > Workflow page.
Figure 2 Viewing the workflow

Deleting a Workflow
- In the skill > Workflow area, click
 on the right of the workflow.
 - If the message "Deleted workflow successfully." is displayed, the workflow has been deleted.
Figure 3 Deleting a workflow

Feedback
Was this page helpful?
Provide feedbackThank you very much for your feedback. We will continue working to improve the documentation.See the reply and handling status in My Cloud VOC.
For any further questions, feel free to contact us through the chatbot.
Chatbot


