Installing and Deploying Jenkins on an ECS
Overview
Jenkins is an open-source automation server. It helps automate the operations related to building, test, and deployment in software development, and promotes continuous integration and continuous delivery (CI/CD). Jenkins is indeed a server-based system that can be deployed and run within a Servlet container such as Apache Tomcat.
Jenkins has a series of excellent features, which are worth adding to your tools. The features include:
- Easy to use
- Simple and intuitive user interface
- Extremely flexible and easy to adapt to your needs
- 1,000+ plug-ins available for communication, integration, and test with various external applications. If a plug-in is unavailable, you can easily create one.
- Simple configuration supported on the web-based GUI. This accelerates task creation, improves configuration consistency, and reduces maintenance costs.
- Cross-OS scripting
- Compatible with most major platforms because Jenkins is written in Java.
Preparations
- Before installing Jenkins, purchase an ECS (recommended configuration: 4 GiB+ memory and 40 GiB+ disk size) running CentOS 7.6. Bind an EIP to the ECS.
- After the ECS is purchased, add the inbound rule listed in the following table to the security group which the ECS belongs to. For details, see Adding a Security Group Rule.
Direction
Priority
Action
Type
Protocol & Port
Source
Inbound
1
Allow
IPv4
TCP: 8080
0.0.0.0/0
Resource Planning
Table 1 lists the resource configuration and software versions used in this practice. The commands and parameters may vary according to the hardware specifications or software versions you would use.
|
Resource |
Description |
Cost |
|---|---|---|
|
VPC |
VPC CIDR block: 192.168.0.0/16 |
Free |
|
VPC subnet |
|
Free |
|
ECS |
|
The following resources generate costs:
For billing details, see Billing Modes. |
|
JDK |
A Java development tool software. |
Free |
|
Jenkins |
A continuous integration tool developed based on Java to monitor continuous and repeated work. Download URL: https://repo.huaweicloud.com/jenkins/redhat-stable/jenkins-2.361.1-1.1.noarch.rpm |
Free |
Procedure
- Remotely log in to the purchased ECS.
- Install JDK.
- Run the following command to check the available versions:
yum -y list java*
- Install JDK 11.
yum install java-11-openjdk* -y
- Check whether the installation is successful.
java -version

- Run the following command to check the available versions:
- Install Jenkins.
- Install Jenkins.
wget https://repo.huaweicloud.com/jenkins/redhat-stable/jenkins-2.361.1-1.1.noarch.rpm
rpm -ivh jenkins-2.361.1-1.1.noarch.rpm
- Edit the Jenkins file.
vim /etc/sysconfig/jenkins
#Port
JENKINS_PORT="8080"
#Modify the user
$JENKINS_USER="root"
- Start Jenkins and check its status.
systemctl start jenkins
systemctl status jenkins

- Install Jenkins.
- Unlock Jenkins.
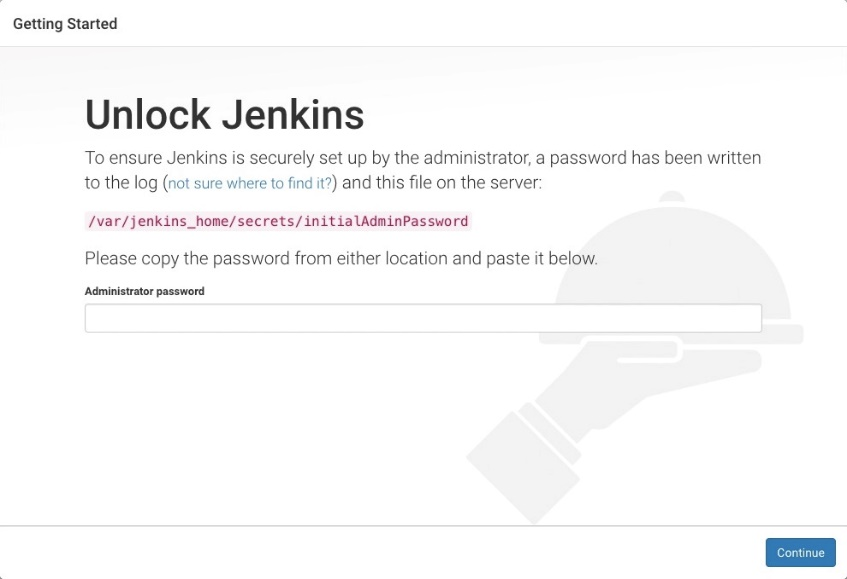
- In the address bar of your local browser, enter http:<EIP-bound-to-the-ECS-hosting-Jenkins>:8080. The unlocking page is displayed.

- Log in to the ECS.
- Obtain the activation password.
cat /var/lib/jenkins/secrets/initialAdminPassword

- On the Unlock Jenkins page, paste this password into the Administrator password field and click Continue.
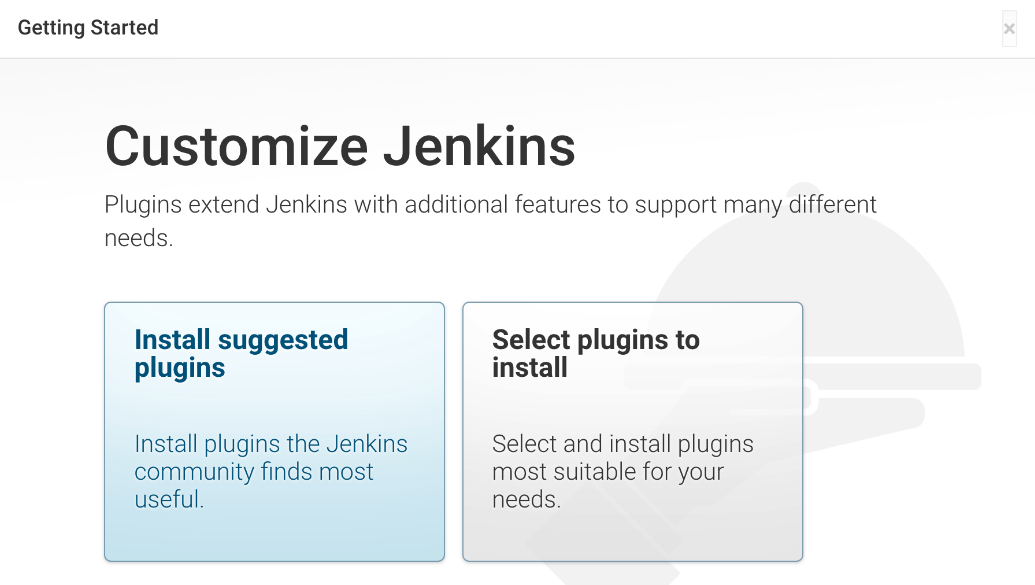
- Install recommended plug-ins and wait until the installation is complete.
- After the installation is complete, set the first administrator account as prompted. Enter the username and password and click Save and Finish.
- On the instance configuration page, confirm the server domain name or IP address in the Jenkins URL, and click Save and Finish.
The Jenkins URL is the root URL for providing absolute path links for Jenkins resources.
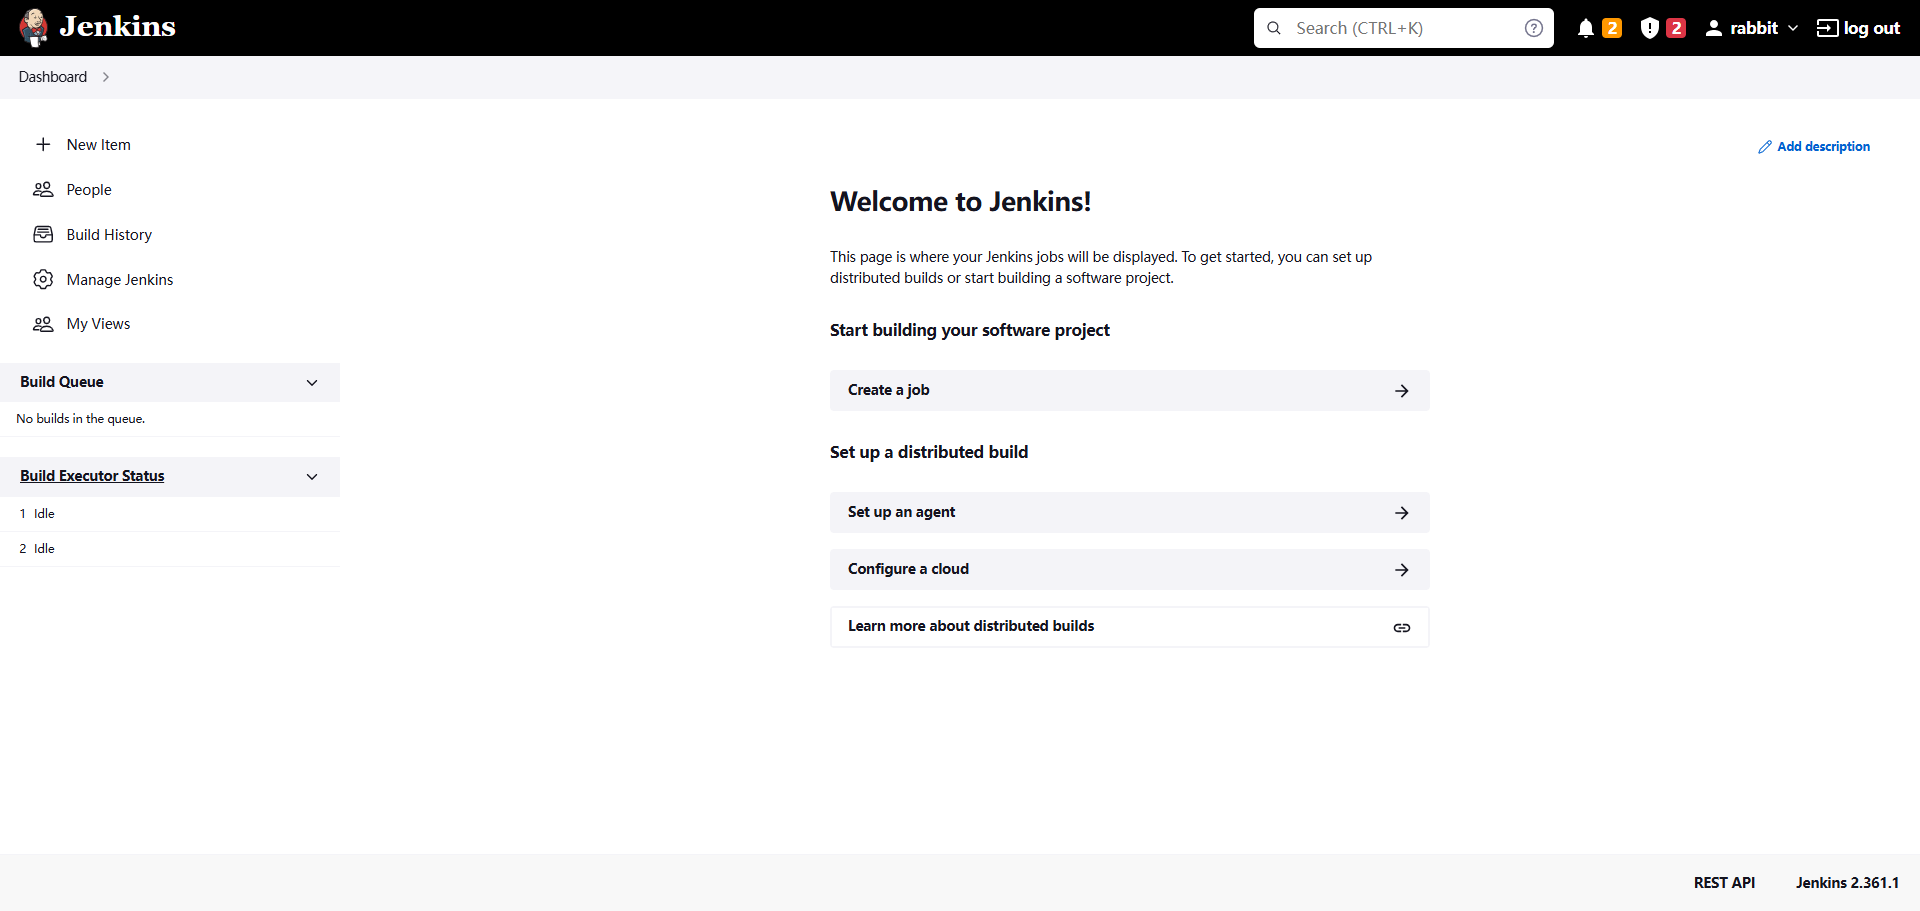
- Click Start Using Jenkins. The Jenkins homepage is displayed.

- In the address bar of your local browser, enter http:<EIP-bound-to-the-ECS-hosting-Jenkins>:8080. The unlocking page is displayed.
Verification
Single Job
- Choose New item, select Freestyle Project, click OK.
- In Build Steps, select Execute shell, enter echo hello world; exit, and click OK.

- Click Build Now.
- Wait until the execution of build task in the lower left corner is complete. Click Console Output, you can see the job is finished and hello world is displayed.

Multiple Jobs
- On the plug-in management page, search for the MultiJob plug-in and install it.
- Click New item, select MultiJob Project, and click OK.


Before creating a MultiJob project, you need to create three jobs.
- In Build Steps, select MultiJob Phase.

- Add three jobs as follows:

- Save the settings. The jobs are added.
- Click Build Now. The three jobs are successfully built in sequence.

Feedback
Was this page helpful?
Provide feedbackThank you very much for your feedback. We will continue working to improve the documentation.See the reply and handling status in My Cloud VOC.
For any further questions, feel free to contact us through the chatbot.
Chatbot


