
Creating an Automated Task
Automated tasks make application management more efficient. They can automatically update data, send emails, and handle repetitive tasks. For example, if new form data meets certain conditions, automated tasks can trigger actions like adding, updating, or deleting data. This saves time and improves efficiency.
Procedure
- Log in to the no-code workbench by referring to Logging In to the No-Code Workbench.
- In All Apps, hover over the target application's … and choose Edit.
- Click
 in the upper right corner of the page. Figure 1 Accessing the Automation page
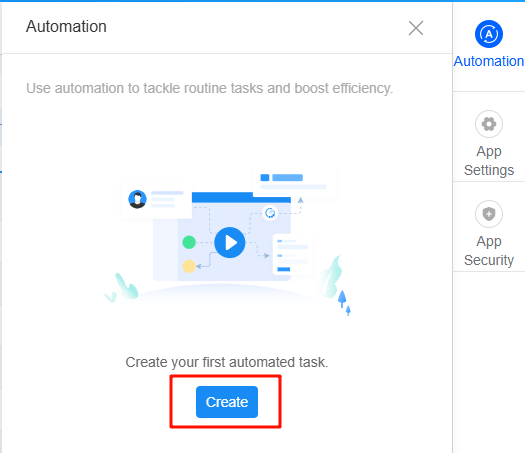
- On the Automation page, click Create. Figure 2 Clicking the create button
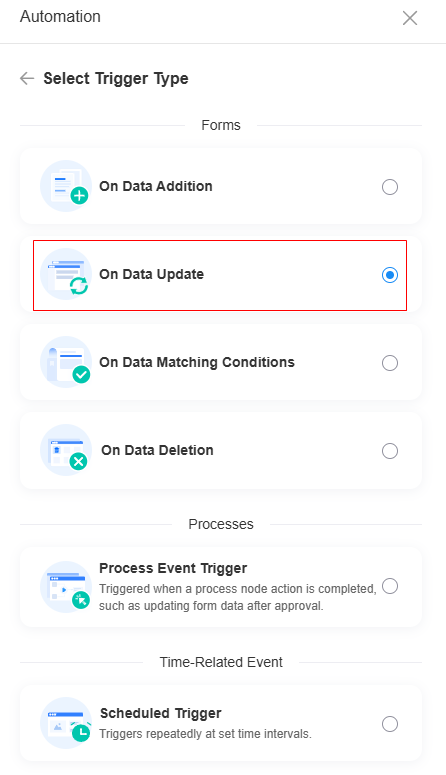
- Select a triggering type, for example, On Data Update, and click Confirm. Figure 3 Selecting a trigger type
- In the upper left corner of the page, set the automated task name. Figure 4 Setting the automated task name

- In the Trigger area, set trigger conditions and click Save. Figure 5 Setting the trigger conditions

Table 1 Parameters for configuring trigger conditions Parameter
Description
Trigger Condition
Set the conditions for triggering an automated task.
- Triggered when data is created: Triggered when data is added to the form and the data meets the conditions.
- Triggered when data is created: Triggered when data is added to the form and the data meets the conditions.
- Triggered when data is changed: Triggered when data is added to or updated in the form and the data meets the conditions.
- Triggered when data is deleted: Triggered when data is deleted from the form and the data meets the conditions.
- When approval process triggered: Triggered when the process node operation is complete. For example, the task of updating form data is triggered after the approval is complete.
- When timer triggered: Triggered periodically according to the preset time.
Form
Form for triggering an automated task.
Filter Condition
Filters data that meets the filter condition in the form.
- Set the execution action and click Save. Set an execution action. The following actions are supported: Add, Update, Get Single Record, Get Multiple Records, Send email, Send WeCom Notification, Send WeLink Card, and Flow. This step uses adding data as an example to describe how to set the execution action and verify the result.Figure 6 Setting an execution action

Table 2 Parameters for adding data Parameter
Description
Worksheet
Select the worksheet where data is to be added.
Add Method
When adding data to a worksheet, you can add a single data record or add multiple data records based on the data source.
Select Data Source
Insert the Get Multiple Records action before the current node as the data source, as shown in Figure 8.
This parameter needs to be set only when Add Method is set to Add multiple records based on data source.
Field Settings
Set the field value of the new data. At least one field must be set.
Figure 9 Updating data
Table 3 Parameters for updating data Parameter
Description
Object
Select the data to be updated from the data nodes before the current node.
Update Field
Update the data that meets the conditions by selecting the corresponding fields.
When No Data is Retrieved
If no data is obtained, you can choose to skip the current node or add a data record.
Figure 10 Obtaining a single data record
Table 4 Parameters for obtaining a single data record Parameter
Description
Obtain From
Obtain a data record from forms and associated records.
Form
Select the form from which data is obtained.
This parameter needs to be set only when Obtain From is set to Form.
Filter Condition
Obtain data that meets the filter conditions from the form. If no filter condition is set, the system selects unique data from the query records based on the sorting rule.
This parameter needs to be set only when Obtain From is set to Form.
Sorting Rule
If multiple data records are found, the first one is selected based on the sorting rule.
This parameter needs to be set only when Obtain From is set to Form.
Empty Query Result
Whether to continue or terminate the execution when the query result is empty.
This parameter needs to be set only when Obtain From is set to Form.
Select node object
Select the object from which data is obtained.
This parameter needs to be set only when Obtain From is set to Related records.
Select fields for association types
Select a field in the associated record widget in the form.
This parameter needs to be set only when Obtain From is set to Related records.
Figure 11 Obtaining multiple data records
Table 5 Parameters for obtaining multiple data records Parameter
Description
Obtain From
Obtain a data record from forms and associated records.
Form
Select the form from which data is obtained.
This parameter needs to be set only when Obtain From is set to Form.
Filter Condition
Obtain data that meets the filter conditions from the form. If no filter condition is set, the system selects unique data from the query records based on the sorting rule.
This parameter needs to be set only when Obtain From is set to Form.
Sorting Rule
If multiple data records are found, the first one is selected based on the sorting rule.
This parameter needs to be set only when Obtain From is set to Form.
Limit Quantity
Obtain the first N data records based on the sorting rule.
Empty Query Result
Whether to continue or terminate the execution when the query result is empty.
This parameter needs to be set only when Obtain From is set to Form.
Select node object
Select the object from which data is obtained.
This parameter needs to be set only when Obtain From is set to Related records.
Select fields for association types
Select a field in the associated record widget in the form.
This parameter needs to be set only when Obtain From is set to Related records.
Figure 12 Deleting data
Table 6 Parameters for deleting data Parameter
Description
Select the object to delete
Select the data to be deleted from the data nodes before the current node.
Figure 13 Sending an email
Table 7 Parameters for sending an email Parameter
Description
Notification type
The default value is Email and cannot be changed.
Sender Email
Select the email address of the sender and click Email Management. The system administrator can set and modify the email information. For details, see Setting the Email Address.
Recipient
You can specify an email recipient and set related information. You can specify a person, role, or dynamically obtain the recipient information.
CC To
You can specify CC recipients of the email. You can specify the recipients, roles, or dynamically obtain the recipients.
Theme
Email subject. You can enter a subject or click
 to add a subject.
Content
Setting the content of the email to be sent Click Add Node Object to copy the fields from the record to the content.
Source
Select a sending source. The name of the application where the automated task is located is displayed in the recipient information for tracing.
Figure 14 WeCom notifications
Table 8 WeCom notification parameters Parameter
Description
Notification type
The default value is WeCom and cannot be changed.
Recipient
You can specify WeCom recipients. You can specify a person, role, or dynamically obtain the recipient.
Picture
If this parameter is checked, click the upload image button to send image and text notifications. If this option is not checked, notifications are sent as text card messages.
Currently, only JPG and PNG images are supported. Use 1068 x 455 and 150 x 150 sizes for better experience.
Theme
WeChat theme. You can enter a theme or click
 to add a theme.
Content
WeChat content to be sent. You can enter the content directly or click
 to add the content from the record.
Details
Target link for redirection when you view details.
Source
Select a sending source. The name of the application where the automated task is located is displayed in the recipient information for tracing.
Figure 15 WeLink card
Table 9 WeLink card notification parameters Parameter
Description
Notification type
The default value is WeLink Card and cannot be changed.
You can send WeLink card notifications to a maximum of 1,000 users at a time. To use this function, bind WeLink first.
Send to
You can specify WeLink recipients and set related information. You can specify a person, role, or dynamically obtain the recipient information.
Theme
WeLink theme. You can enter a theme or click
 to add a theme.
Content
Set the WeLink content to be sent. You can directly enter the content or click
 to add the content.
Detail
Target link for redirection when you view details.
Source
Select a sending source. The name of the application where the automated task is located is displayed in the recipient information for tracing.
Figure 16 Flow
Table 10 Flow parameters Parameter
Description
Flow
Before selecting a flow, ensure that you have created a flow. For details, see Flows.
Field Settings
Click Add Field and set the initial values of the input parameters of the flow for execution.
- Click Save in the upper right corner of the page.
- After the saving is successful, click Closed in the upper right corner of the page to enable the automated task. Figure 17 Clicking Closed

After the task is enabled, the task status changes to Running, as shown in Figure 18.
- Check if the automated task runs as expected.
- After the automated task is enabled, click the test button. The test page is displayed. Figure 19 Accessing the test page

- Select a record and click the button to start the test.
This test will run as a real-time automated task. Configuration data changes and message notifications will be executed and cannot be undone.
- Check if the data is added.
- Method 1: On the automated task page, click Run History to check the test result of the automated task. Figure 20 Checking the test result

- Method 2: Click
 to return to the application editing page. Click the form selected in Figure 7. You can see that a data record has been added to the form. Figure 21 Returning to the application editing page
 Figure 22 An added data record
- Method 1: On the automated task page, click Run History to check the test result of the automated task.
- After the automated task is enabled, click the test button. The test page is displayed.


Feedback
Was this page helpful?
Provide feedbackThank you very much for your feedback. We will continue working to improve the documentation.See the reply and handling status in My Cloud VOC.
For any further questions, feel free to contact us through the chatbot.
Chatbot


