
Creating and Reviewing Change Reviews (CRs)
When a requirement or feature changes, you need to create a CR ticket to trace the change. The changed content is synced to the source requirement or feature only after the content is reviewed.
Prerequisites
A project has been created.
Creating a CR
- On the project homepage, choose Review > Change Review.
- Click CR.

Configure whether to display Require Decision-Making on the review creation page or review editing page by referring to Configuring Review Settings. If Require Decision-Making is set to No, Decisioning will not be displayed on the status navigation bar of the corresponding details page.
- Enter CR information.
- Change Object: Add the objects to be changed, including RRs, system features, R&D requirements, bugs.
- You can add objects only for RRs in the Planning or Implementing states. After the objects are added, modify the controlled fields that are with
 to submit the change requests and select Approver and Reviewer.
 - You can add objects only for baselined system features and R&D requirements. After the objects are added, select Approver and Reviewer.
If Reviewer is not selected, the review phase will be skipped.
- You can add bugs that are defined by the responsible project workflow and belongs to the status node with editable controlled fields. After the bugs are added, select Approver and Reviewer.
If Require Decision-Making is set to No, Approver will not be displayed.
- You can add objects only for RRs in the Planning or Implementing states. After the objects are added, modify the controlled fields that are with
- Associated Files: Add files related to the change object.
- Collaborative Parent Item Change: CRs can be added only when they already exist in the system.
- Change Object: Add the objects to be changed, including RRs, system features, R&D requirements, bugs.
- Click Submit to create a CR.
You can view the new CR in the CR list.
Reviewing a CR
This operation is performed by reviewers and the approver.
- On the project homepage, choose Review > Change Review.
- Click a CR which is in the To Be Approved or To Be Reviewed state.
- Click the title of a CR in the To Be Approved state. The CR details page is displayed on the right.
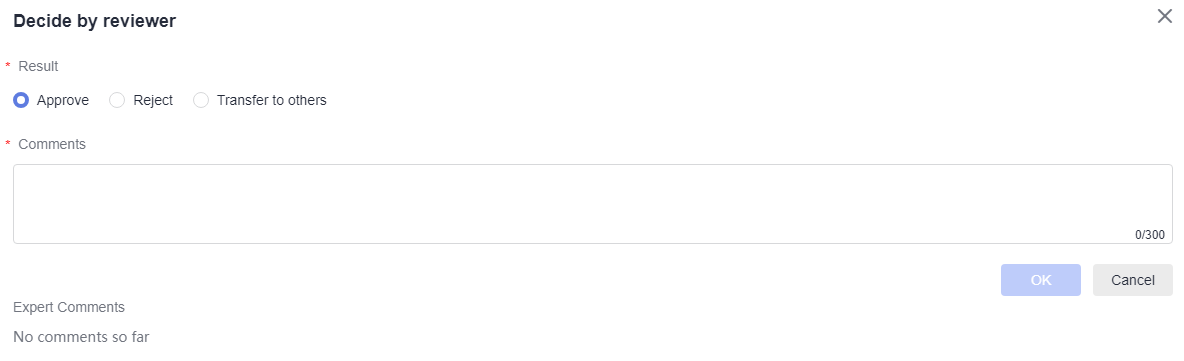
- Click the icon in the row that contains the target change object on the details page.
- Select a decision-making result, enter Comments, and click OK.
The approved CR is now in the END state.
- Review a CR.
- If Require Decision-Making is set to Yes, perform the following operations:
- If Require Decision-Making is set to No, perform the following operations:


Feedback
Was this page helpful?
Provide feedbackThank you very much for your feedback. We will continue working to improve the documentation.See the reply and handling status in My Cloud VOC.
For any further questions, feel free to contact us through the chatbot.
Chatbot


