
Getting Started
(Optional) Modifying Security Group Rules

- This solution uses port 3306 to access the database. By default, the VPC subnet created in this solution allows access from port 3306. Configure an IP address whitelist by referring to Modifying a Security Group Rule.
A security group is a collection of access control rules for cloud resources, such as cloud servers, containers, and databases, to control inbound and outbound traffic. Cloud resources associated with the same security group have the same security requirements and are mutually trusted within a VPC.
You can modify the security group policy, for example, by adding, modifying, or deleting a TCP port, as follows:
- Adding a security group rule: Add an inbound rule and enable a TCP port if needed.
- Modifying a security group rule: Inappropriate security group settings can be a serious security risk. You can modify security group rules to ensure the network security of your ECSs.
- Deleting a security group rule: If the source or destination IP address of an inbound or outbound security group rule changes, or a port does not need to be enabled, you can delete the security group rule.
Synchronizing Data
After the deployment is complete, the MySQL database and CSS cluster are automatically created. This section describes how to configure DRS to synchronize data.
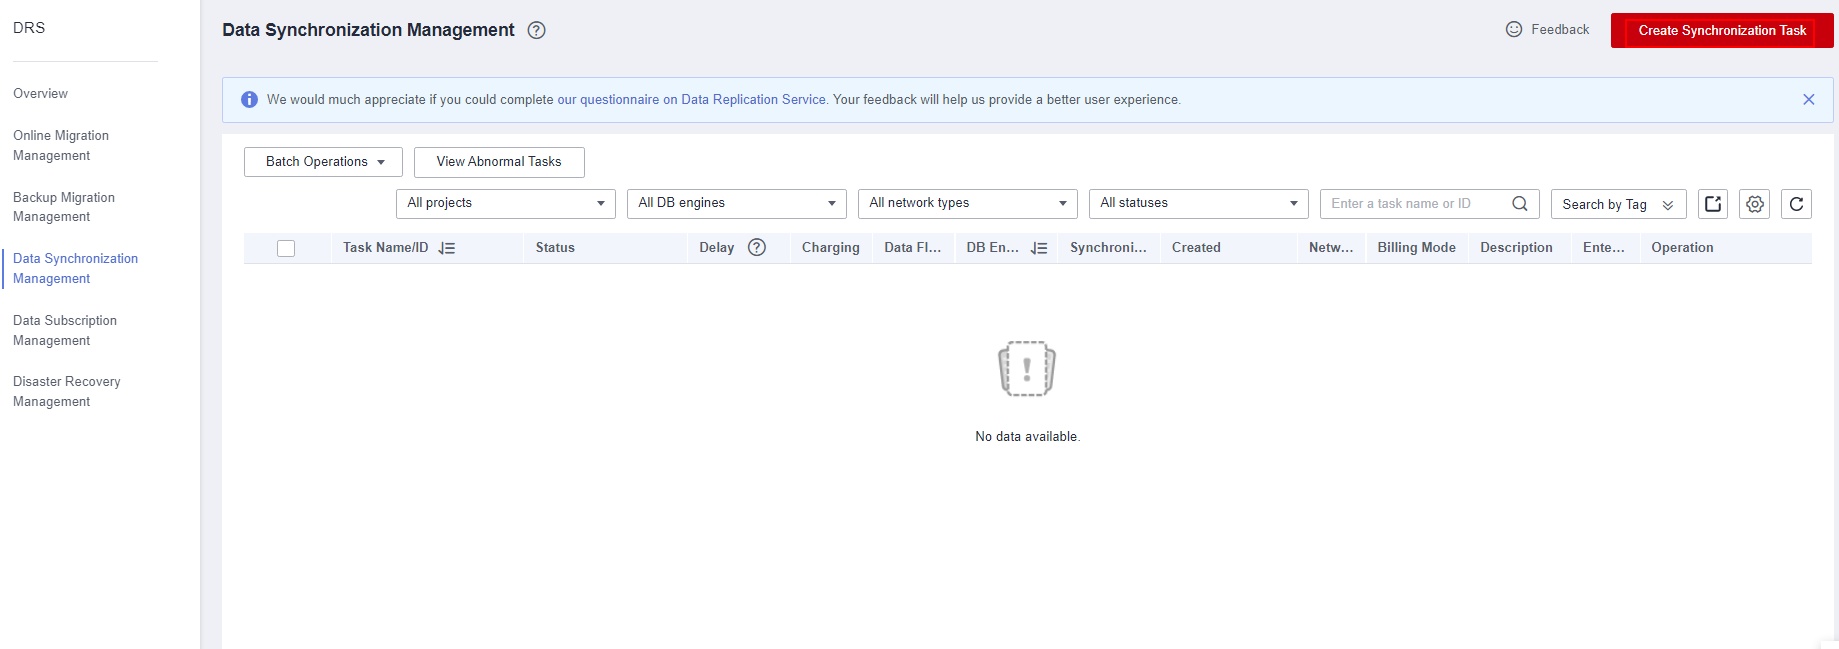
- Log in to the DRS console, choose Data Synchronization Management from the navigation pane, and click Create Synchronization Task. Figure 1 DRS console
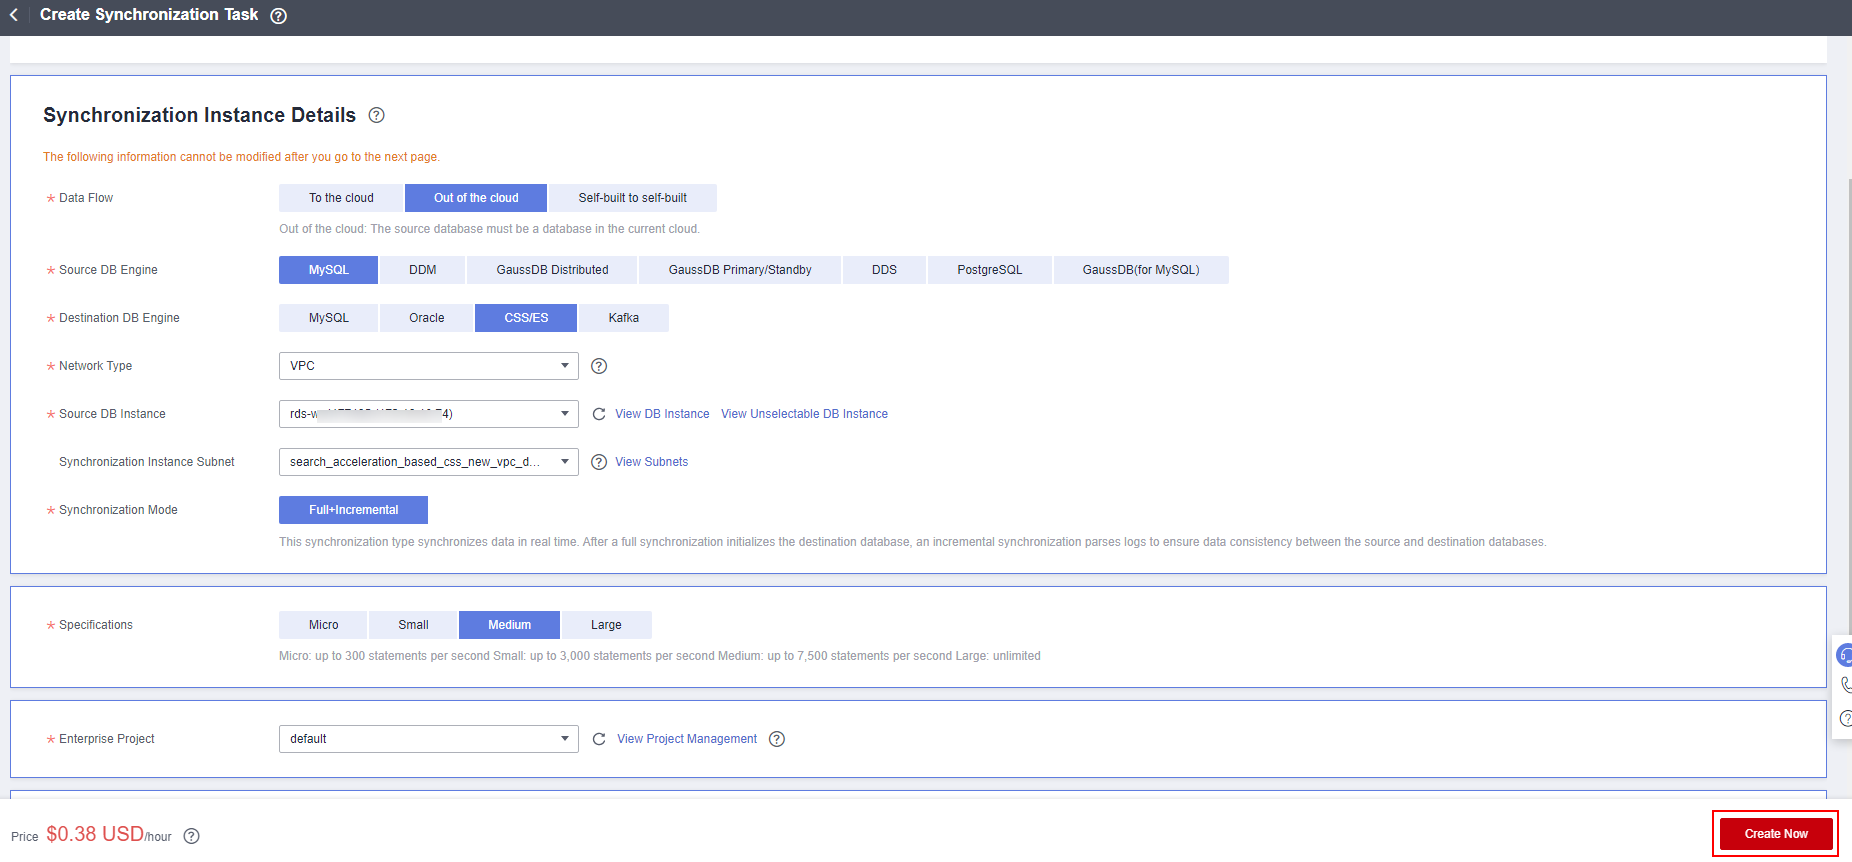
- Configure the synchronization instance. Select Out of the cloud for Data Flow, MySQL for Source DB Engine, CSS/ES for Destination DB Engine, VPC for Network Type, select the corresponding MySQL instance name, and select the subnet where the instance to be synchronized resides. Click Create Now. Figure 2 Synchronization Instance Details
- After the synchronization instance is created, configure the source and destination databases, enter the MySQL database username (root) and password (set during solution deployment), and click Test Connection. Enter the connection IP address of the CSS cluster automatically deployed in the solution (as shown in Figure 4), username (admin), and password (set during solution deployment), and click Test Connection. Click Next.

If the connection fails, check the security group and whitelist as prompted.
Figure 3 Configuring the source and destination databases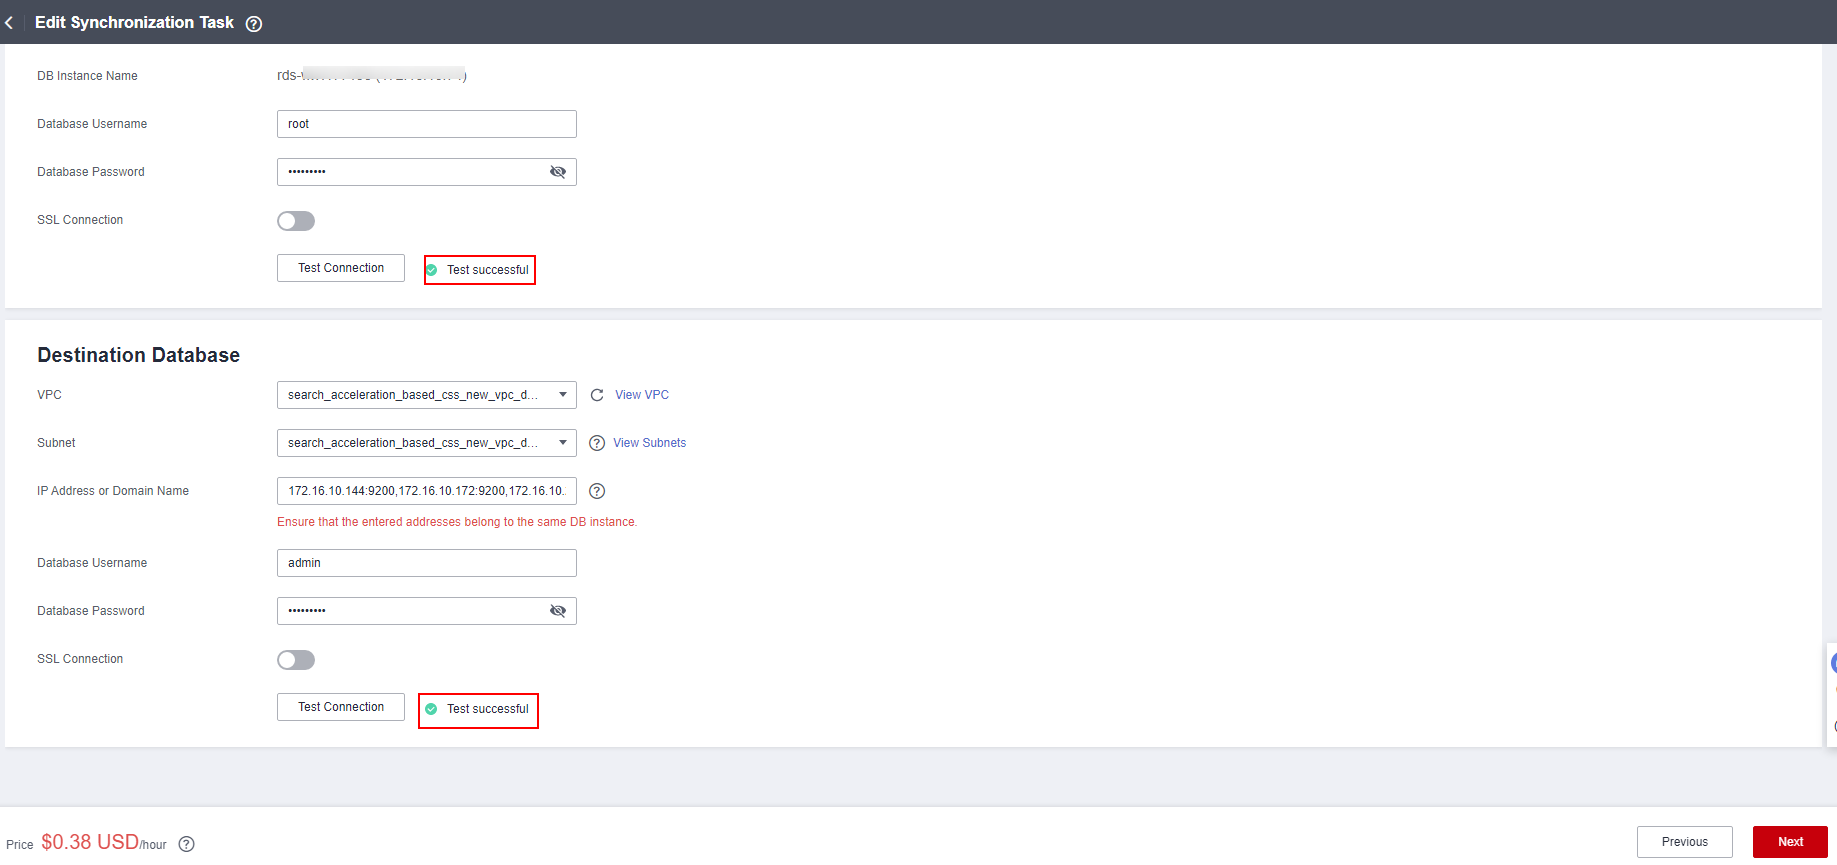
- Select synchronization objects, click the right arrow, and click Next. Figure 5 Edit Synchronization Task

- Select a data processing method as required. This solution instance does not require data processing. Click Next.
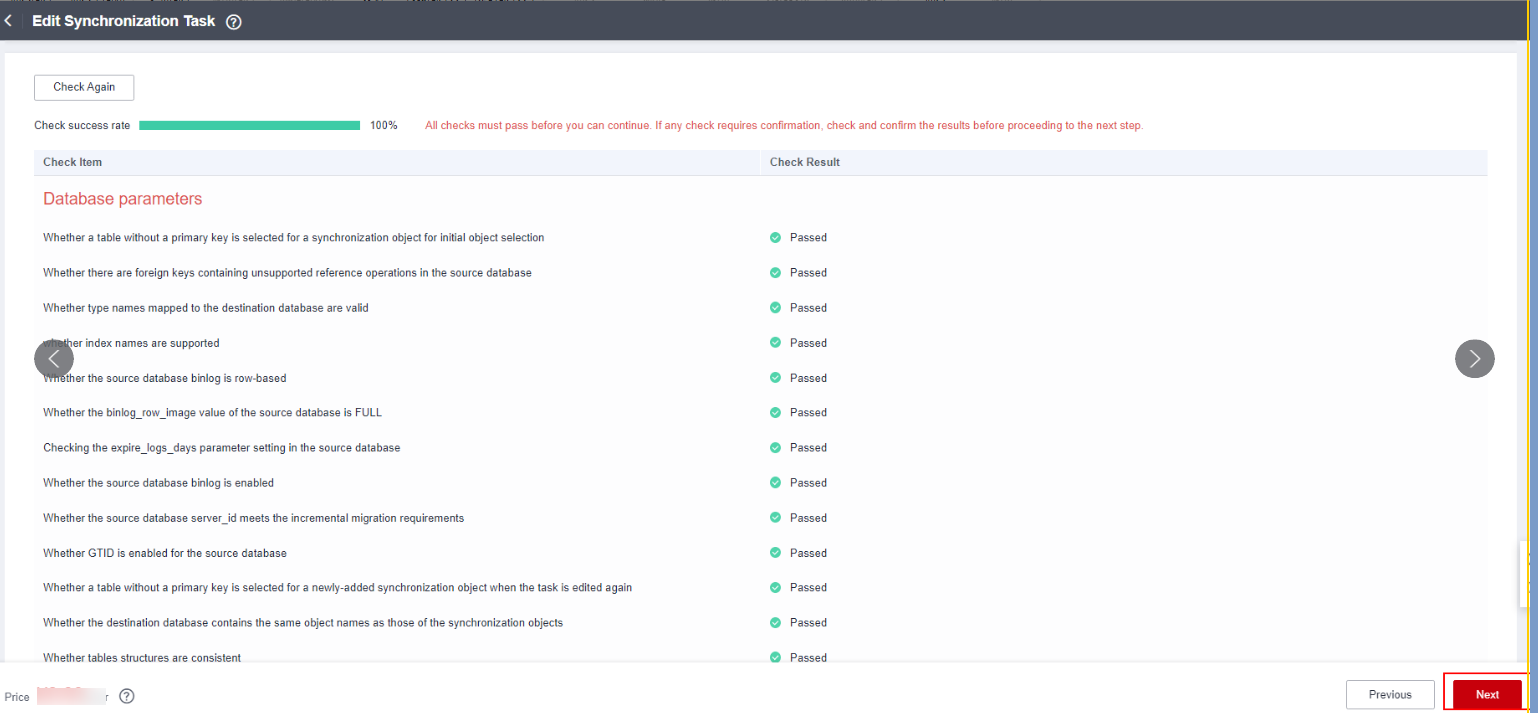
- Perform a pre-check, wait until the pre-check is complete, and click Next. Figure 6 Performing a pre-check
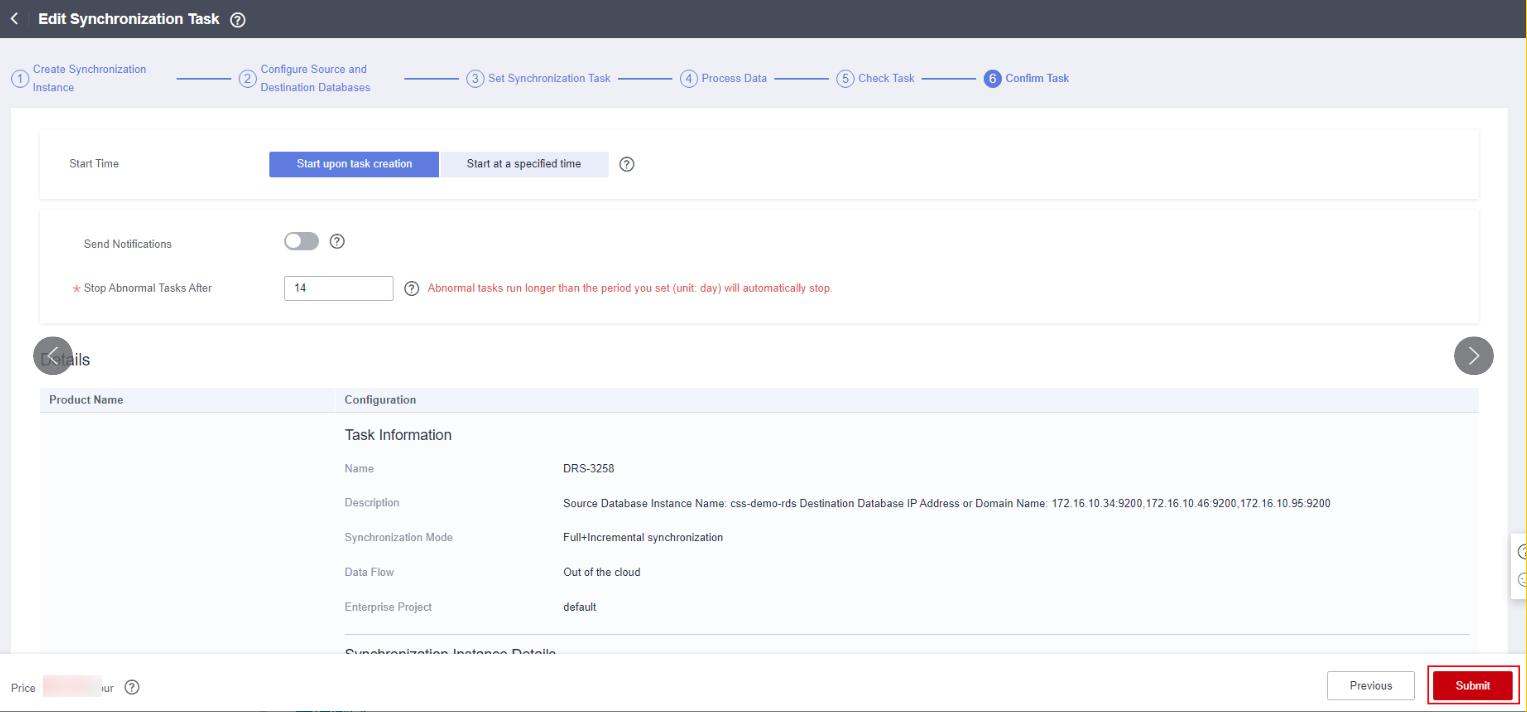
- Click Submit. Wait until the full synchronization is completed and the incremental synchronization is started. Figure 7 Confirming the task

Query Test
This section describes how to use CSS to query data.
- Log in to CSS console. On the cluster management page, click Kibana in the Operation of the cluster created in this solution. The Kibana page is displayed. Figure 8 CSS cluster management page

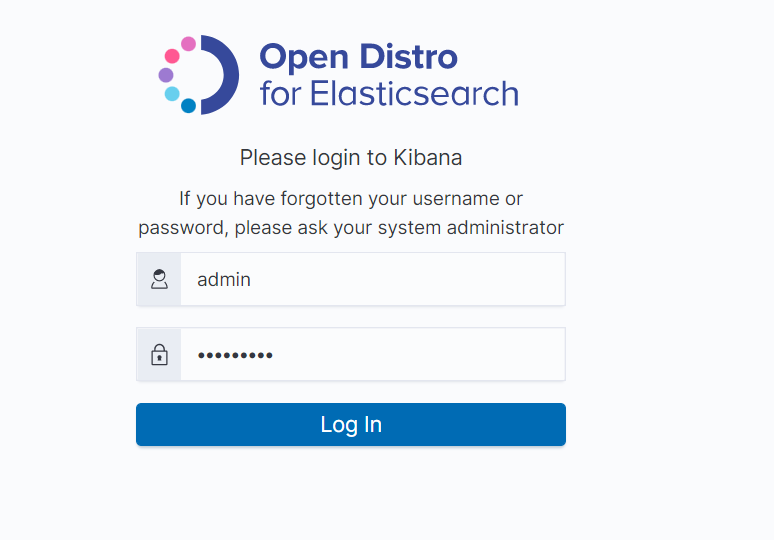
- Enter the username (admin) and password (set during solution deployment) to log in to Kibana. Figure 9 Logging in to Kibana
- Click
 in the upper left corner and choose Dev Tools. Figure 10 Dev Tools
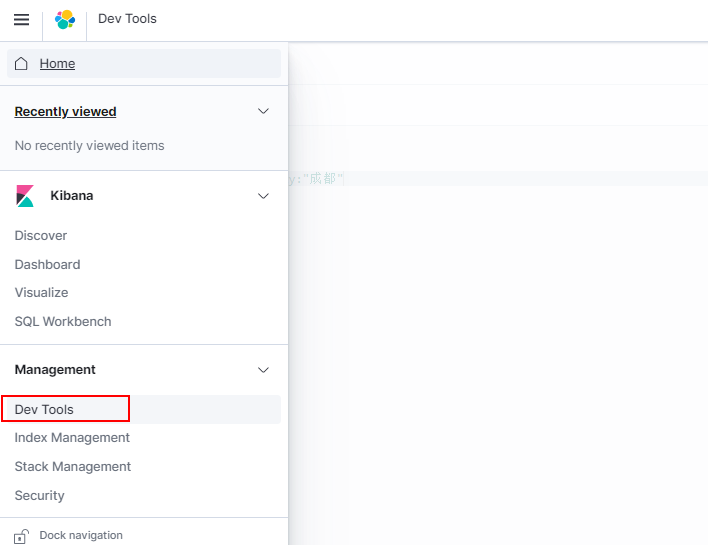
- On the debugging page of Dev Tools, run a query statement for debugging.
For example: GET t_user_store_info/_search?q=city:"Singapore" #Query all Singapore merchants in the merchant table.
Figure 11 Query result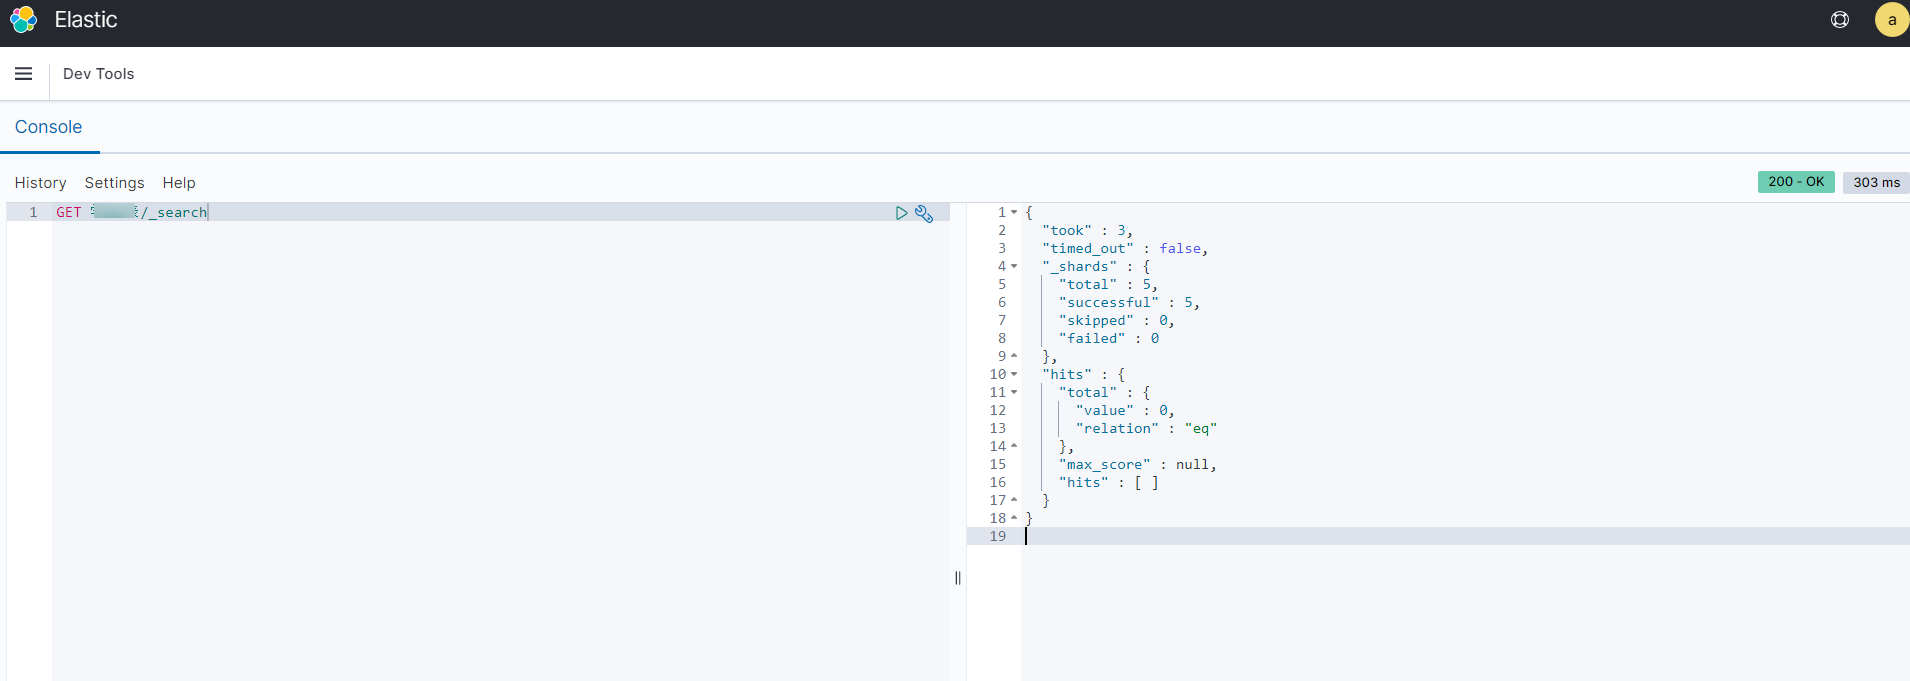
If the query result contains Singapore merchants, the query is successful.
Feedback
Was this page helpful?
Provide feedbackThank you very much for your feedback. We will continue working to improve the documentation.See the reply and handling status in My Cloud VOC.
For any further questions, feel free to contact us through the chatbot.
Chatbot


