
Project Managers: Creating and Configuring Projects
Prerequisites
- The project manager has registered a tenant account. For details, see Registering a HUAWEI ID and Enabling Huawei Cloud services.
- The project manager has created IAM users for project members.
Procedure
To run a project in CodeArts Req for the first time, a project manager needs to create a project, invite project members, configure the project (including fields, statuses, workflows, modules, notifications, and permissions), develop a sprint plan, and set statistics reports. The procedure is as follows:

Creating a Project
- Access the CodeArts homepage.
- Click Create Project.
The Select Template page is displayed. Select Scrum.
- Set Project Template to Scrum.
- Fill out the project information.
- Click OK to create the Scrum project.
By default, the page of the project is displayed.

For details about project requirement breakdown, such as story writing and task estimation, see Mind Maps.
Inviting Members
After a project is created, a project manager needs to add members to the project. A project manager can directly add members, or share the project link to invite members.
- When the project manager directly adds a member to a project, the member does not need to accept the invitation.
- When a project manager invites a member by sharing a project link, the member needs to accept the invitation.
- Directly adding members
- On the project details page, choose .
Figure 1 Member view

- Click Add Members.
- Many methods are provided for adding members. In this example, the option, Users from My Enterprise is selected.
Figure 2 Adding members
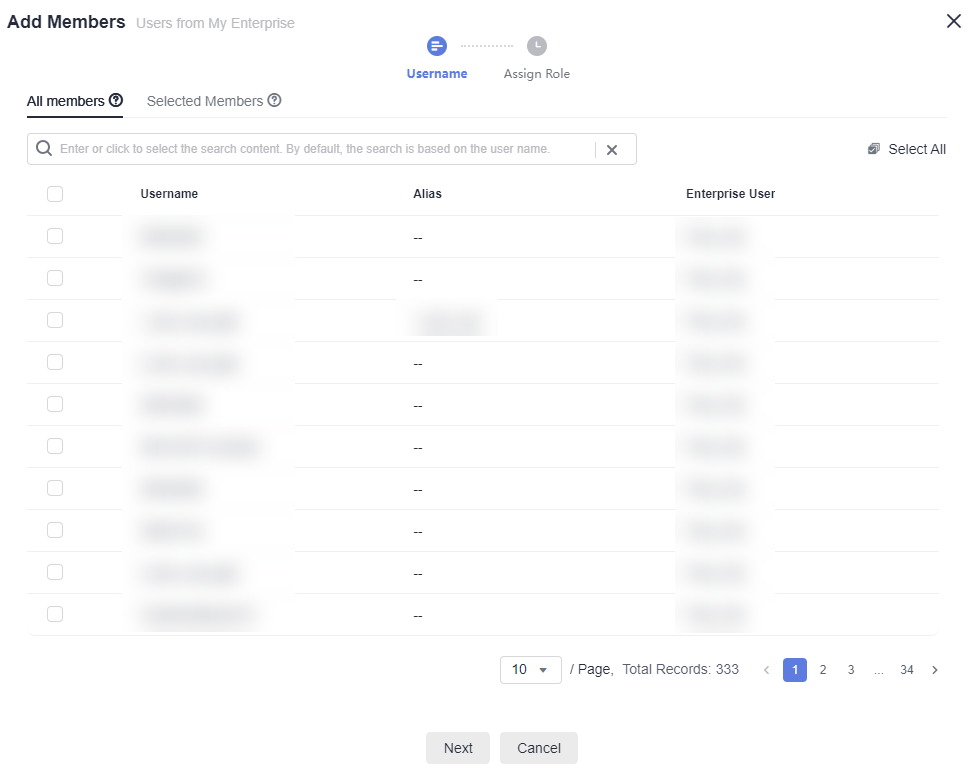
- Select the users to be added in the dialog box that is displayed.
- Click Next, specify project roles, and click Save.
- Users from My Enterprise refer to IAM users created by the tenant administrator on the IAM console, that is, users of the current enterprise.
- To add a new user (IAM user) to this list, click Create User and create one on the IAM console. For details about other operations, see Member.
- After the project manager directly adds members, the selected members will be added to the project member list.
- On the project details page, choose .
- Inviting members
- Click Invite via Links on the Member View page.
Figure 3 Inviting members
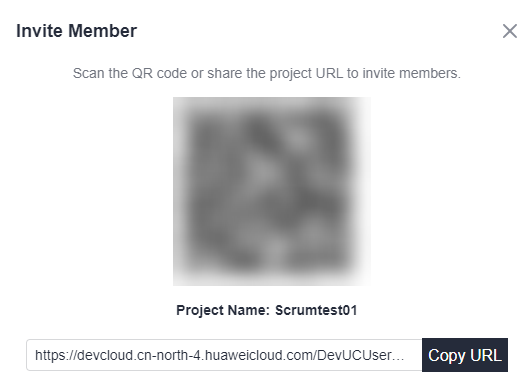
- Click Copy URL to share the link to required project members.
- For security, members invited by sharing the project link need to wait for the administrator's approval by default.
- The administrator can choose and disable Review Needed on Invited Members to remove the approval setting as required.
- Click Invite via Links on the Member View page.
Configuring the Project
Configure advanced settings of the project, including work item template, custom workflow, and permissions.
- Customize work item templates of different types.
- Click Edit Template to modify the work item template, including Description and Fields.
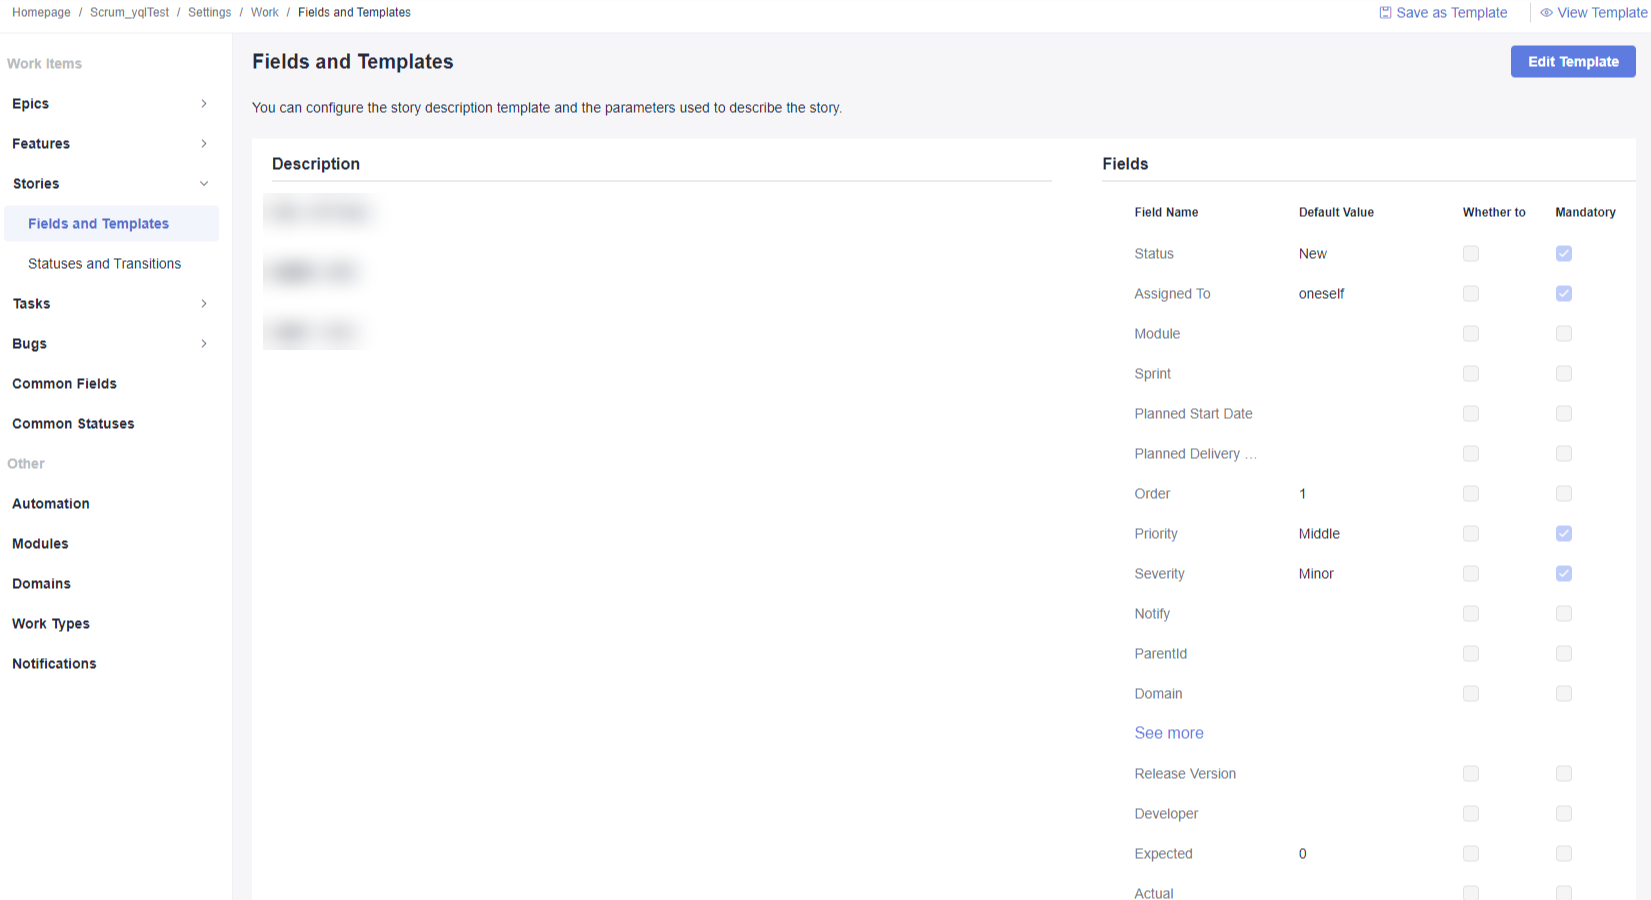
- After the modification, click Save to save the template or click Save as Template in the upper right corner, enter the template name, and click OK to save the template as a work template.
- Click Edit Template to modify the work item template, including Description and Fields.
- Customize workflows.
- Click for the work item on the left, for example, that for stories.
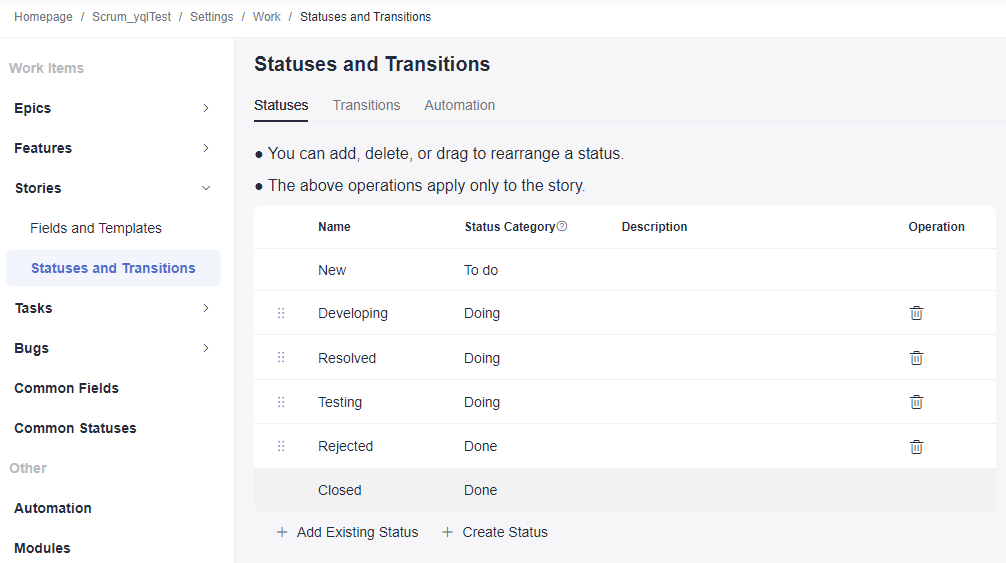
- Set the Statuses, Transitions, and Automation pages.
- Click for the work item on the left, for example, that for stories.
- Setting permissions
Set role permissions for each project member, including the project administrator, project manager, product manager, system engineer, committer, test manager, test engineer, O&M manager, participant, and viewer. You can also customize new roles and assign permissions to them as required.
- On the target project details page, choose .
- In the role view, you can assign CodeArts Req permissions to each role and add roles.
- Modify basic project information.
- Choose .
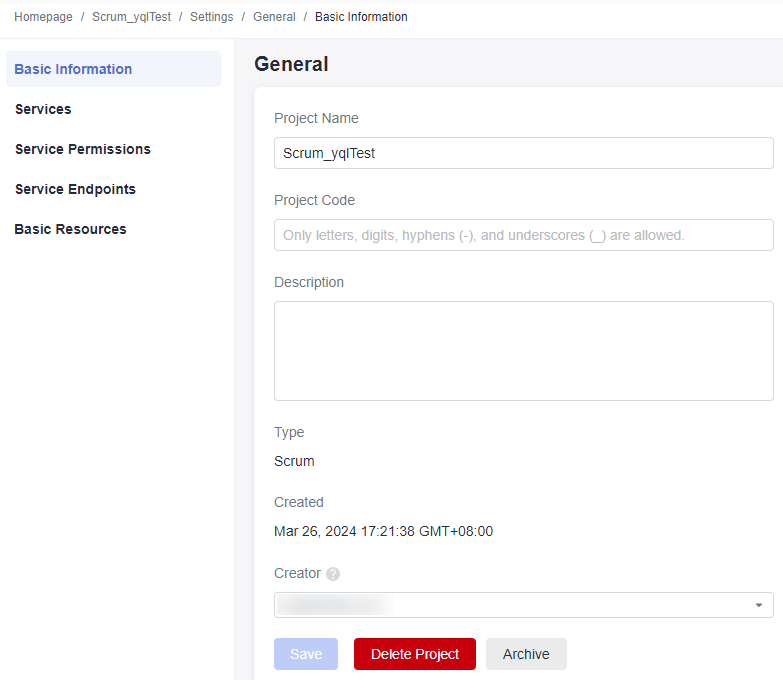
- Modify basic project information (such as the project name and description) as required and save the changes.
- Choose .
Developing a Sprint Plan
Sprints can be used to track and manage version releases. You can create work items in a sprint on the Sprints page. During requirements planning, you can centrally manage all work items (such as epics, features, stories, and tasks).
- On the project details page, choose .
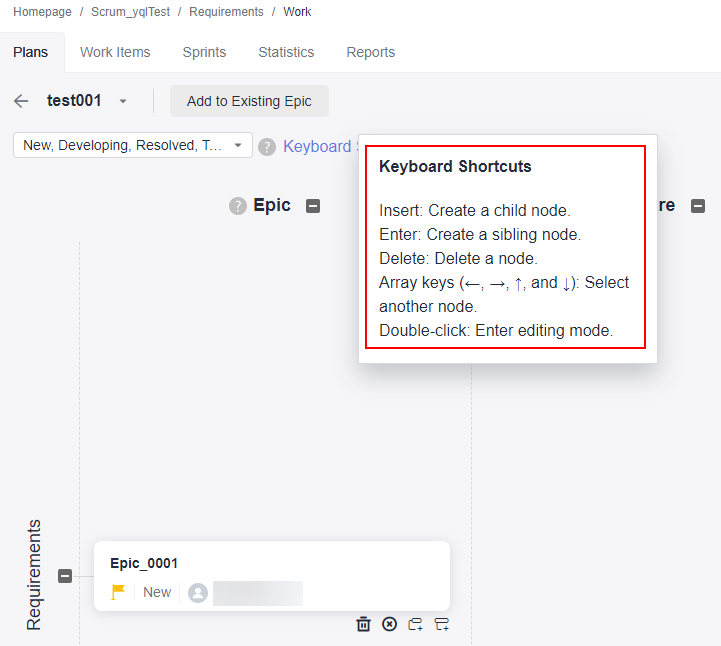
Click Mind Maps. The mind maps page is displayed. Create a work item by referring to Mind Maps.
- Choose , click the work item name to edit the work item.
During requirement planning, only the work item name is added. After requirement planning is complete, you need to modify the story details, including the description and basic information.

After the modification, click Save.
- Choose .
You can click
 on the left to create a sprint. For details, see Managing Sprints.
 - After a sprint is created, plan the sprint based on the project version plan.
- Click Unplanned Work Items in the upper left corner to view all edited work items.
- Schedule an appropriate amount of work for a sprint by dragging work items to the sprint or selecting a sprint in the Sprint column of work items.
Setting Statistics Reports
In addition to various built-in reports such as labor hour statistics, work item distribution statistics, sprint burndown charts, and defect statistics in different dimensions, you can also customize statistics reports for your teams.
- On the project details page, choose .
- Click Create Report and select the report type in the left pane. The default type is Custom. The following uses the custom report as an example.
- After you select Custom Report, specify the report title, list settings, and data filtering based on your requirements.
- Click Save to create the report.
- The created report is displayed on the statistics page. You can click the report title to view the statistics report. For details, see Using a Report.
Feedback
Was this page helpful?
Provide feedbackThank you very much for your feedback. We will continue working to improve the documentation.See the reply and handling status in My Cloud VOC.
For any further questions, feel free to contact us through the chatbot.
Chatbot


