
Setting up WordPress
Configuring Domain Names
Add and resolve a domain name for the website so that users can use the domain name to access the website.
- If the domain name is not registered with Huawei Cloud or not hosted on Huawei Cloud DNS, the domain name cannot be resolved. Use either of the following methods to resolve the issue:
- Contact the DNS service provider to add an A record that maps the domain name to the EIP of the FlexusL instance.
- Use Huawei Cloud DNS servers to resolve the domain name. For details, see Migrating to Huawei Cloud DNS for Domain Name Resolution.
- Add the domain name on the application O&M dashboard.
- In the address bar of a local browser, enter http://EIP:9000 to log in to the application O&M dashboard.
The username and password for logging in to the dashboard are the root user and password of the FlexusL instance. A FlexusL instance does not have an initial password. Reset the password and use it to log in to the dashboard.
- Choose My Apps and click the App icon.
- Choose Access and click Add Domain.

- In the address bar of a local browser, enter http://EIP:9000 to log in to the application O&M dashboard.
- Apply for ICP licensing for the domain name.
To successfully access the server using a domain name, you must license the domain name. Domain name licensing provided by the ICP License Service is free of charge. For details, see ICP Filing Process.
After the domain name is licensed, you can use it to visit the website.
Installing an SSL Certificate for Your Website
If the website is only used for personal development or testing, you can apply for a free SSL certificate (provided by Let's Encrypt) whose validity period is 90 days. If your website is for commercial use, you are advised to install a commercial SSL certificate. After an SSL certificate is installed, HTTPS is used when you access the website using the domain name. The following describes the two methods for installing an SSL certificate for your website.
Preparations
Before installing an SSL certificate, initialize the application on the management page and configure the domain name on the application O&M dashboard.
Procedure
- Apply for a free SSL certificate on the application O&M dashboard.
- In the address bar of a local browser, enter http://EIP:9000 to log in to the application O&M dashboard.
The username and password for logging in to the dashboard are the root user and password of the FlexusL instance. A FlexusL instance does not have an initial password. Reset the password and use it to log in to the dashboard.
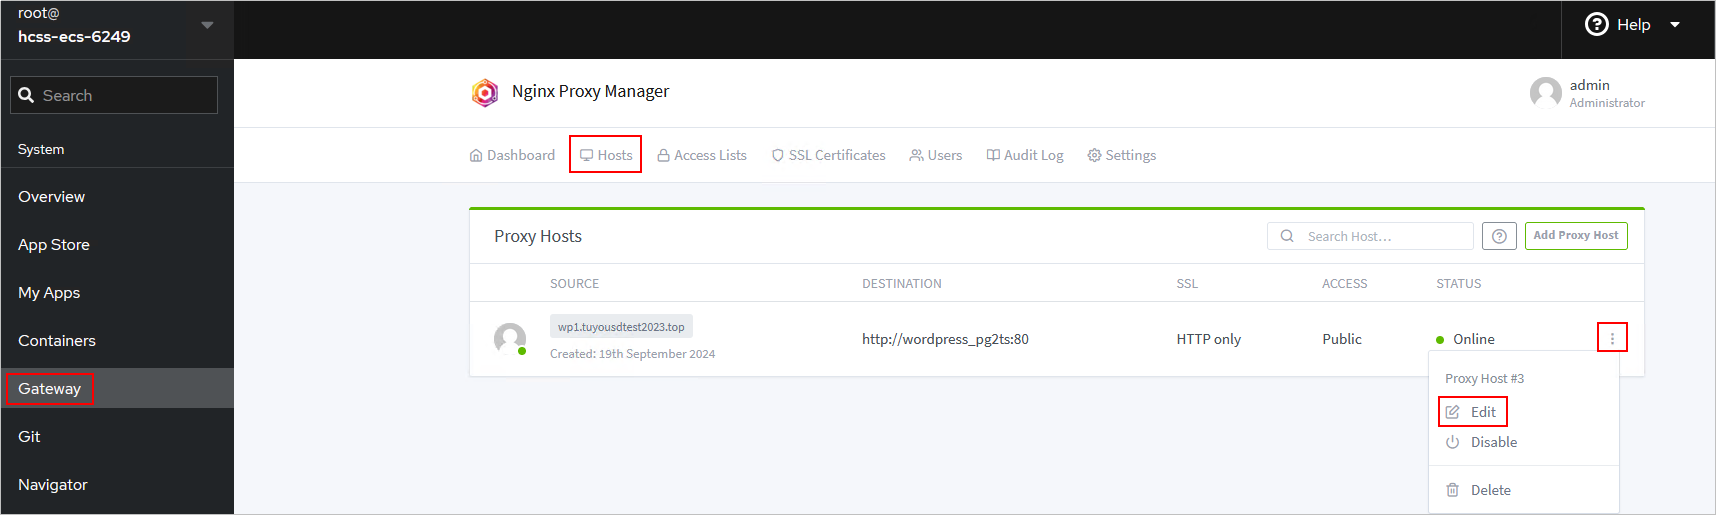
- Choose Gateway > Hosts > Proxy Hosts, click the icon next to the domain name, and click Edit.
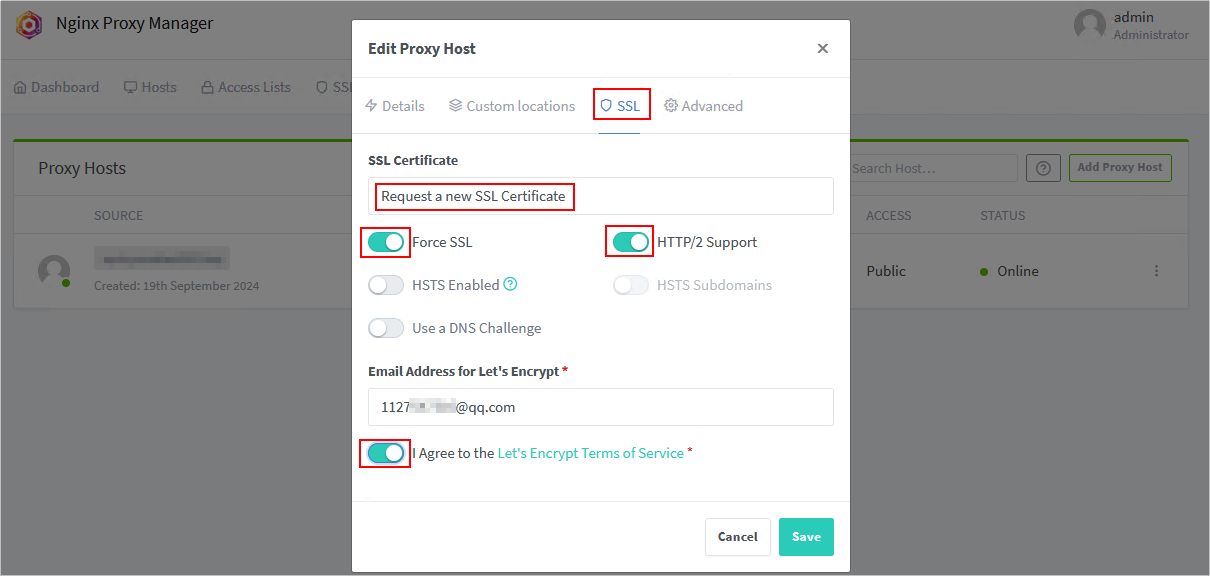
- Select SSL, configure the parameters as instructed in the following figure, and click Save.
- In the address bar of a local browser, enter http://EIP:9000 to log in to the application O&M dashboard.
- Install a commercial SSL certificate.
If you have purchased and issued an SSL certificate, perform the following steps to install the certificate for the website. If you have not purchased and issued an SSL certificate, purchase and issue one on Huawei Cloud by referring to About SCM and SSL Certificate Usage, and then perform the following steps to install a certificate for the website.
- In the address bar of a local browser, enter http://EIP:9000 to log in to the application O&M dashboard.
The username and password for logging in to the dashboard are the root user and password of the FlexusL instance. A FlexusL instance does not have an initial password. Reset the password and use it to log in to the dashboard.
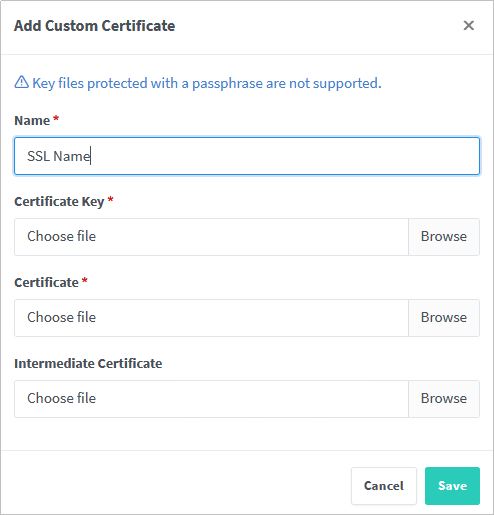
- Choose Gateway > SSL Certificates, click Add SSL Certificate, and select Custom.

- Enter a name for the certificate, upload the certificate key and certificate, and click Save.
- In the address bar of a local browser, enter http://EIP:9000 to log in to the application O&M dashboard.
Managing Appearance
WordPress provides a wide range of themes. You can select an appropriate one for your WordPress website. You can change the WordPress theme of your website without changing the website content and structure.
- Choose Appearance > Themes on the WordPress dashboard.
You can use the default and active themes, or add new themes.
- Select a theme from the theme collection provided by WordPress.
- Click Add New and upload third-party themes.

- After installing a theme, click Activate.
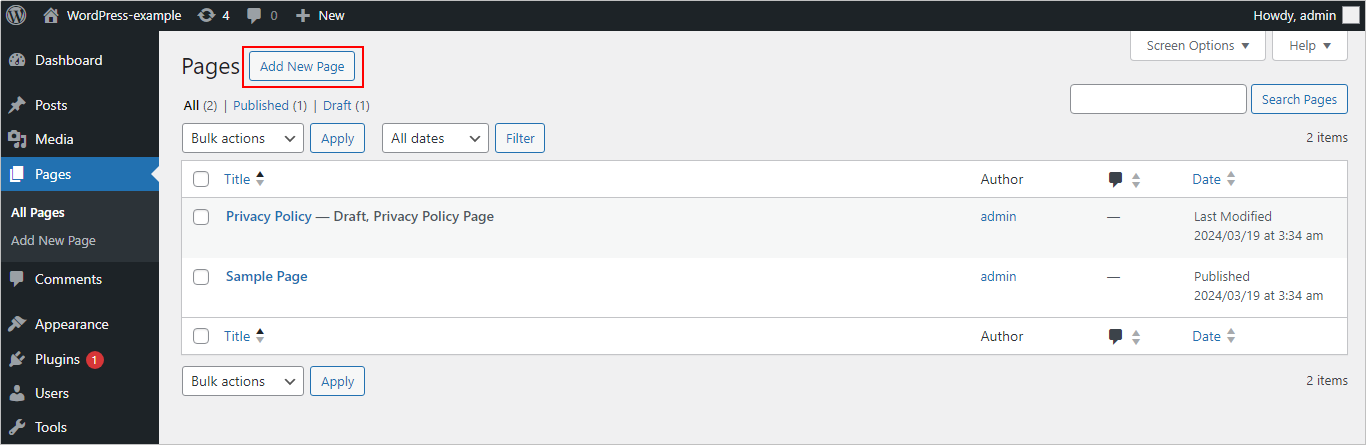
- Choose Page > Add New and use the fusion builder provided by the theme to flexibly set up a web page.
Managing Plugins
WordPress provides many plugins that add more capabilities, choices, and options to your WordPress website.
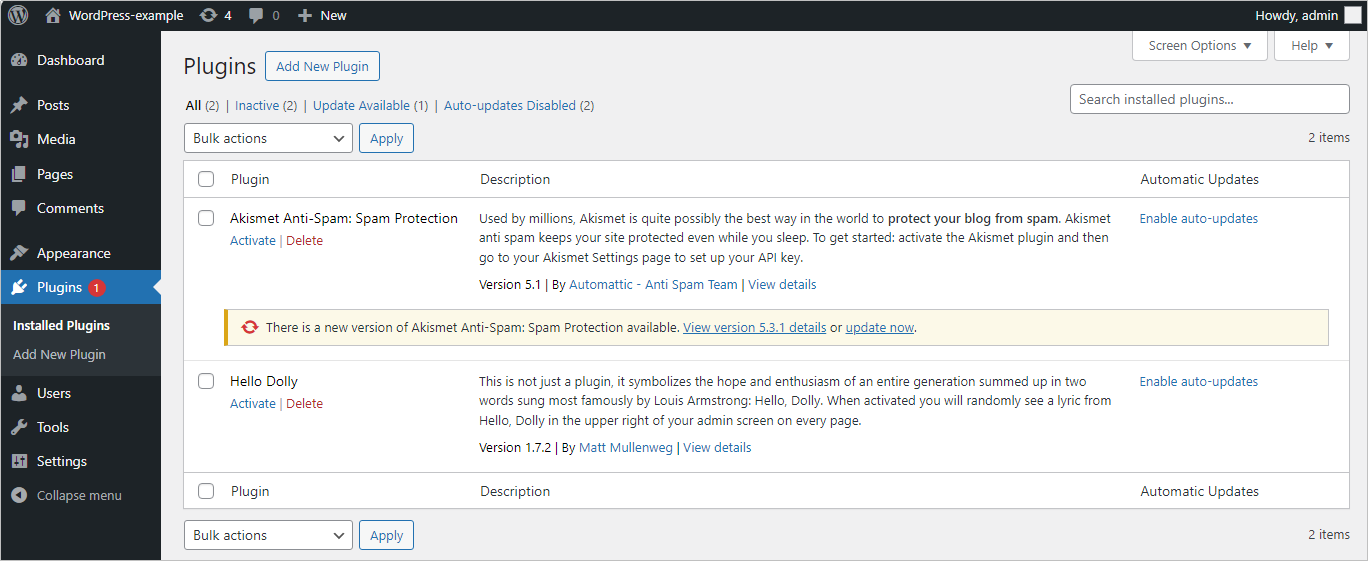
- Choose Plugins > Installed Plugins.
You can view all the plugins that have been installed and their details, such as the developer and functions.
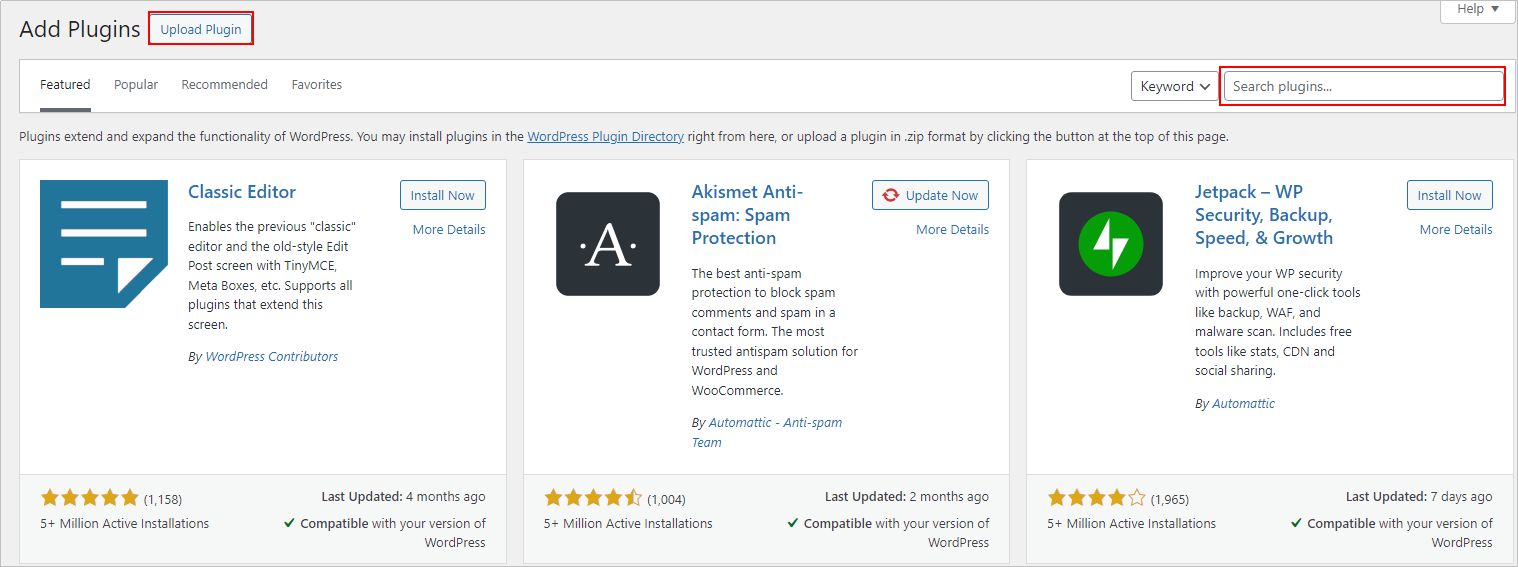
- Choose Plugins > Add New and add plugins.
- In the upper right corner, select a filter and search for plugins from the WordPress plugin library.
- Click Upload Plugin and select a third-party plugin for installation.
Configuring SMTP
The following uses the 163 email as an example to show how to use the WP Mail SMTP plugin to configure SMTP.
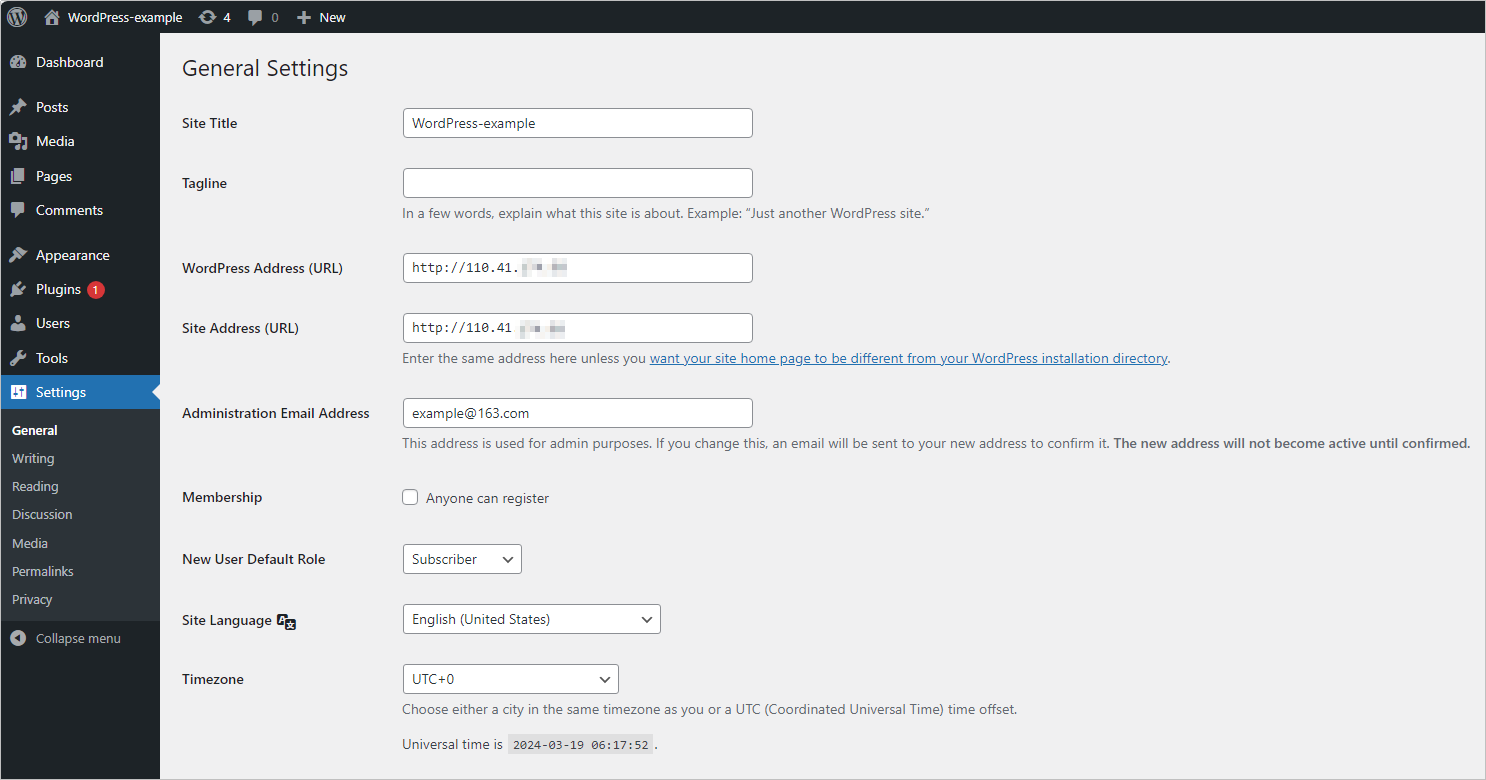
- Choose Settings > General and set the administration email address.
- Install the WP Mail SMTP plugin.
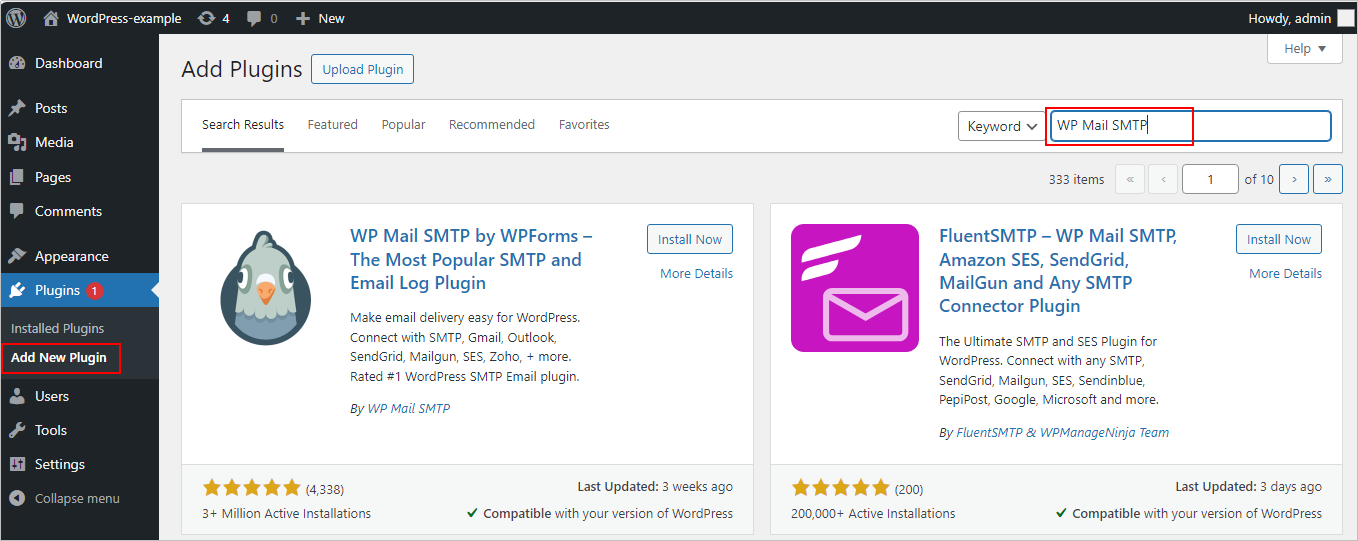
- On the WordPress dashboard, choose Plugins > Add New.
- Search for the keyword WP Mail SMTP. In the displayed result, click Install Now. After the installation is complete, click Activate.
- Go back to the dashboard, configure SMTP, and click Save Settings.
The following uses the 163 mailbox as an example to show how to configure a mailbox. If you use another mailbox, specify corresponding parameters.
Parameter
Description
From Email
The email address that emails are sent from, which is the email address that you specify during WordPress installation by default. In this example, the value is example@163.com. You can change the value as needed.
NOTE:SMTP must be configured for the email address.
From Name
The name that emails are sent from, which can be your website name. The default value is the website title that you specify during WordPress installation. In this example, the value is WordPress-example. You can change the value as needed.
Mailer
Select Other SMTP.
SMTP Host
SMTP host IP address. Enter smtp.163.com in this example.
Encryption
Select SSL.
SMTP Port
Enter 465 in this example.
Auto TLS
Enable this function.
Authentication
Enable this function.
SMTP Username
Keep it the same as the From Email parameter value: example@163.com.
SMTP Password
Enter the authorization code obtained when configuring SMTP for the email example@163.com. This is not the password of the email example@163.com.
Resetting a Password
If you forgot the WordPress administrator password, you can reset the password via email (SMTP must have been configured for WordPress).
- Resetting a password via email
- On the WordPress login page, click Lost your password.
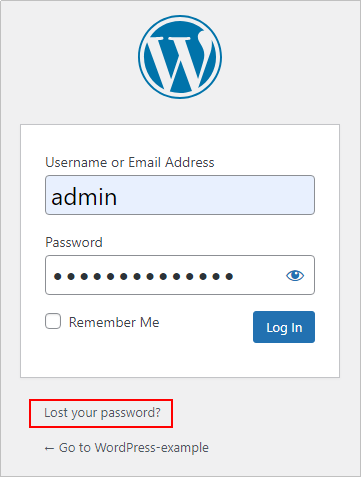
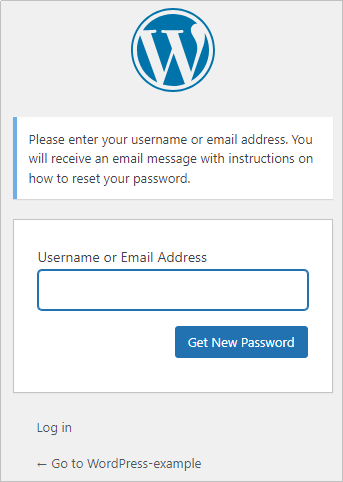
- Enter the username or email address and click Get New Password.
Then a new password will be sent to your email.
- On the dashboard, choose Users > Profile. In the Account Management area on the displayed page, set a new password and click Update Profile.

- On the WordPress login page, click Lost your password.
Feedback
Was this page helpful?
Provide feedbackThank you very much for your feedback. We will continue working to improve the documentation.See the reply and handling status in My Cloud VOC.
For any further questions, feel free to contact us through the chatbot.
Chatbot


