Managing Indexes
You can create indexes in a table to search for data efficiently.
After a table is created, you can add indexes to it.
Creating an Index
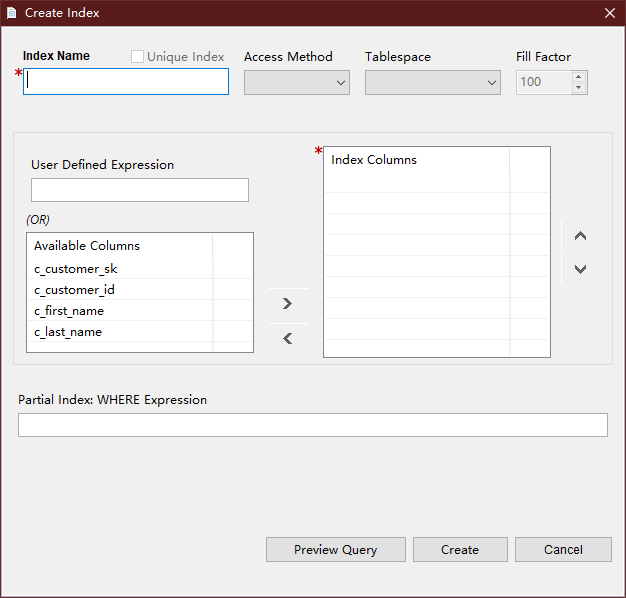
- Right-click Indexes and choose Create Index from the shortcut menu.
The Create Index dialog box is displayed.

- Enter the details and click Create. You can also view the SQL statement by clicking the Preview Query button. Items in Available Columns are not sorted. Items moved back from Index Columns to Available Columns are unsorted, and is not related to the column order in the table. You can set the order of the Index Columns using the arrow buttons. Data Studio displays the operation status in the status bar.
Setting a Tablespace
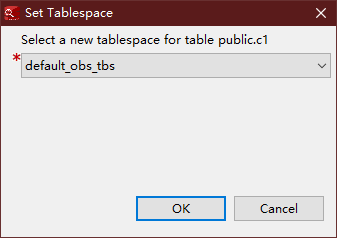
- Right-click an index and choose Set Tablespace from the shortcut menu.
The Set Tablespace dialog box is displayed.

- Select a tablespace and click OK. Data Studio displays the operation status in the status bar.
Changing a Fill Factor
To change a fill factor, perform the following steps:
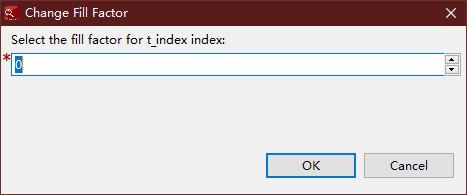
- Right-click an index and choose Change Fill Factor from the shortcut menu.
The Change Fill Factor dialog box is displayed.

- Select a fill factor and click OK. Data Studio displays the operation status in the status bar.
Renaming an Index
Follow the steps below to rename an index:
- Right-click the selected index and select Rename Index.
The Rename Index dialog box is displayed.
- Enter a new name and click OK. Data Studio displays the operation status in the status bar.
Deleting an Index
Perform the following steps to delete an index:
- Right-click an index and choose Drop Index from the shortcut menu.
The Drop Index dialog box is displayed.
- In the confirmation dialog box, click OK. Data Studio displays the operation status in the status bar. The index will be deleted from the table.

When the last index of a table is deleted, the value of the Has Index parameter may still be TRUE. After a vacuum operation is performed on the table, this parameter will change to FALSE.
Feedback
Was this page helpful?
Provide feedbackThank you very much for your feedback. We will continue working to improve the documentation.


