更新时间:2025-12-25 GMT+08:00
APISIX接入
使用限制
APISIX仅支持OpenTelemetry接入。
准备环境
- 确认已安装Git、Docker和Docker Compose。
- 确认APISIX版本 ≥ v2.13.0。
操作步骤
- 下载APISIX官方Docker Compose Demo。
git clone https://github.com/apache/apisix-docker.git
cd apisix-docker/example
- 创建otel-collector config文件。
在apisix-docker/example文件夹下创建ot_conf文件夹,并创建config.yaml文件。config.yaml文件内容如下:
receivers: otlp: protocols: grpc: endpoint: 0.0.0.0:4317 http: cors: allowed_origins: - http://* - https://* endpoint: 0.0.0.0:4318 processors: resource: attributes: - key: service.name value: “应用名.组件名.环境名” action: upsert batch: exporters: otlp: endpoint: '**.***.**.***:****' headers: Authentication: “${CLOUD_TOKEN}” tls: insecure: true service: pipelines: traces: receivers: [otlp] processors: [batch] exporters: [otlp] - 配置docker-compose。在apisix-docker/example/docker-compose.yml下添加opentelemetry collector服务。
内容如下:
version: "3" services: apisix: image: apache/apisix:${APISIX_IMAGE_TAG:-3.9.0-debian} restart: always volumes: - ./apisix_conf/config.yaml:/usr/local/apisix/conf/config.yaml:ro depends_on: - etcd ##network_mode: host ports: - "9180:9180/tcp" - "9080:9080/tcp" - "9091:9091/tcp" - "9443:9443/tcp" - "9092:9092/tcp" networks: apisix: etcd: image: bitnami/etcd:3.5.11 restart: always volumes: - etcd_data:/bitnami/etcd environment: ETCD_ENABLE_V2: "true" ALLOW_NONE_AUTHENTICATION: "yes" ETCD_ADVERTISE_CLIENT_URLS: "http://etcd:2379" ETCD_LISTEN_CLIENT_URLS: "http://0.0.0.0:2379" ports: - "2379:2379/tcp" networks: apisix: web1: image: nginx:1.19.0-alpine restart: always volumes: - ./upstream/web1.conf:/etc/nginx/nginx.conf ports: - "9081:80/tcp" environment: - NGINX_PORT=80 networks: apisix: web2: image: nginx:1.19.0-alpine restart: always volumes: - ./upstream/web2.conf:/etc/nginx/nginx.conf ports: - "9082:80/tcp" environment: - NGINX_PORT=80 networks: apisix: prometheus: image: prom/prometheus:v2.25.0 restart: always volumes: - ./prometheus_conf/prometheus.yml:/etc/prometheus/prometheus.yml ports: - "9090:9090" networks: apisix: grafana: image: grafana/grafana:7.3.7 restart: always ports: - "3000:3000" volumes: - "./grafana_conf/provisioning:/etc/grafana/provisioning" - "./grafana_conf/dashboards:/var/lib/grafana/dashboards" - "./grafana_conf/config/grafana.ini:/etc/grafana/grafana.ini" networks: apisix: otel-collector: image: otel/opentelemetry-collector-contrib:0.105.0 volumes: - ./ot_conf/config.yaml:/etc/otelcol-contrib/config.yaml # 挂载 OpenTelemetry Collector 配置文件 ports: - 4317:4317 # OTLP gRPC receiver - 4318:4318 # OTLP http receiver networks: apisix: networks: apisix: driver: bridge volumes: etcd_data: driver: local - 配置APISIX。修改APISIX配置文件apisix-docker/example/apisix_conf/config.yaml,在文件末尾追加以下内容:
plugins: - opentelemetry plugin_attr: prometheus: export_addr: ip: "0.0.0.0" port: 9091 opentelemetry: resource: service.name: 应用名.组件名.环境名 host.ip: 127.0.0.1 collector: address: otel-collector:4318 # OTLP HTTP Receiver address request_timeout: 3 batch_span_processor: drop_on_queue_full: false max_queue_size: 6 batch_timeout: 2 inactive_timeout: 1 max_export_batch_size: 2 - 通过docker启动demo。
docker compose -p docker-apisix up -d
- 全局启用OpenTelemetry插件。通过APISIX Admin API设置OpenTelemetry插件在全局生效。
curl 'http://1**.0.0.1:9**0/apisix/admin/global_rules/1' \
-H 'X-API-KEY: edd1c9f034335f136f87ad84b625c8f1' \
-X PUT -d '{
    "plugins": {
        "opentelemetry": {
            "sampler": {
                "name": "always_on"
            }
        }
    }
}'
创建路由。
curl "http://1**.0.0.1:9**0/apisix/admin/routes/1" -H "X-API-KEY: edd1c9f034335f136f87ad84b625c8f1" -X PUT -d ' { "methods": ["GET"], "host": "example.com", "uri": "/anything/*", "upstream": { "type": "roundrobin", "nodes": { "httpbin.org:80": 1 } } }' - 触发请求并生成数据。
curl -i -X GET "http://1**.0.0.1:9**0/anything/foo?arg=10" -H "Host: example.com"
预期响应。
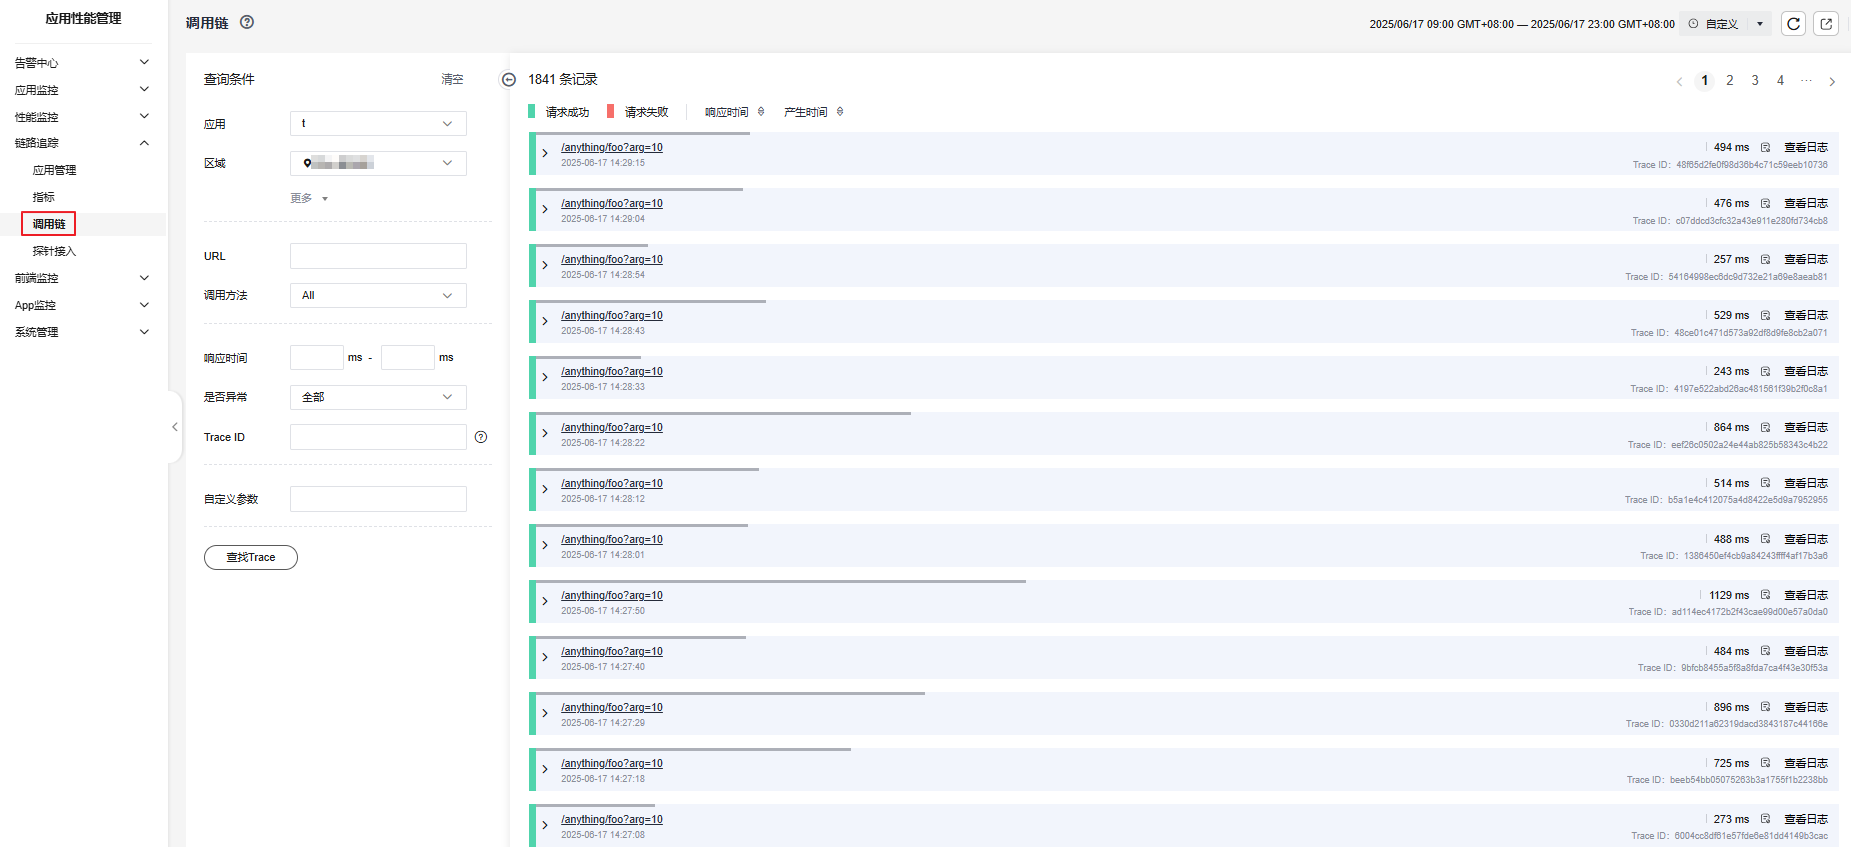
HTTP/1.1 200 OK Content-Type: application/json Content-Length: 501 Connection: keep-alive Date: Wed, 24 Jul 2024 03:26:11 GMT Access-Control-Allow-Origin: * Access-Control-Allow-Credentials: true Server: APISIX/3.9.0 { "args": { "arg": "10" }, "data": "", "files": {}, "form": {}, "headers": { "Accept": "*/*", "Host": "example.com", "Traceparent": "00-xxxxxx-xxxx-01", "User-Agent": "curl/7.61.1", "X-Amzn-Trace-Id": "Root=1-xxx-xxxx", "X-Forwarded-Host": "example.com" }, "json": null, "method": "GET", "origin": "**.*.*.*:****", "url": "http://example.com/anything/foo?arg=10" } - APM上查看数据,在指定应用下查看对应的数据。
- 登录管理控制台。
- 单击左侧
 ,选择“管理与监管 > 应用性能管理 APM”,进入APM服务页面。
 - 在左侧导航栏选择“链路追踪 > 指标”。
- 在界面左侧树单击环境,单击“概览”,切换至概览页签,在概览页签可以查看该实例的应用监控数据。


父主题: 接入APM


