

更新时间:2024-08-05 GMT+08:00
服务器/终端(Windows操作系统)
操作步骤
- 下载nxlog工具,通过nxlog工具进行日志上报。
进入工具下载地址,根据操作系统找到相应的安装包,如nxlog-ce-x.x.xxx.msi。
图1 下载nxlog工具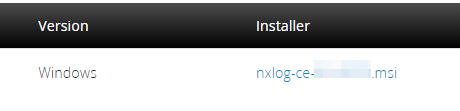
- 安装nxlog工具。选中nxlog-ce-x.x.xxx.msi文件,右键单击“安装”(或以管理员身份运行),按照提示默认安装即可。
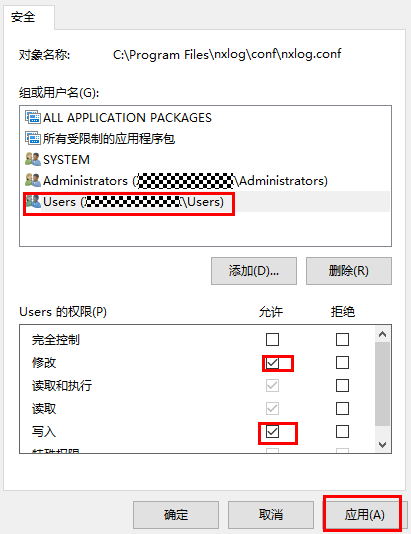
- 修改配置文件nxlog.conf,默认在“C:\Program Files\nxlog\conf”下。“C:\Program Files\nxlog”为nxlog的默认安装路径。
- 根据实际情况,按照如下格式修改nxlog.conf文件中的对应内容。
## Please set the ROOT to the folder your nxlog was installed into, ## otherwise it will not start. define ROOT C:\Program Files\nxlog Moduledir %ROOT%\modules CacheDir %ROOT%\data Pidfile %ROOT%\data\nxlog.pid SpoolDir %ROOT%\data LogFile %ROOT%\data\nxlog.log <Extension syslog> Module xm_syslog </Extension> <Input eventlog> Module im_msvistalog <QueryXML> <QueryList> <Query Id="0"> <Select Path="Application">*</Select> <Select Path="Security">*</Select> <Select Path="System">*</Select> </Query> </QueryList> </QueryXML> </Input> <Output udp> Module om_udp Host 10.1.1.1 Port 514 Exec to_syslog_ietf(); </Output> <Route eventlog_to_udp> Path eventlog => udp </Route>- define中的安装路径需要修改为nxlog的实际安装路径。
define ROOT C:\Program Files\nxlog
- <Output udp>…</Output>中Host的值需修改为天关侧与资产通信的内网IP地址,Port需修改为在天关配置的端口,与4中配置的端口号保持一致。
Host       10.1.1.1
Port       514
- define中的安装路径需要修改为nxlog的实际安装路径。
- (可选)修改input元素。针对不同的Windows操作系统版本,配置稍有差异。
- Windows操作系统为Windows XP/2000/2003版本时,需要修改nxlog.conf文件中的Input元素。
- Windows操作系统为Windows Vista、Windows 2008及之后版本时,不需要修改。
<Input eventlog>
  Module      im_mseventlog
  ...
</Input>
- 根据实际情况,按照如下格式修改nxlog.conf文件中的对应内容。
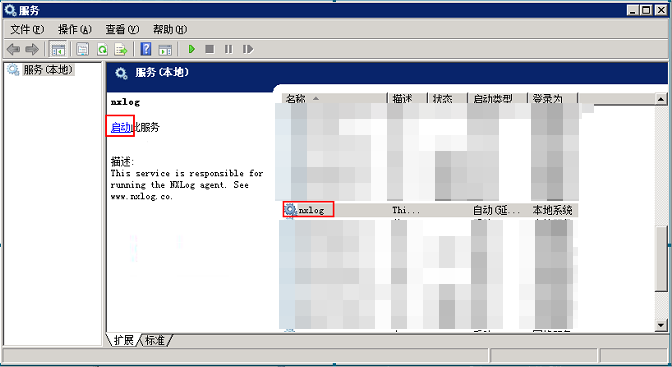
- 返回桌面,右键单击“开始 > 运行”,或同时按“Windows+R”,打开“运行”窗口。
- 输入services.msc,单击“确定”。
- 启动或重启nxlog服务,重启后配置文件才能生效。
图2 启动nxlog服务

父主题: 配置资产


