
Image Repository Overview
Scenarios
An image repository manages container images. You can push and pull images to and from a repository, scan images for security, and view the image build history,
Prerequisites
Before using an image repository, ensure that:
- You have purchased a repository.
- You have access to repositories. For details, see Access Control Overview.
- You have created an access credential.
Pushing an Image
- Prepare a server that meets the following requirements:
- The container engine version must be later than v1.13.1.
- The server can be used within the network access range defined in Access Control.
- Log in to the server as root.
- Use the access credential obtained in Access Credentials to log in to the registry and access a repository.
The message Login Succeeded will be displayed upon a successful login.
- Run the following command to tag the image:
docker tag [image-name-1:tag-1] [repository-address]/[namespace-name]/[image-name-2:tag-2]
In this command:
- [image-name-1:tag-1]: name and tag of the image to be pushed.
- [repository-address]: address for accessing the repository where the image is stored. To obtain the address, perform the following operations:
Log in to the SWR Enterprise Edition console and switch to the target region in the upper left corner of the page. On the displayed page, click the name of the target repository to go to the repository details page. In the Basic Information area of the Dashboard page, obtain the access address.
Figure 1 Repository access address
- [namespace-name]: namespace you created in Creating a Namespace.
- [image-name-2:tag-2]: new name and tag for the image.
Example:
docker tag nginx:latest test-01-2v8iom.swr.cn-east-3.myhuaweicloud.com/library/nginx:1.1.1
- Push the image to a repository.
docker push [repository-address]/[namespace-name]/[image-name:tag-name]
Example:
docker push test-01-2v8iom.swr.cn-east-3.myhuaweicloud.com/library/nginx:1.1.1
The following information will be returned upon a successful push:
fbce26647e70: Pushed
fb04ab8effa8: Pushed
8f736d52032f: Pushed
009f1d338b57: Pushed
678bbd796838: Pushed
d1279c519351: Pushed
f68ef921efae: Pushed
v1: digest: sha256:0cdfc7910db531bfa7726de4c19ec556bc9190aad9bd3de93787e8bce3385f8d size: 1780
To view the image information, go to the repository details page and choose Image Repositories from the navigation pane.

After an image is pushed, you can use it to create a workload on the CCE console.
Obtaining an Image Pull Address
- Log in to the SWR Enterprise Edition and switch to the target region in the upper left corner of the page. On the displayed page, click the name of the target repository to go to the repository details page.
- In the navigation pane, choose Image Repositories.
- Click the name of the target image to go to the image details page.
- Locate the target image tag and obtain the image pull command in the Pull Command column.
Figure 2 Image pull command

Other Operations
- Searching for an image
Search for an image by namespace or name.
Figure 3 Searching for an image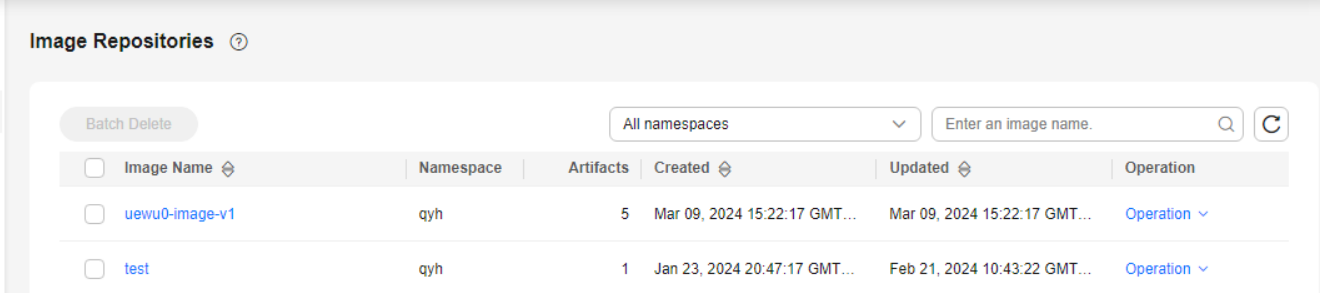
- Deleting an image
To delete an image, locate the image and click Delete. To avoid deleting important data by mistake, you need to enter DELETE to confirm the deletion.

Deleting an image will delete all its tags.
- Deleting an image tag
To delete an image tag, click the desired image name to go to its details page. Locate the target image tag, and click Delete. To avoid deleting important data by mistake, you need to enter DELETE to confirm the deletion.
Follow-up Operations
After images are pushed to a repository, you can:
- Configure an image signing policy so that images can be automatically signed. For details, see Signing an Image.
- Configure an image replication policy so that images can be replicated to another registry automatically. For details, see Cross-Region Image Replication.
- Configure an image retention policy to automatically delete unnecessary images. For details, see Image Retention.
Feedback
Was this page helpful?
Provide feedbackThank you very much for your feedback. We will continue working to improve the documentation.See the reply and handling status in My Cloud VOC.
For any further questions, feel free to contact us through the chatbot.
Chatbot


