
Orchestrating Pipeline Stages
Pipeline Stage
A stage is a basic part of a pipeline. Each stage organizes jobs, processes inputs using specific logic, and produces outputs. Stages run in a defined order to create clear workflows. Refer to this section to configure stages.
Notes and Constraints
- Configure pass conditions:
- Only the Pass-Conditions-of-Standard-Policies type is available. You can select a project- or tenant-level policy.
- Pass conditions can be set exclusively for each stage of a pipeline and is valid only for the corresponding stage.
- You can set multiple pass conditions for one stage.
- A maximum of 16 stages (including the downstream stage) can be configured for a pipeline.
Billing
To use rules and policies, upgrade the CodeArts package to the basic edition. For details, see CodeArts Billing Modes.
Prerequisites
- You have enabled and authorized CodeArts Pipeline.
- Your role is a project administrator or pipeline creator. For details about how to configure permissions, see Authorizing CodeArts Pipeline.
Configuring Stages
- Access the CodeArts Pipeline homepage.
- Locate the target pipeline from the pipeline list, click
 in the Operation column, and select Edit.
 - On the Task Orchestration tab page, click
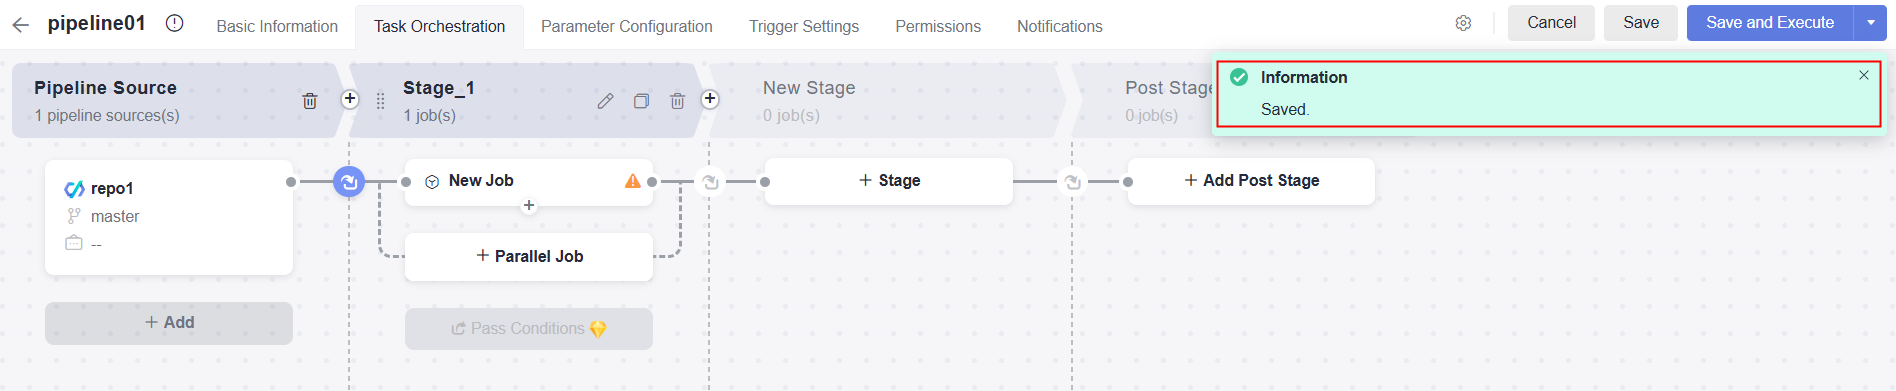
 or Stage to add a stage to the pipeline. After the stage is added, you can edit, clone, delete, or move it, or configure its entry type.
Figure 1 Task orchestration
or Stage to add a stage to the pipeline. After the stage is added, you can edit, clone, delete, or move it, or configure its entry type.
Figure 1 Task orchestration
Table 1 Stage management Operation
Description
Editing a stage
Click
 . In the displayed window, configure the stage name and whether to always run jobs in the stage.
- If you select Yes for Always Run, jobs in this stage will be executed by default and cannot be canceled.
- If you select No for Always Run, jobs in this stage will be selected by default for execution but can be canceled.
Cloning a stage
Click
 to clone a stage.
Deleting a stage
Click
 and confirm the deletion as prompted.
Sorting a stage
Click and drag
 to move a stage to adjust its sequence.
Setting stage admission
Specify in what conditions a pipeline can proceed to the next stage. Click
 . In the displayed window, configure the admission type.
- Automatic (default): The pipeline automatically proceeds to the next stage.
- Manual: The pipeline proceeds only after manual confirmation.
- Time window: The pipeline proceeds to the next stage within a specified period.
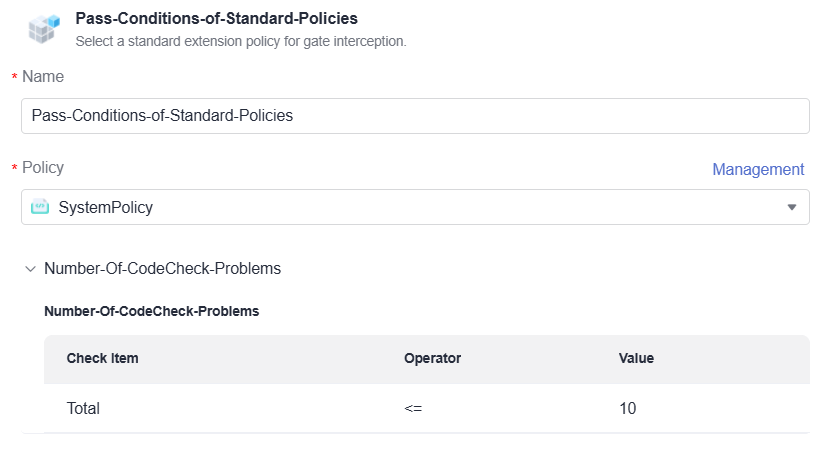
Pass conditions
Set rules and policies to decide in what conditions a pipeline can complete the current stage.
- A rule defines different comparison operators based on extension thresholds to determine whether to apply the extension output to stage pass conditions. Multiple such rules constitute a policy. For details, see Configuring a Rule.
- A policy is a set of rules defined as different condition templates for a step extension. Each policy can be applied to multiple pipelines. There are tenant-level policies and project-level policies. You can use them to control pipeline runs for high-quality delivery.
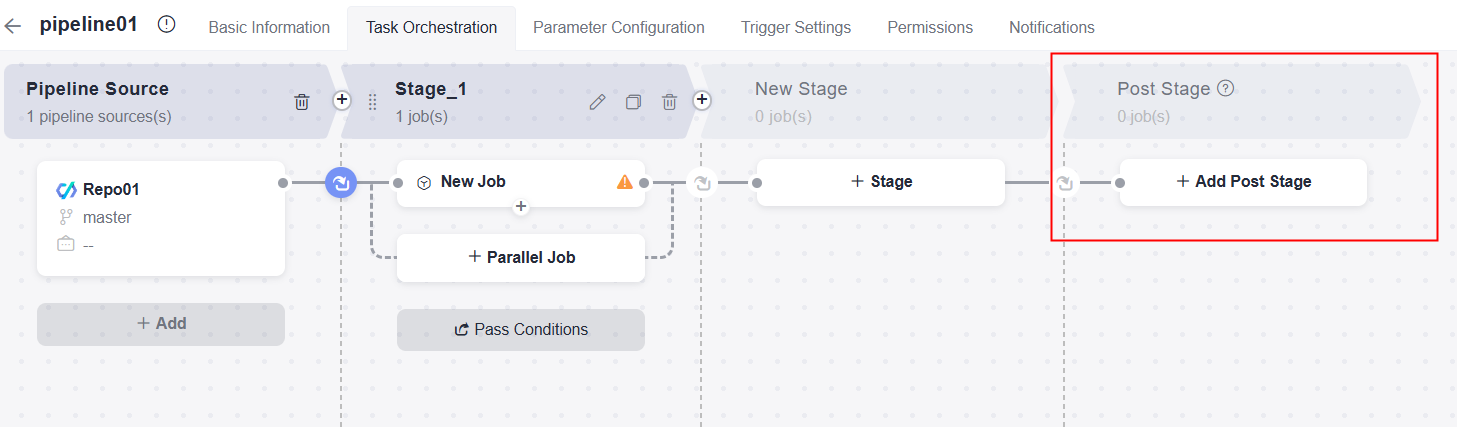
- (Optional) Configure a pipeline downstream stage.
- After the configuration, click Save. A message is displayed, indicating that the pipeline is saved successfully.
Configuring a Pipeline Downstream Stage
On the Task Orchestration page, you can configure a downstream stage for a pipeline. The downstream stage is executed regardless of whether the upstream stage is successful or not. You can configure extensions to implement functions such as resource clearing, third-party system callback, and message notification.
- Access CodeArts Pipeline.
- Select the target pipeline, click
 in the Operation column, and select Edit. The pipeline orchestration page is displayed.
 - Configure jobs for the downstream stage. For details, see Configuring Pipeline Jobs.
- A pipeline can have only one downstream stage, and the stage must be the last one.
- By default, Always Run is set to Yes for the downstream stage. You can change it to No.
- During execution configuration, if you select the downstream stage for execution, the stage will always be executed.
Configuring a Rule
Rules are tenant-level resources and can be used in all tenant- or project-level policies of the current tenant.
- Access the CodeArts Pipeline homepage.
- Click the username in the upper right corner and click All Account Settings.
- In the navigation pane on the left, choose Policy Management > Rules.
- Click Create Rule. On the displayed page, configure parameters.
Figure 2 Creating a rule
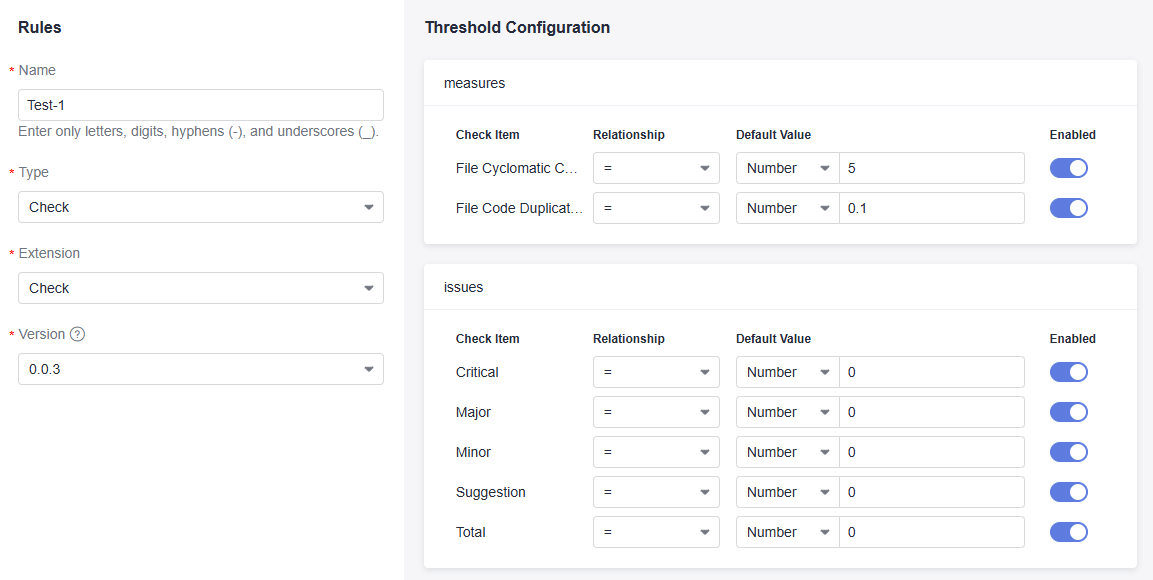
Table 2 Rule parameters Parameter
Description
Example Value
Name
Rule name, which is generated based on the current time. Enter a maximum of 128 characters, including only letters, digits, underscores (_), and hyphens (-).
Enter Test-1.
Type
Rule type, which corresponds to the extension type. Supported extension types: Build, Check, and Test.
- Build: extensions for code build.
- Check: extensions for code check.
- Test: extensions for API tests.
Select Check.
Extension
Select from all extensions of the selected type.
- Extensions of the Build type: Set build result thresholds. For example, you can select an official Build extension to set thresholds for Maven unit tests.
- Extensions of the Check type: Set code check result thresholds. For example, you can select an official Check extension to set thresholds for code checks.
- Extensions of the Test type: Set test result thresholds. For example, you can select an official TestPlan extension to set thresholds for determining the test case pass rate in test suites.
Select Check.
Version
Select from all extension versions with threshold settings.
Select 0.0.3.
Threshold Configuration
Set relational operators based on thresholds automatically obtained from the selected extension version. Note that if you changed threshold settings, the relevant rule and policy would also be changed.
If you set the relational operator to Exclude or Include, the threshold can only be the Text type. For the check item Pass Ratio, the value ranges from 0 to 1.
-
Code metrics
Reflect the quality of committed code. Metrics help you detect and fix issues in a timely manner and improve R&D efficiency. Code metrics cover the following two types of issues:
- Cyclomatic complexity.
- Duplication rate. CodeArts Check identifies duplicate lines, blocks, and rates.
For details, see Viewing Check Results.
-
- Click Confirm. A message is displayed, indicating that the rule is created successfully. You can also perform the following operations in the rule list.

- On the rule list page, click
 in the Operation column to edit a rule.
- The rule type cannot be edited.
- After a rule is edited, all policies that reference the rule are automatically modified.
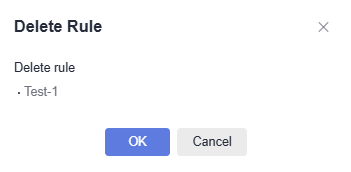
- On the rule list page, click
 in the Operation column to delete a rule. On the displayed dialog box, click OK to confirm the deletion.
- On the rule list page, click
Configuring a Pipeline Policy
There are tenant-level policies and project-level policies. Tenant-level policies are tenant-level resources and can be used in pass conditions for all pipelines of the current tenant. There is a system policy by default. You can check and use the policy, but cannot edit or delete it. Project-level policies are project-level resources and can be used in pass conditions for all pipelines of the current project. A maximum of 20 rules can be selected for a tenant-level or project-level policy.
Configuring the Tenant-level Policy
- Access the CodeArts Pipeline homepage.
- Click the username in the upper right corner and click All Account Settings.
- In the navigation pane on the left, choose Policy Management > Policies. The policy list page is displayed.
- Click Create Policy. On the displayed page, configure parameters.

Table 3 Policy parameters Parameter
Description
Example Value
Name
Policy name, which is generated based on the current time by default. Enter a maximum of 128 characters, including only letters, digits, underscores (_), and hyphens (-).
Enter Test01.
Rule
The selected rules will be displayed in the right part of the page. You can perform the following operations on each rule:
- Edit: Click Detail in the upper right corner of the rule to check details. Click Edit in the upper right corner to edit the rule.
- Enable/Disable: Click the toggle
 in the upper right corner to enable/disable the rule. After the rule is disabled, it will not take effect in the pass conditions where it is referenced.
Select Test-1.
- Click Confirm. A message is displayed, indicating that a policy is generated.

- On the policy list page, click
 to edit a policy. You can also perform the following operations in the policy list.
 - Click
 to check a policy. Click Edit in the upper right corner to edit the policy.
 - Click
 and select Clone to clone a policy.
 - Click
 and select Delete. On the displayed dialog box, confirm the deletion. When you delete a policy, the system displays a message indicating the number of pipelines that use the policy. Once the policy is deleted, pipeline execution will fail.
 - Click the toggle
 on the right to enable or disable a policy. If a policy is disabled, the system displays a message indicating the number of pipelines that use the policy. Once the policy is disabled, it will not take effect in pass conditions.
- On the policy list page, click
Configuring Project-Level Policies
- Access the CodeArts Pipeline homepage through a project.
- Click the Policies tab. The policy list page is displayed.
- Click Create Policy. On the displayed page, configure parameters.
Figure 3 Policy parameters
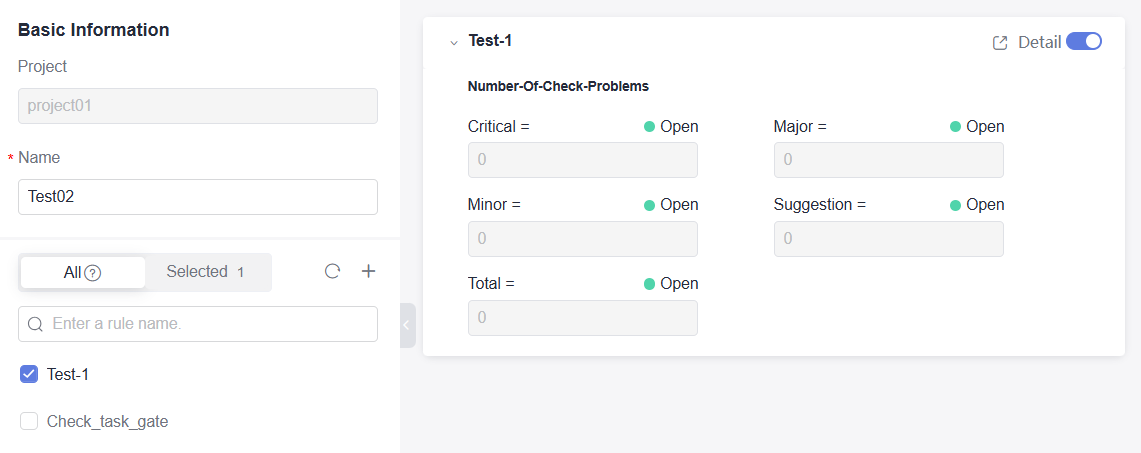
Table 4 Policy parameters Parameter
Description
Example Value
Name
Policy name, which is generated based on the current time by default. Enter a maximum of 128 characters, including only letters, digits, underscores (_), and hyphens (-).
Enter Test02.
Rule
The selected rules will be displayed in the right part of the page. You can perform the following operations on each rule:
- Edit: Click Detail in the upper right corner of the rule to view the details. Click Edit in the upper right corner to edit the rule.
- Enable/Disable: Click the toggle
 in the upper right corner to enable/disable the rule. After the rule is disabled, it will not take effect in the pass conditions where it is referenced.
Select Test-1.
- Click Confirm. A message is displayed, indicating that the policy is created successfully.

- On the policy list page, click
 to edit a policy. You can also perform the following operations in the policy list.
 - Click
 to check a policy. Click Edit in the upper right corner to edit the policy.
 - Click
 and select Clone to clone a policy.
 - Click
 and select Delete. On the displayed dialog box, confirm the deletion.
When you delete a policy, the system displays a message indicating the number of pipelines that use the policy. Once the policy is deleted, pipeline execution will fail.
- Click the toggle
 on the right to enable or disable a policy.
If a policy is disabled, the system displays a message indicating the number of pipelines that use the policy. Once the policy is disabled, it will not take effect in pass conditions.
- On the policy list page, click Tenant Policies in the upper right corner. In the displayed window, you can view, clone, or inherit a tenant-level policy.
- View: Click
 in the Operation column to check the tenant-level policy. Click Edit in the upper right corner to edit the tenant-level policy.
- Clone: Click
 in the Operation column to clone the selected tenant-level policy to create a project-level policy.
 - Inherit: Click
 in the Operation column to inherit a project-level policy from the tenant-level policy. The inherited rules are always consistent with rules of the tenant-level policy.
- View: Click
- On the policy list page, click
Feedback
Was this page helpful?
Provide feedbackThank you very much for your feedback. We will continue working to improve the documentation.See the reply and handling status in My Cloud VOC.
For any further questions, feel free to contact us through the chatbot.
Chatbot


