Deploying MySQL on an Ubuntu ECS
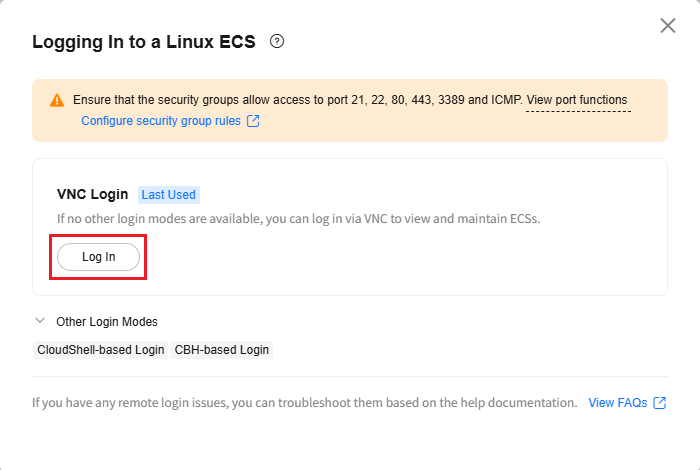
- Create an Ubuntu ECS accessible to the internet. Select VNC or SSH for remote login.
- Run the following commands to update the ECS image source:
sudo apt update
sudo apt upgrade
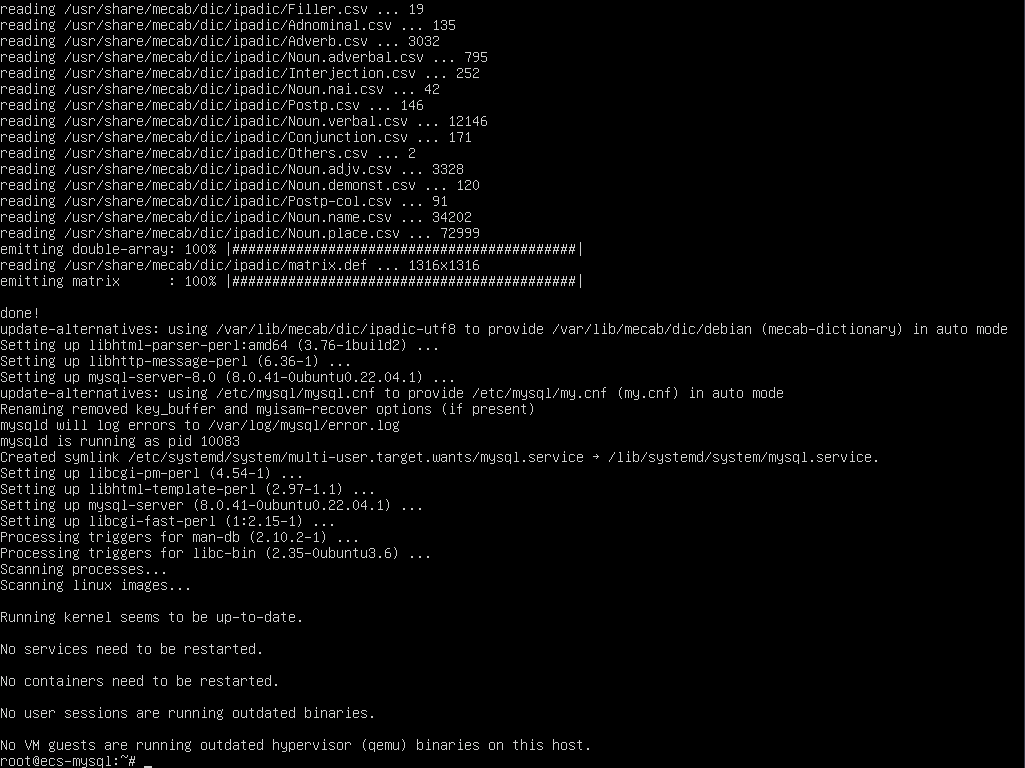
- Run the following command to install MySQL:
sudo apt -y install mysql-server

- Check the MySQL status and configure it to automatically start upon ECS startup:
sudo systemctl status mysql
sudo systemctl enable mysql

- Run the following command to access MySQL:
sudo mysql

- Run the following command to set the password for user root:
ALTER USER 'root'@'localhost' IDENTIFIED WITH mysql_native_password by 'kmXNB)60Ckap';

- Run the following command to exit MySQL:
exit

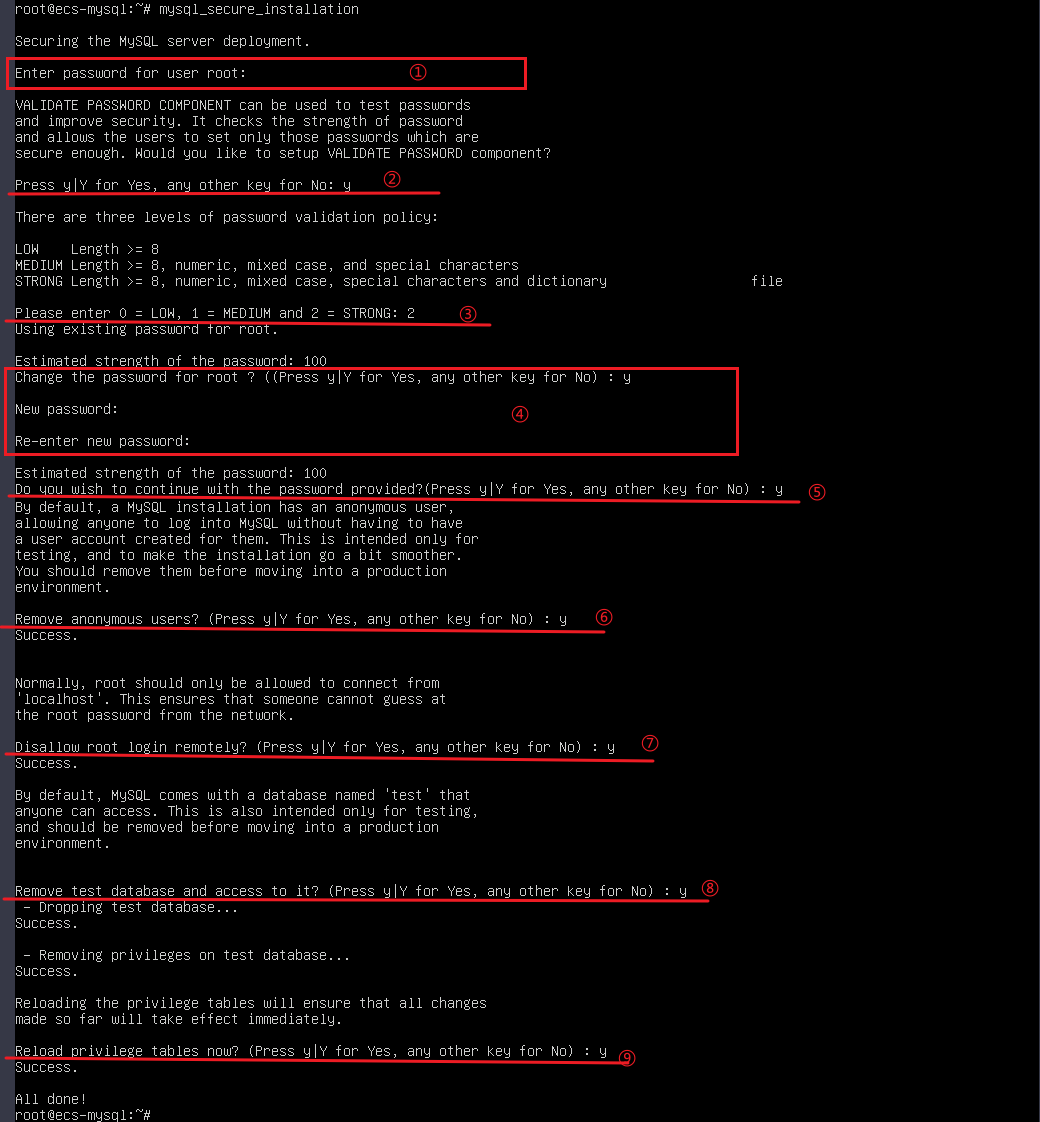
- Run the following command to harden MySQL security as required:
mysql_secure_installation
(1) Enter the password configured in step 6.
(2) Enter y or Y if you want to configure a password policy.
(3) Set the password strength:- Weak password: The password contains at least eight characters.
- Medium password: The password contains at least eight characters and consists of uppercase letters, lowercase letters, digits, and special characters.
- Strong password: The password contains at least eight characters, consists of uppercase letters, lowercase letters, digits, and special characters, and is checked against a dictionary attack.
Enter 2 to use a strong password.
(4) Enter y or Y for Change the password for root?.
Enter the new password of user root. The password must meet strong password requirements.
(5) Enter y or Y for Do you wish to continue with the password provided?.
(6) Enter y or Y for Remove anonymous users?.
(7) Enter y or Y for Disallow root login remotely?.
(8) Enter y or Y for Remove test database and access to it?.
(9) Enter y or Y for Reload privilege tables now?.

- Run the following command to log in to the database as user root of MySQL and enter the password configured in step 8 as prompted:
sudo mysql -u root -p

- Run the following command to create a database named workspace:
CREATE DATABASE workspace;

- Create a user and grant the user full access to the database. In the command, workspaceuser indicates the database username, and xxxxx indicates the password of the database user. You can set them as required.
CREATE USER 'workspaceuser'@'localhost' IDENTIFIED BY 'xxxxx';
GRANT ALL ON workspace.* TO workspaceuser@localhost;

- Update the MySQL permission table for the permissions assigned in step 11 to take effect:
FLUSH PRIVILEGES;

- Run the following command to exit the MySQL CLI:
exit

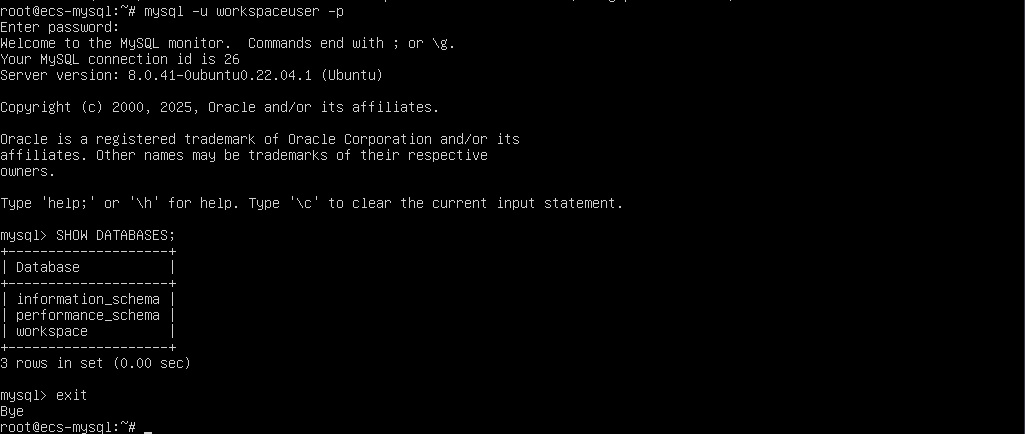
- (Optional) Run the following commands in sequence (enter the password configured in step 11 after the first command is executed) to check whether the database and user have been created and exit the MySQL CLI:
mysql -u workspaceuser -p
SHOW DATABASES;
exit

Feedback
Was this page helpful?
Provide feedbackThank you very much for your feedback. We will continue working to improve the documentation.See the reply and handling status in My Cloud VOC.
For any further questions, feel free to contact us through the chatbot.
Chatbot


