Help Center/
Cloud Container Instance (CCI)/
Best Practices/
Workload Creation/
Deploying WordPress Using ccictl
Updated on 2025-08-12 GMT+08:00
Deploying WordPress Using ccictl
CCI 2.0 provides ccictl, a tool that allows you to have a better experience than the console or APIs when creating workloads.
Constraints
ccictl has been connected to CCI 2.0.
Procedure
For the WordPress application, you can use ccictl to create resources.
- Create a namespace.
ccictl create namespace cci-test
Figure 1 Example command output for creating a namespace
- Run ccictl create -f network.yaml to create a network. The following is an example YAML file:
apiVersion: yangtse/v2
kind: Network
metadata:
  annotations:
    yangtse.io/domain-id: ${domain-id}
    yangtse.io/project-id: ${project-id}
  name: cci-network
  namespace: cci-test
spec:
  networkType: underlay_neutron
  securityGroups:
    - ${security-group-id}
  subnets:
    - subnetID: ${subnet-id}
Figure 2 Example command output for creating a network
- Run ccictl apply -f deployment.yaml to create the wordpress workload. The following is an example YAML file:
kind: Deployment
apiVersion: cci/v2
metadata:
  name: wordpress
  namespace: cci-test
spec:
  replicas: 1
  selector:
    matchLabels:
      app: wordpress
  template:
    metadata:
      labels:
        app: wordpress
    spec:
      containers:
        - name: wordpress
          image: wordpress:latest
          ports:
          - containerPort: 80
          resources:
            limits:
              cpu: 500m
              memory: 1Gi
            requests:
              cpu: 500m
              memory: 1Gi
      dnsPolicy: Default
Figure 3 Example command output for creating a workload
- Run ccictl apply -f service.yaml to create a Service for the workload. The following is an example YAML file:
kind: Service
apiVersion: cci/v2
metadata:
  name: service-wordpress
  namespace: cci-test
  annotations:
    kubernetes.io/elb.class: elb
    kubernetes.io/elb.id: '${elb_id}' # ID of the associated dedicated load balancer, which must have an EIP bound
spec:
  ports:
    - name: service-wordpress-port
      protocol: TCP
      port: 80
      targetPort: 80
  selector:
    app: wordpress
  type: LoadBalancer
Figure 4 Example command output for creating a Service
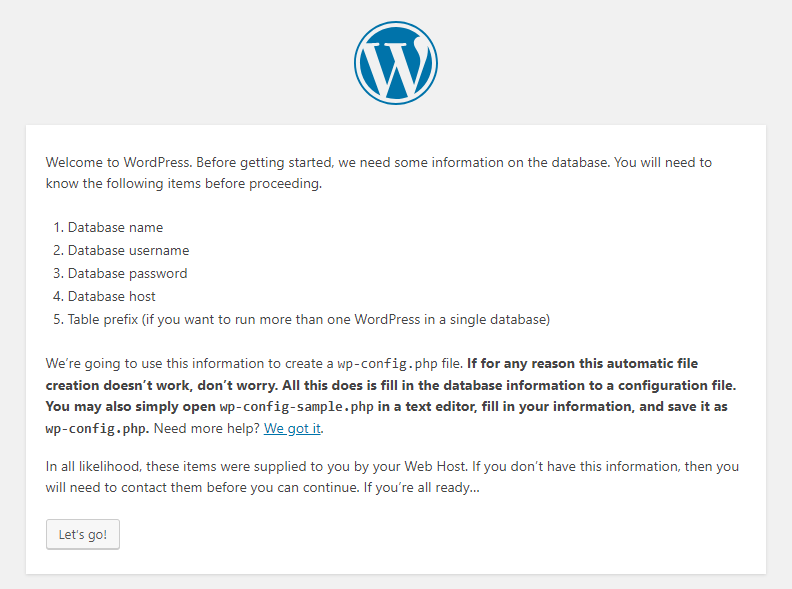
- Use the EIP and port of the load balancer to access the WordPress application.

Parent topic: Workload Creation
Feedback
Was this page helpful?
Provide feedbackThank you very much for your feedback. We will continue working to improve the documentation.See the reply and handling status in My Cloud VOC.
The system is busy. Please try again later.
For any further questions, feel free to contact us through the chatbot.
Chatbot


