
Help Center/
SecMaster/
User Guide (ME-Abu Dhabi Region)/
FAQs/
Data Collection/
How Do I Release an ECS or VPC Endpoint?
Updated on 2025-01-20 GMT+08:00
How Do I Release an ECS or VPC Endpoint?
To enable log data collection, you are required to buy ECSs for collecting logs and configure VPC endpoints for establishing connections with and managing collection nodes.
- ECSs are billed. For details about ECS pricing, see Elastic Cloud Server User Guide.
- VPC endpoints are billed. For details, see VPC Endpoint User Guide.
If you no longer need log data collection or unsubscribe from SecMaster, you need to manually release the ECSs and VPC endpoints you create for log data collection, or they will continue to be billed. Perform the following steps:
Releasing ECS and VPC Endpoint Resources
- Log in to the management console.
- Release the ECS used for log data collection.
- In the upper left corner of the page, click
 and choose .
 - In the resource list, locate the row that contains the target ECS, choose or in the Operation column.
Figure 1 Unsubscribing from an ECS
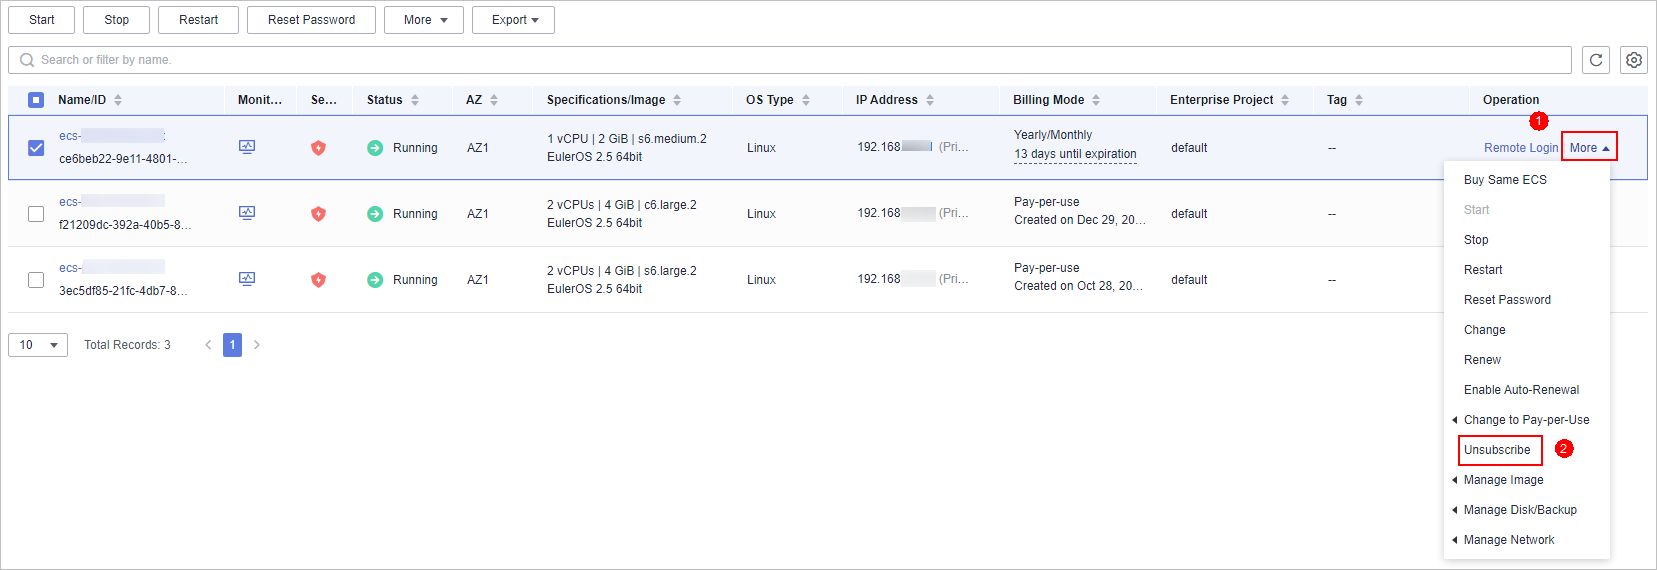
- In the dialog box displayed, unsubscribe from or delete the ECS as prompted.
- In the upper left corner of the page, click
- Release the VPC endpoints used to connect and manage collection nodes.
- Click
 in the upper part of the page and choose Security > SecMaster.
 - In the navigation pane on the left, choose Workspaces > Management. In the workspace list, click the name of the target workspace.
- In the navigation pane on the left, choose .
- Deregister a node.
- On the Nodes tab, locate the row that contains the target node and click Deregister in the Operation column.
- In the displayed dialog box, click OK.
- Delete the VPC endpoint.
- On the Nodes page, click Create. On the Create Node slide-out panel, select a network node.
- In the network channel list, click Delete.
Figure 2 Deleting a node
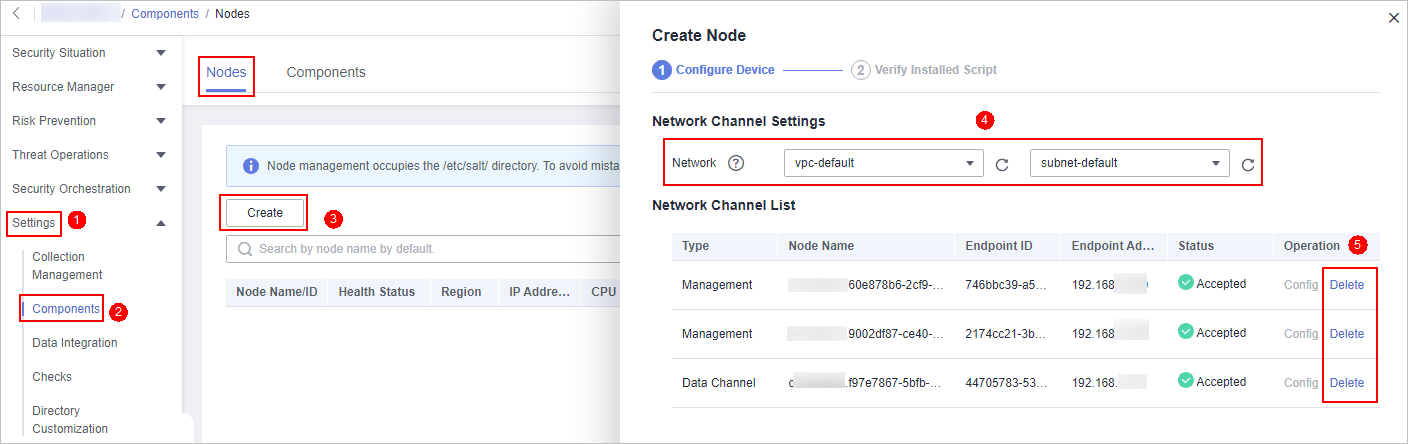
- In the displayed dialog box, click OK.
- Check whether there are unreleased VPC endpoints created by SecMaster for log data collection.
- In the upper left corner of the page, click
 and choose Networking > VPC Endpoint.
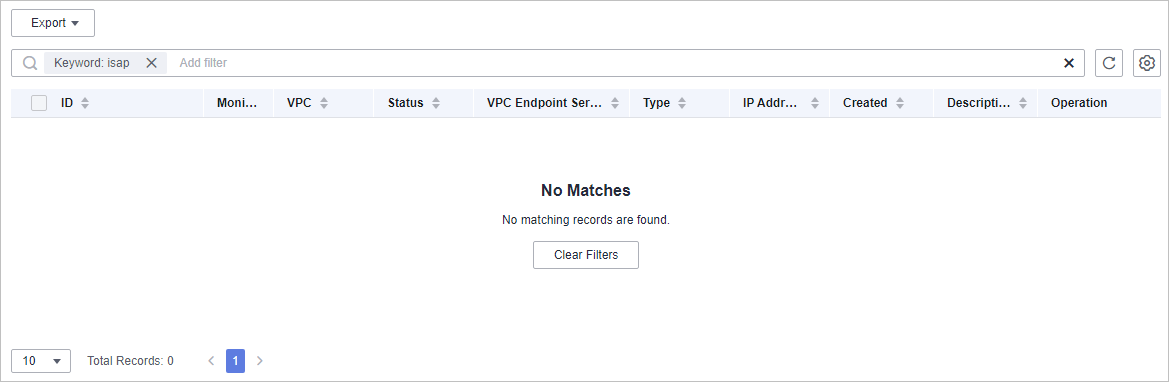
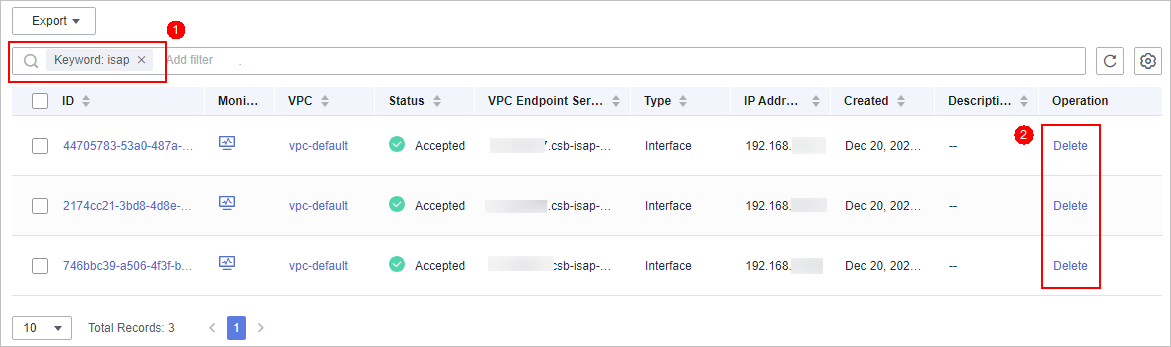
 - In the VPC endpoint search box, enter isap and press Enter to search for VPC endpoints related to SecMaster data collection.
- Check whether there are unreleased VPC endpoints created by SecMaster for log data collection.
- In the upper left corner of the page, click
- Check whether there are any VPC endpoints related to SecMaster are still being charged.
- If yes, contact technical support.
- If no, no further action is required.
- Click
Parent topic: Data Collection
Feedback
Was this page helpful?
Provide feedbackThank you very much for your feedback. We will continue working to improve the documentation.See the reply and handling status in My Cloud VOC.
The system is busy. Please try again later.
For any further questions, feel free to contact us through the chatbot.
Chatbot


