Checking a Full Node
Procedure
- Log in to the NES console.
- Choose Dedicated > Network Management.
- Click a node ID.
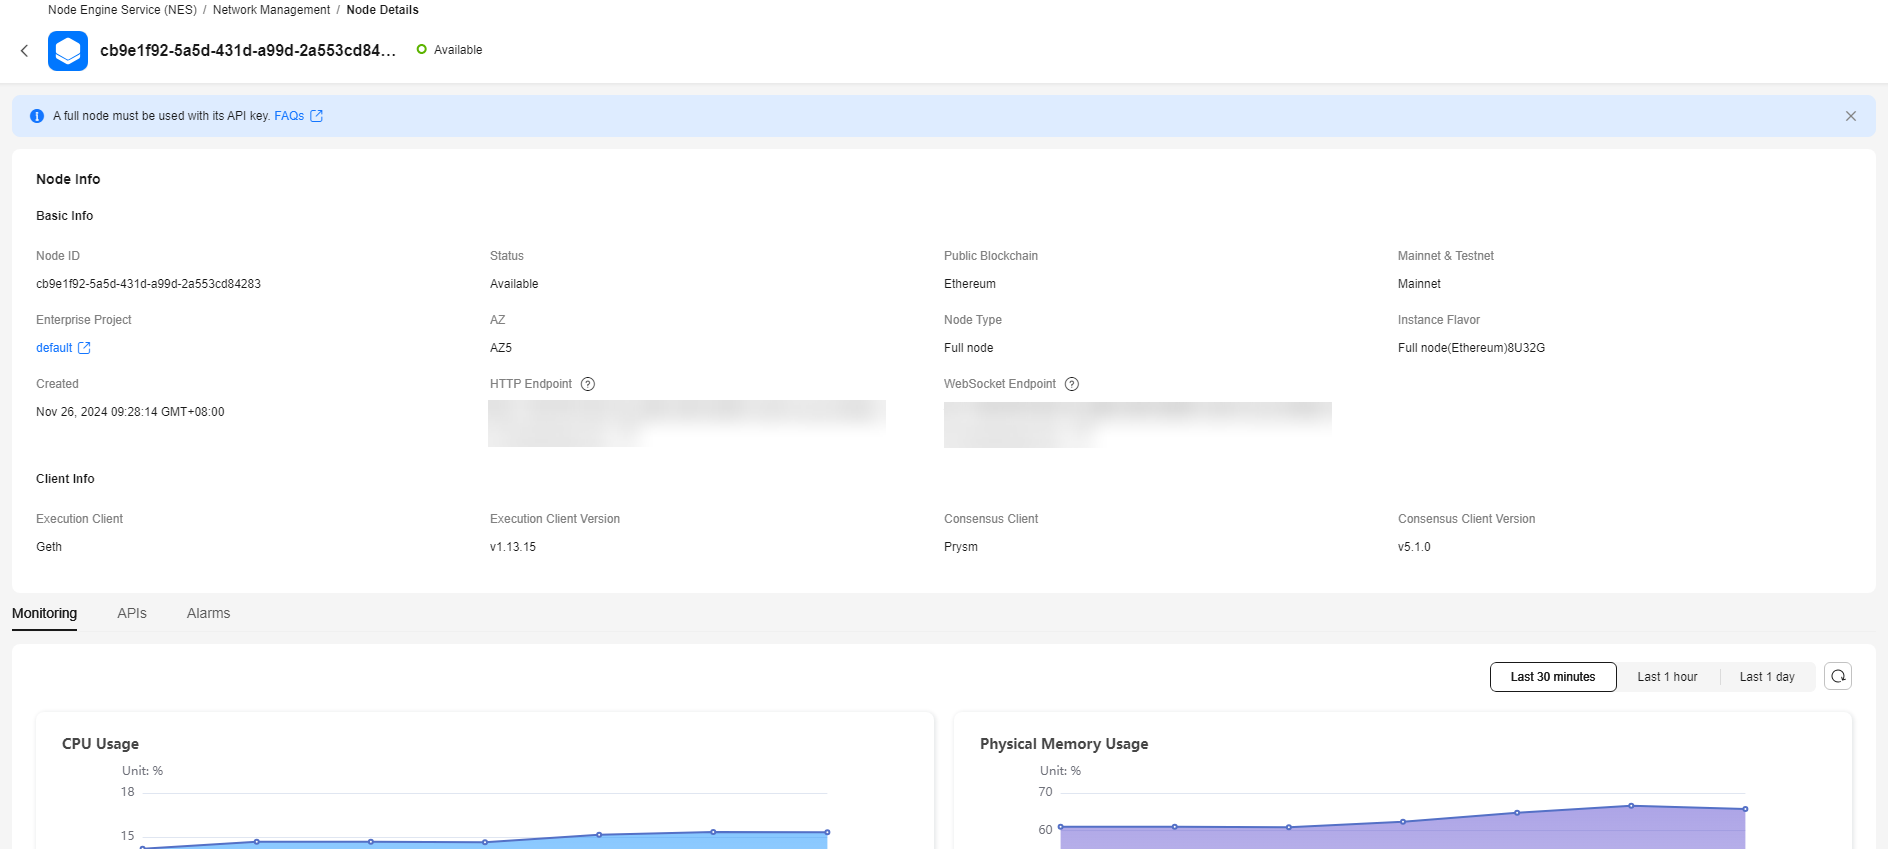
Figure 1 Checking a full node

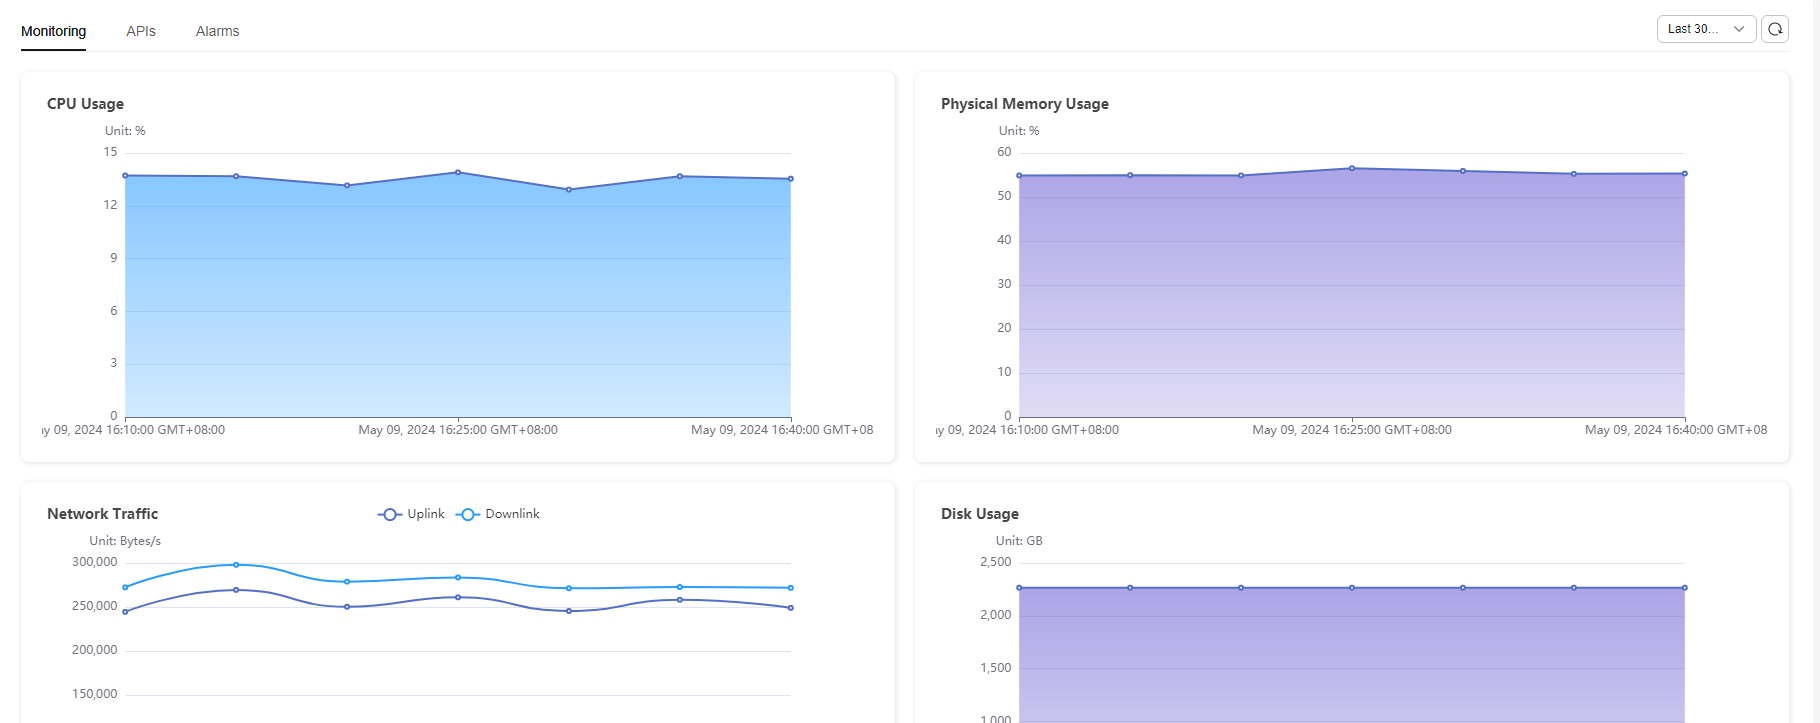
- Check the node details, including the data of Basic Settings, Monitoring, APIs, and Alarms.
Figure 2 Node details

Node Information
Here shows the node ID, public blockchain name, node status, mainnet and testnet types, node type, HTTP endpoint, WebSocket endpoint, blockchain instance flavor, creation time, availability zone (AZ), execution client, execution client version, consensus client, and consensus client version.


An AZ is a physical region where resources use independent power supplies and networks. Your public blockchain nodes are automatically allocated to different AZs. To ensure application availability when deleting nodes, it is recommended to avoid leaving the remaining nodes in the same AZ. Currently, AZ1 and AZ3 are supported.
Feedback
Was this page helpful?
Provide feedbackThank you very much for your feedback. We will continue working to improve the documentation.See the reply and handling status in My Cloud VOC.
For any further questions, feel free to contact us through the chatbot.
Chatbot


