Querying Object Data Using a View Object
To query associated data between multiple objects, you can create an object view instead of manually writing SQL statements.
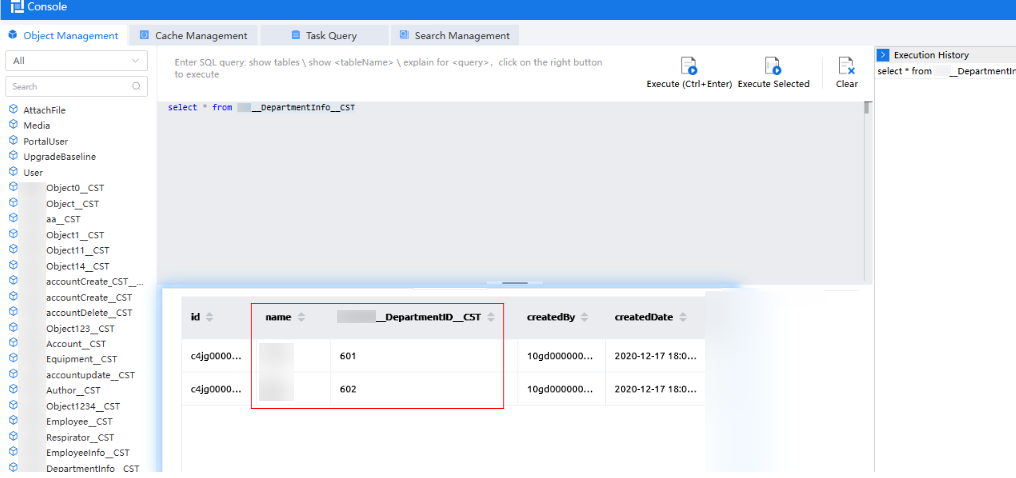
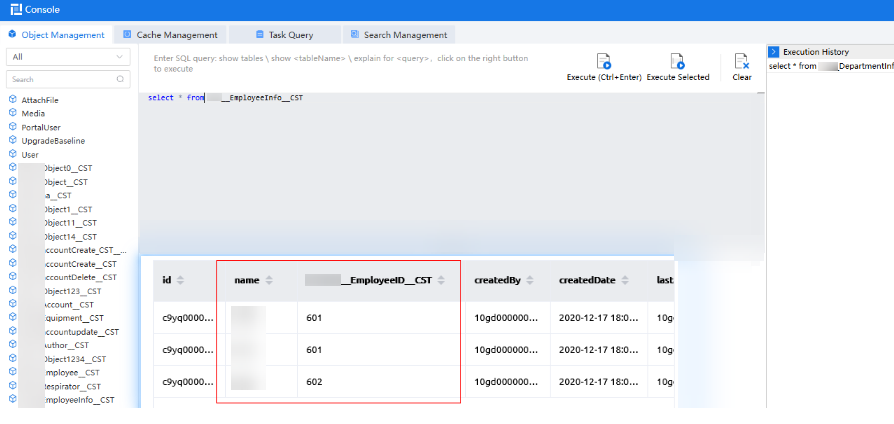
For example, the DepartmentInfo object stores department information, including the department ID and department manager. The EmployeeInfo object stores employee information, including the employee name and department ID. The view object QueryInfo displays information about employees and the corresponding department manager.
Creating an View Object
- Log in to the application designer by referring to Logging In to the Application Designer.
- Create required objects.
For example, create objects DepartmentInfo and EmployeeInfo. The DepartmentInfo object stores department information, including the department ID and department manager name. The EmployeeInfo object stores employee information, including the employee name and department ID.
- Return to the application designer. In the navigation pane, choose Data.
- Click
 next to View. The page for adding a view object is displayed.
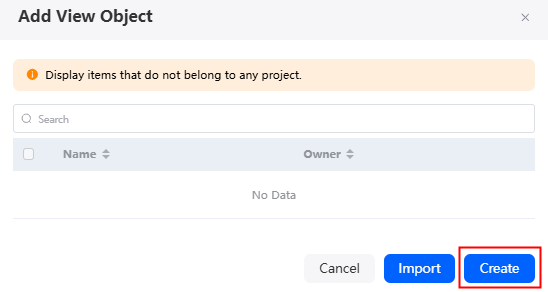
 - Click Create.
Figure 3 Clicking Create

- Set basic information about the view object and click Next.
Figure 4 Setting basic information

Table 1 Parameters for creating a view object Parameter
Description
Label
Label of the new view object, which is displayed on the page.
Value: 1–64 characters.
Name
Unique ID of a view object in the system, which cannot be modified after being created. After entering a label, click this text box to generate a view object name. The system automatically adds the namespace prefix and the suffix __VIEW__CST as the unique identifier of the object. The naming requirements are as follows:
- The value cannot exceed 60 characters, including the prefix namespace and the suffix.
- Start with a letter and can contain only letters, digits, and single underscores (_). There is no consecutive underscore (_) and the value cannot end with an underscore (_).
Description
Enter the description of the view object.
- Associate objects and click Next.
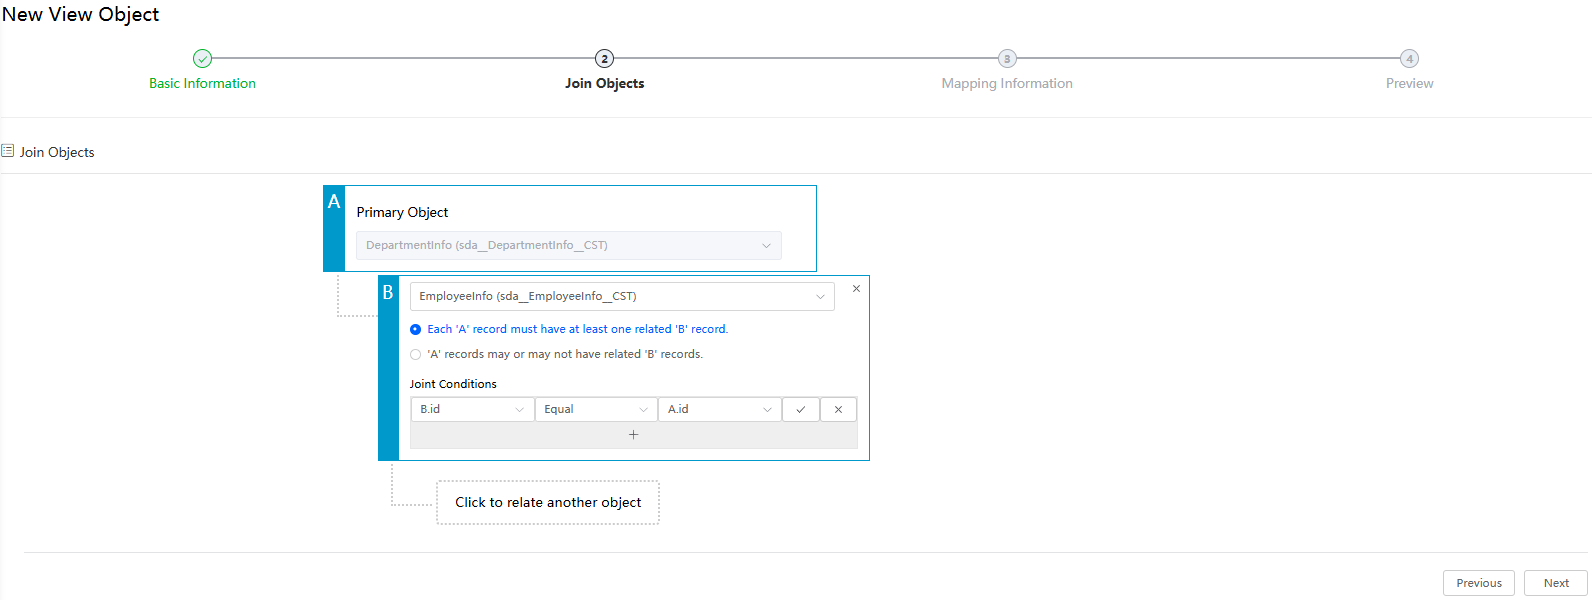
Specify Primary Object in A and click Click to relate another object. Select another object in B, select a relationship, and click the plus sign (+) to set joint conditions.
If the department IDs are the same, the intersection of the data in the two object tables is used. As shown in Figure 5. A maximum of three objects can be associated. The condition between two objects consists of the object fields and operator. There can be multiple conditions.
- Each 'A' record must have at least one related 'B' record: Set that meets all joint conditions between objects.
- 'A' records may or may not have related 'B' records: Set that meets at least one joint condition between objects.
- Joint Conditions: indicates the association condition between objects.
- On the mapping information page, click Add in the Fields Mapping area, select the required fields (the selected fields will be displayed as the fields of the view object), and set labels.
In addition, you can add record filtering conditions. Only the objects that meet the conditions are displayed in the view. This example is not involved.
Figure 6 Configuring the mapping information
- Click Next and preview the SQL statement created for the view object.
- Confirm the information and click Save. The view object details page is displayed.
- The Custom Fields tab page displays the configured fields to be displayed.
- On the associated objects tab page, click
 to view the SQL statement.
Feedback
Was this page helpful?
Provide feedbackThank you very much for your feedback. We will continue working to improve the documentation.See the reply and handling status in My Cloud VOC.
For any further questions, feel free to contact us through the chatbot.
Chatbot


