Creating a CodeArts Program
A program is a group of interrelated projects/subprograms that are placed together for a common goal. The projects/subprograms collaborate with each other and are centrally managed to achieve more benefits.
Constraints
- IPD-system device and IPD-standalone software programs are supported. To use programs, purchase CodeArts Pro or Enterprise Edition.
- A program can only contain projects and lower-level programs of the same type.
- A program can contain up to five levels.
- A program can contain up to 500 nodes.
- Programs can be created only in the AP-Singapore region.
Procedure
|
Step |
Description |
|---|---|
|
To create programs, IAM users must be granted the program creation permission by an administrator. To authorize IAM users, the administrator must have the Tenant Administrator role. For details about how to grant the Tenant Administrator role to a user, see Creating a User Group and Assigning Permissions. |
|
|
Create a program group. Ensure that you have the program group creation permission. |
|
|
Manage the program levels. Ensure that you have the program maintenance permission. |
Step 1: Set Program Permissions
- Go to the CodeArts homepage.
- Log in to the CodeArts console, click
 , and select a region where you have enabled CodeArts.
 - Click Go to Workspace.
If your account uses the old billing mode (see Old Billing Modes), click Access Service.
- Log in to the CodeArts console, click
- Click the username
 on the top navigation bar and choose All Account Settings.
 - Choose General > Program Permissions.
Two options are available:
- All members can create and maintain programs: All IAM users in your account can create programs and maintain program levels.
- Only specified members can create or maintain programs: Only IAM users for whom you have enabled the Create and Maintain permissions can perform the relevant operations.
- Configure permissions for users as needed.
Step 2: Create a Program
- Go to the CodeArts homepage.
- Log in to the CodeArts console, click
 , and select a region where you have enabled CodeArts.
 - Click Go to Workspace.
If your account uses the old billing mode (see Old Billing Modes), click Access Service.
- Log in to the CodeArts console, click
- On the CodeArts homepage, click Create > Create Program and select a template.
If you have not joined any project yet, the message "Start by creating a project or program." is displayed. Select a template on the Programs tab.
- Set the program information and click OK.
Table 1 Creating a program Parameter
Description
Name
The name of the CodeArts program. Enter 1–128 characters. Letters, digits, and special characters are supported. The name must be unique.
Work Configuration Data
Determine whether to reuse the work configuration data of a project of the same type. The data does not include the settings in Import/Export and Basic Configuration > Work Configuration Data.
This parameter is optional. Configure it as needed.
For more information about work configuration data, see:
Code
The code of the CodeArts program. Enter a maximum of 200 characters. Digits, letters, hyphens (-), and underscores (_) are supported.
This parameter is optional. Configure it as needed.
Description
Describe the CodeArts program. Enter a maximum of 1,024 characters.
This parameter is optional. Configure it as needed.
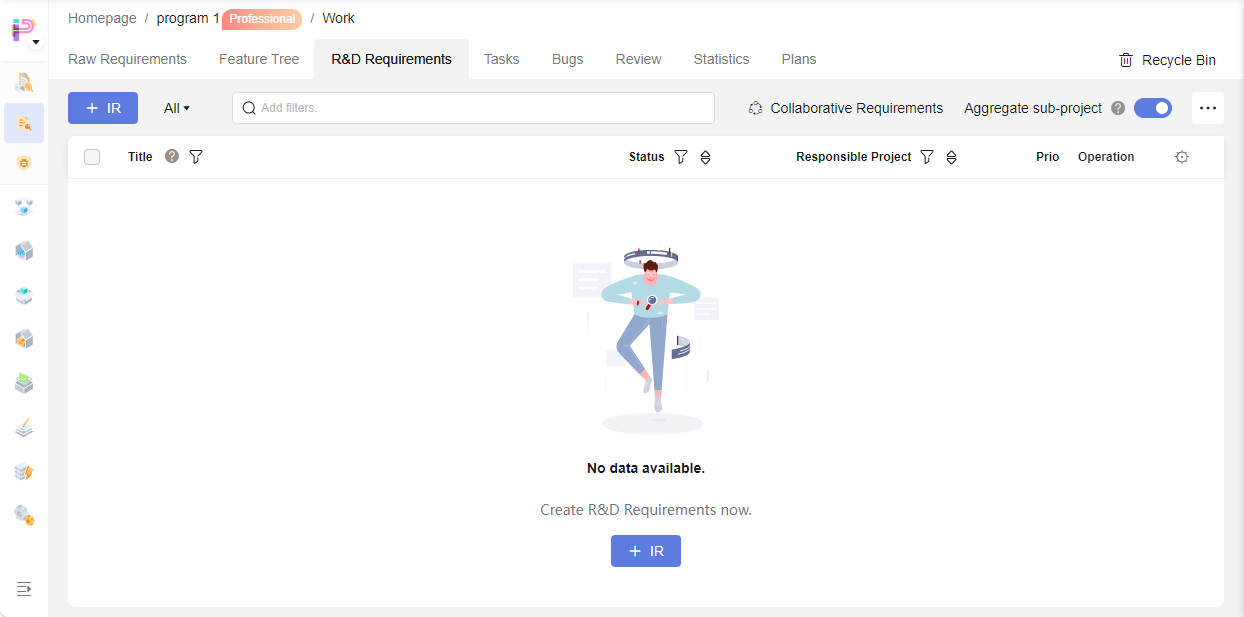
After the program is created, the Req service page is automatically displayed.
Figure 1 Program created
Step 3: Manage Project Levels
The following procedure is only for managing program levels. To modify basic program information or delete a program, see Step 3: Edit a Project.
- Go to the CodeArts homepage.
- Log in to the CodeArts console, click
 , and select a region where you have enabled CodeArts.
 - Click Go to Workspace.
If your account uses the old billing mode (see Old Billing Modes), click Access Service.
- Log in to the CodeArts console, click
- On the All tab, click
 to switch to the list mode.
 - In list mode, locate the target program/project and click
 in the Operation column.
Figure 2 Managing program levels
- Perform the operations listed in the table below as needed.
Table 2 Managing program levels Operation
Procedure
Adding a project/program on top
Click Add on Top. In the displayed dialog box, select a program you want to make as a parent, and click OK. After the operation is successful, the list is refreshed. The program is displayed above the selected program.
Adding a project/program below
Click Add Below. In the displayed dialog box, select a project or program you want to make as a child, and click OK. After the operation is successful, the list is refreshed. The program is displayed under the selected project or program.
Moving a project/program out
Click Move Out. Then click OK. After the operation is successful, the list is refreshed. The project or program as well as the program's lower-level projects and programs are no longer displayed in the original program.
For example, assume program B is under program A and program C is under program B. When program B is removed from program A, program C will also be removed but will still be under program B.
Helpful Links
- After configuring a program, you can manage requirements in it. For details, see Managing Program Requirements.
Feedback
Was this page helpful?
Provide feedbackThank you very much for your feedback. We will continue working to improve the documentation.See the reply and handling status in My Cloud VOC.
For any further questions, feel free to contact us through the chatbot.
Chatbot


