
Creating an Account and Deploying a Template
You can select a preconfigured or custom template to quickly create new accounts. All resource configurations defined in the template can be automatically applied to the new accounts.
Procedure
- Log in to Huawei Cloud using the management account, and navigate to the RGC console.
- Access the Account Factory page, and click Create Account in the upper right corner.
Figure 1 Creating an account

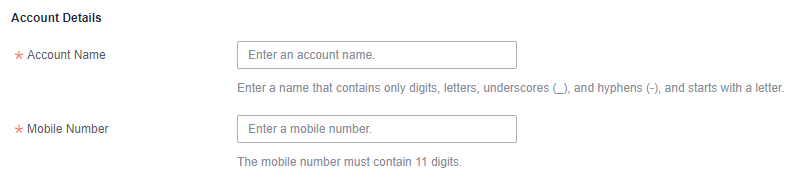
- Configure account details, including the display name and email address. Ensure that they are not currently used for any existing Huawei Cloud accounts.
The email address cannot be used for password retrieval or other purposes.Figure 2 Configuring account details
- Configure IAM Identity Center details, including the email address and username.
After an account is created, an IAM Identity Center user is automatically created in RGC. You can use an IAM Identity Center username and password to log in to the management console through the user portal URL, and use the email address to retrieve the password. For details, see Logging In as an IAM Identity Center User and Accessing Resources.
Figure 3 Configuring IAM Identity Center details
- Select a registered OU where your account will be added, and enable all governance policies configured for the OU for the account.
Figure 4 Selecting a registered OU

- (Optional) Configure an RFS template in the account factory. Select an RFS template and its version. If you select an RFS, you can copy and create accounts in batches.
For more information about RFS templates, see Templates.
- Template: Select a template you created in RFS.
- Template Version: Select the version for the template.
- Configuration Parameters: Modify parameter settings in the template based on service requirements.
Figure 5 Configuring a template

- Click Create Account. The created account will be displayed in the account list.
Feedback
Was this page helpful?
Provide feedbackThank you very much for your feedback. We will continue working to improve the documentation.See the reply and handling status in My Cloud VOC.
For any further questions, feel free to contact us through the chatbot.
Chatbot


