
Help Center/
Relational Database Service_RDS for MySQL/
User Guide/
Data Backups/
Managing Backups/
Transferring Backups to a Specified OBS Bucket
Updated on 2025-12-18 GMT+08:00
Transferring Backups to a Specified OBS Bucket
Scenarios
You can transfer the generated automated or manual backups to a specified OBS bucket.
- To manually transfer backups, submit a service ticket to request required permissions.
Constraints
- Only physical backup files can be transferred to a specified OBS bucket.
- When being transferred to an OBS bucket, encrypted backups will be decrypted first.
- The maximum size of a single backup that can be transferred each time is 10 TB. If this limit is exceeded, the transfer task will fail.
- Ensure that the target OBS bucket is available and has enough space. Otherwise, the transfer task will fail.
- Expired or deleted backups will not be transferred.
- Deleting the instance during a transfer will cause the transfer task to fail.
- You need to configure permissions and add system roles for manual OBS transfer. For details, see Permissions.
- The transfer speed depends on the OBS upload rate, and the estimated time required may fluctuate.
- Backups transferred to OBS cannot be directly restored to RDS for MySQL instances. If you want to use them for restoration, restore them to a self-managed MySQL database and then migrate the self-managed MySQL database to RDS for MySQL.
Procedure
- Click
 in the upper left corner and select a region.
 - Click
 in the upper left corner of the page and choose Databases > Relational Database Service.
 - On the Instances page, click the target instance name to go to the Overview page.
- In the navigation pane, choose Backups & Restorations.
- Select the backups to be transferred and click Transfer to OBS Bucket.
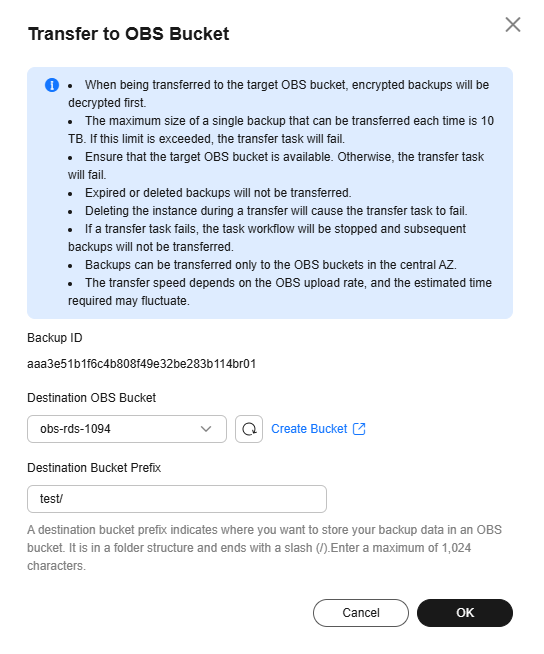
- In the displayed dialog box, select an OBS bucket, specify a folder directory, and click OK.
Figure 1 Transfer to OBS Bucket
- After the task is submitted, return to the Instances page, choose Backups > Transfer Tasks, and check the execution result of the manual transfer task.
Figure 2 Checking transfer tasks

Feedback
Was this page helpful?
Provide feedbackThank you very much for your feedback. We will continue working to improve the documentation.See the reply and handling status in My Cloud VOC.
The system is busy. Please try again later.
For any further questions, feel free to contact us through the chatbot.
Chatbot


