Viewing a Created Virtual Avatar
After the virtual avatar customization task is approved, algorithm training will be completed within three working days. Then a virtual avatar will be generated.
Procedure
- Log in to the MetaStudio console and go to the Overview page.
- Click Go to MetaStudio Console to go to the MetaStudio console.
- In the navigation pane, choose Task Center.
- On the Virtual Avatars tab, click View Details on the right of a virtual avatar customization task to go to the Customization Task Details page.
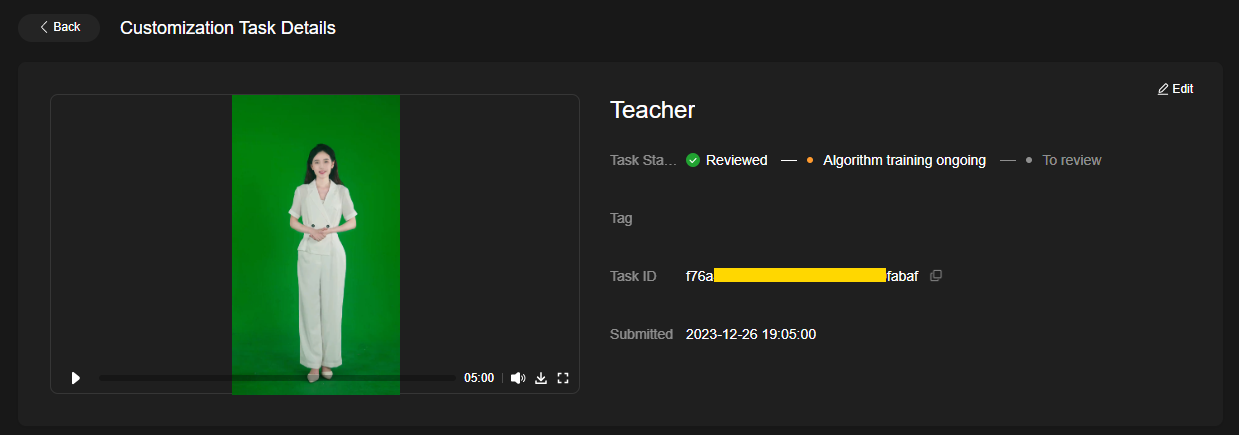
After the task is approved, the task status changes to Algorithm training ongoing, as shown in Figure 1.
Click Edit in the upper right corner to add a tag to the virtual avatar. After adding the tag, click Save.
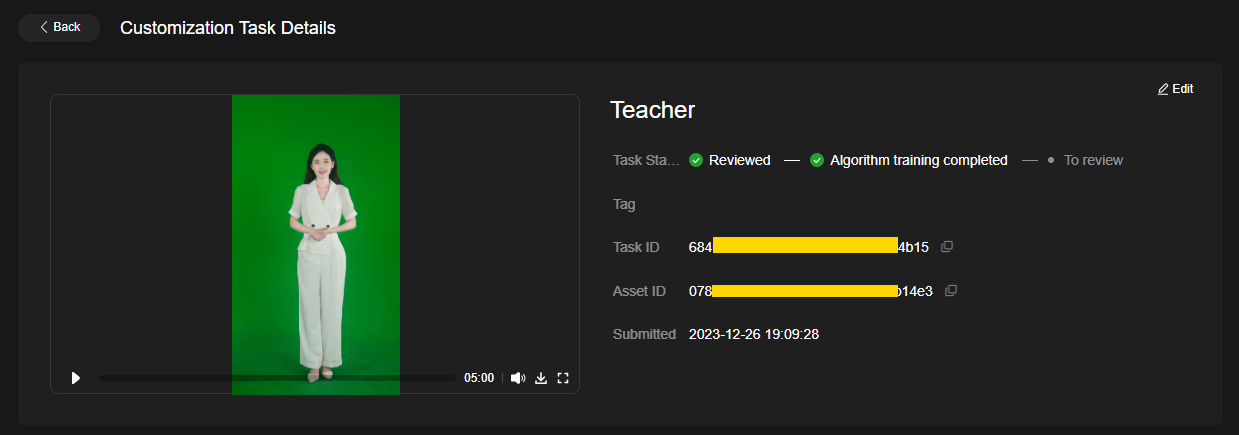
- The virtual avatar model training will be completed within three working days. After the training is completed, the task status becomes Algorithm training completed, as shown in Figure 2.
View the generated virtual avatar. You can perform the following operations on the Customization Task Details page.
You can also click Back in the upper left corner to return to the task list page, where you can click Approve or Reject on the right of the desired task.
- If you are satisfied with the virtual avatar, click Approve in the lower right corner. In the dialog box displayed, click OK. The virtual avatar has been generated.
- If you are unsatisfied with the virtual avatar, click Reject in the lower right corner.
On the Fill in Question page, enter Question Title and Question Description, and upload related attachments, such as the updated green-screen video file. If there is more than one question, you can click Add Question in the upper right corner of the page to add question descriptions. After all questions are added, click OK and wait for the handling by the service administrator.
- The service administrator will optimize the virtual avatar according to your feedback.
Model training of the virtual avatar customization task will be performed again. After the model training is completed, you can review the virtual avatar again. Repeat 5 till a qualified virtual avatar is generated.
You can view the generated virtual avatar in either of the following locations:
- Assets > My Models > Virtual Humans
- Recent Projects > Virtual Avatars
Feedback
Was this page helpful?
Provide feedbackThank you very much for your feedback. We will continue working to improve the documentation.See the reply and handling status in My Cloud VOC.
For any further questions, feel free to contact us through the chatbot.
Chatbot


