Deploying with Helm3
Helm is a Kubernetes package management tool, which is similar to the package managers in Linux, such as yum and APT. Helm can easily deploy packaged YAML files on Kubernetes. Helm 3 is the commonly used and stable version of Helm.
|
Parameter |
Description |
|---|---|
|
Action Name |
Mandatory. Custom action name. Enter 1 to 128 characters. Do not start or end with a space. Use letters, digits, spaces, and these special characters: -_,;:./() |
|
Cluster Type |
The default value is Custom. |
|
Kubernetes Service Endpoint |
Mandatory. You can select a CCE cluster or your own Kubernetes cluster.
|
|
Helm Version |
Mandatory. Select a Helm version. The default value is helm-3.4.1. |
|
Helm Command |
Mandatory. install, upgrade, and uninstall are available. If you select upgrade for Helm Command and the chart name does not exist, the system automatically runs install. |
|
Namespace |
Mandatory. Enter a namespace name. |
|
Chart Name |
Mandatory. The custom chart name. You can perform the upgrade operation on the same chart name. |
|
Chart Package Source |
Mandatory. Select the source of the chart package to be installed. Artifact and Repo are available. If you select Repo, you need to specify the code repository and branch. |
|
Chart Package |
Mandatory. Enter a directory or GZIP package with a chart file structure. |
|
Values File |
Select the values file from Artifact. For example, if you specify Myvalues.yaml, -f Myvalues.yaml will be added to Helm command parameters. |
|
Values |
Set values for the selected command. If you specify key1=val1,key2=val2 (separate values with commas), -set key1=val1,key2=val2 will be added to Helm command parameters. |
|
Helm Command Parameters |
Add other content to using Helm command parameters. For details, see Helm Install, Helm Upgrade, and Helm Uninstall. |
|
Action Control |
Continue the task even if this action fails. |
Environment Preparation for Helm3 Deployment Example
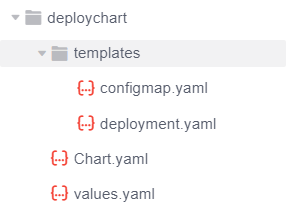
This section uses the chart directory as an example to describe how to prepare the environment for the subsequent three examples. Use the following template for CCE cluster-based deployment and create the following directories in a code repository of CodeArts Repo.

Segment in configmap.yaml
metadata:
  name: {{ .Values.configmapname }}
Segment in deployment.yaml
spec:
  template:
    spec:
      containers:
        - image: '{{ .Values.imagename }}:{{ .Values.imagetag }}'
Segment in values.yaml
configmapname: valuesfromfile
imagename: httpd
imagetag: latest

{{.Values.xxxx}} corresponds to the variable defined in the values.yaml file in the chart.
The following three examples are based on this section.
For details, see Values Files.
- Example 1: Using the chart package or chart file structure directory
If the default values file exists in the chart, you do not need to specify the values file in Artifact. You can directly deploy the default values file.
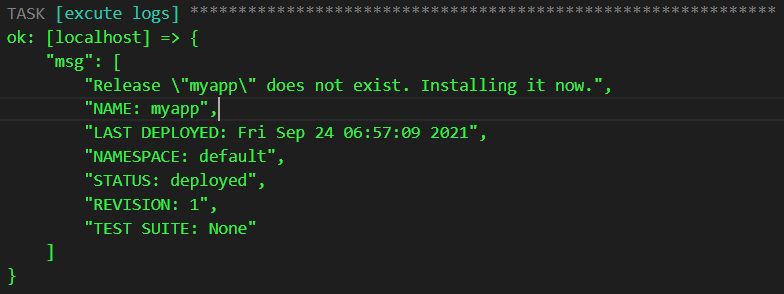
The deployment result is as follows.

The corresponding ConfigMap generated on the CCE console is as follows.

The corresponding Deployment generated on the CCE console is as follows.

- Example 2: Specifying the values file in CodeArts Artifact
This example demonstrates how to use the Values file in Artifact for deployment.

The values defined in the external values file will overwrite the values defined in the Values file in the chart.
Segment of an external Values file. In this example, the file is named values123.yaml.
configmapname: valuesfile-releasenman
imagename: nginx
imagetag: stable
As shown in the following figure, for Values File, select the Values file in Artifact.

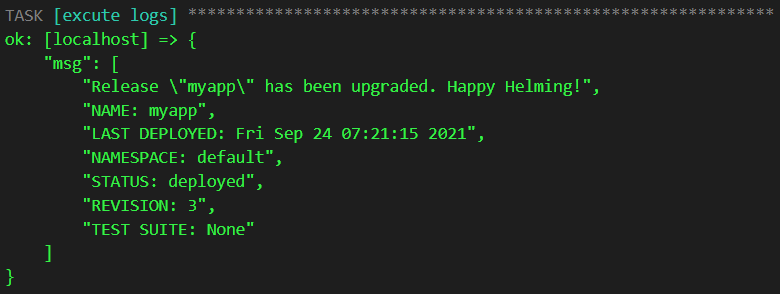
The deployment result is as follows.

The corresponding ConfigMap generated on the CCE console is as follows.

The corresponding Deployment generated on the CCE console is as follows.

- Example 3: Deploying Helm3 by configuring values
If Values is set, it has the highest priority and overwrites the values set in the values file of Chart and the values set in the external values file.
The following figure describes how to configure the image version.

Segment of the Values File in Chart Package:
imagetag: latest
Segment of Values File in Artifact:
imagetag: stable
When setting Values, enter the following information:
imagetag=perl
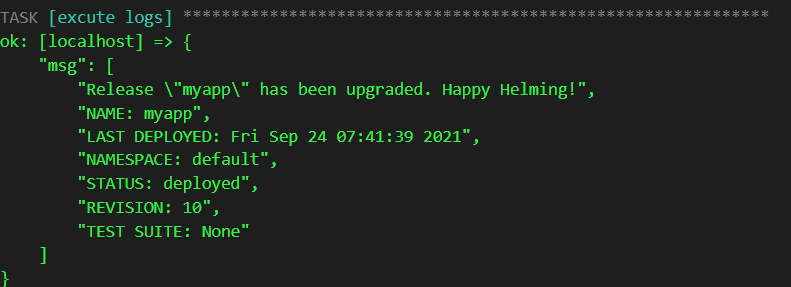
The deployment result is as follows.

The corresponding Deployment generated on the CCE console is as follows.

Feedback
Was this page helpful?
Provide feedbackThank you very much for your feedback. We will continue working to improve the documentation.See the reply and handling status in My Cloud VOC.
For any further questions, feel free to contact us through the chatbot.
Chatbot


